These homemade pitas are far superior to anything you can buy!
When I lived in Flensburg, Germany in the early 90s, there was a Greek fast food place called Papa’s Imbiss where I regularly ordered their Greek gyros. To this day, I have not found a better gyros even in Greece! One of the things that made their Greek gyros so good was their fried pitas and here, after many years, I think I have got the recipe for you.

About this recipe for homemade pitas
Pitas come in many forms but it’s these homemade pitas I like best. The soft dough pitas are fried in a little oil which gives them a crispy exterior in place that is to die for. You could cook these homemade pitas in a frying pan and just spray the surface with a thin oil coating which would be the healthier option.
When I first tried pitas like these, the dough discs were deep fried but here you can get a similar flavour and texture by cooking in just a little oil.
How do you get the best flavour and texture?
You can make these homemade pitas just like you want them. If you prepare the dough and cook the pitas all in the same day, you will get a great pita. If you prefer a more sour flavour like sour dough, allow the dough to sit for a day or two.
As the dough sits, it will become more flavourful.
Do you have to fry the pitas?
No. You can cook them in a pan with little or no oil. If using a non-stick pan, you don’t need any oil at all.
Why do you make holes over the surface of these homemade pitas?
The holes stop the pitas from bubbling up like they would if cooking like naans.
There is nothing wrong with the pitas bubbling up but they are normally flatter than a naan. You will still get sufficient bubbling to make the pitas light and airy.
How long can you keep the cooked pitas?
These homemade pitas will last for about 3 days, wrapped tightly in the fridge or a cool cupboard.
How do you reheat the pitas?
The quickest way is to place spray lightly with water and place in the microwave for about 20 second.
For best results, pre-heat your oven to 200c (400f) and place them in the oven in a single layer for a couple of minutes or until heated to your liking.
You can also steam them. Place one or two of the pitas in a steamer over boiling water and steam for a couple of minutes or until heated through.
Can you freeze these homemade pitas?
For best results, just make the dough. Let it rise and then freeze the dough. It freezes really well. Then allow to defrost and come to room temperature to cook.
You can freeze cooked pitas but it’s best to freeze the dough instead.
Step by step photos.
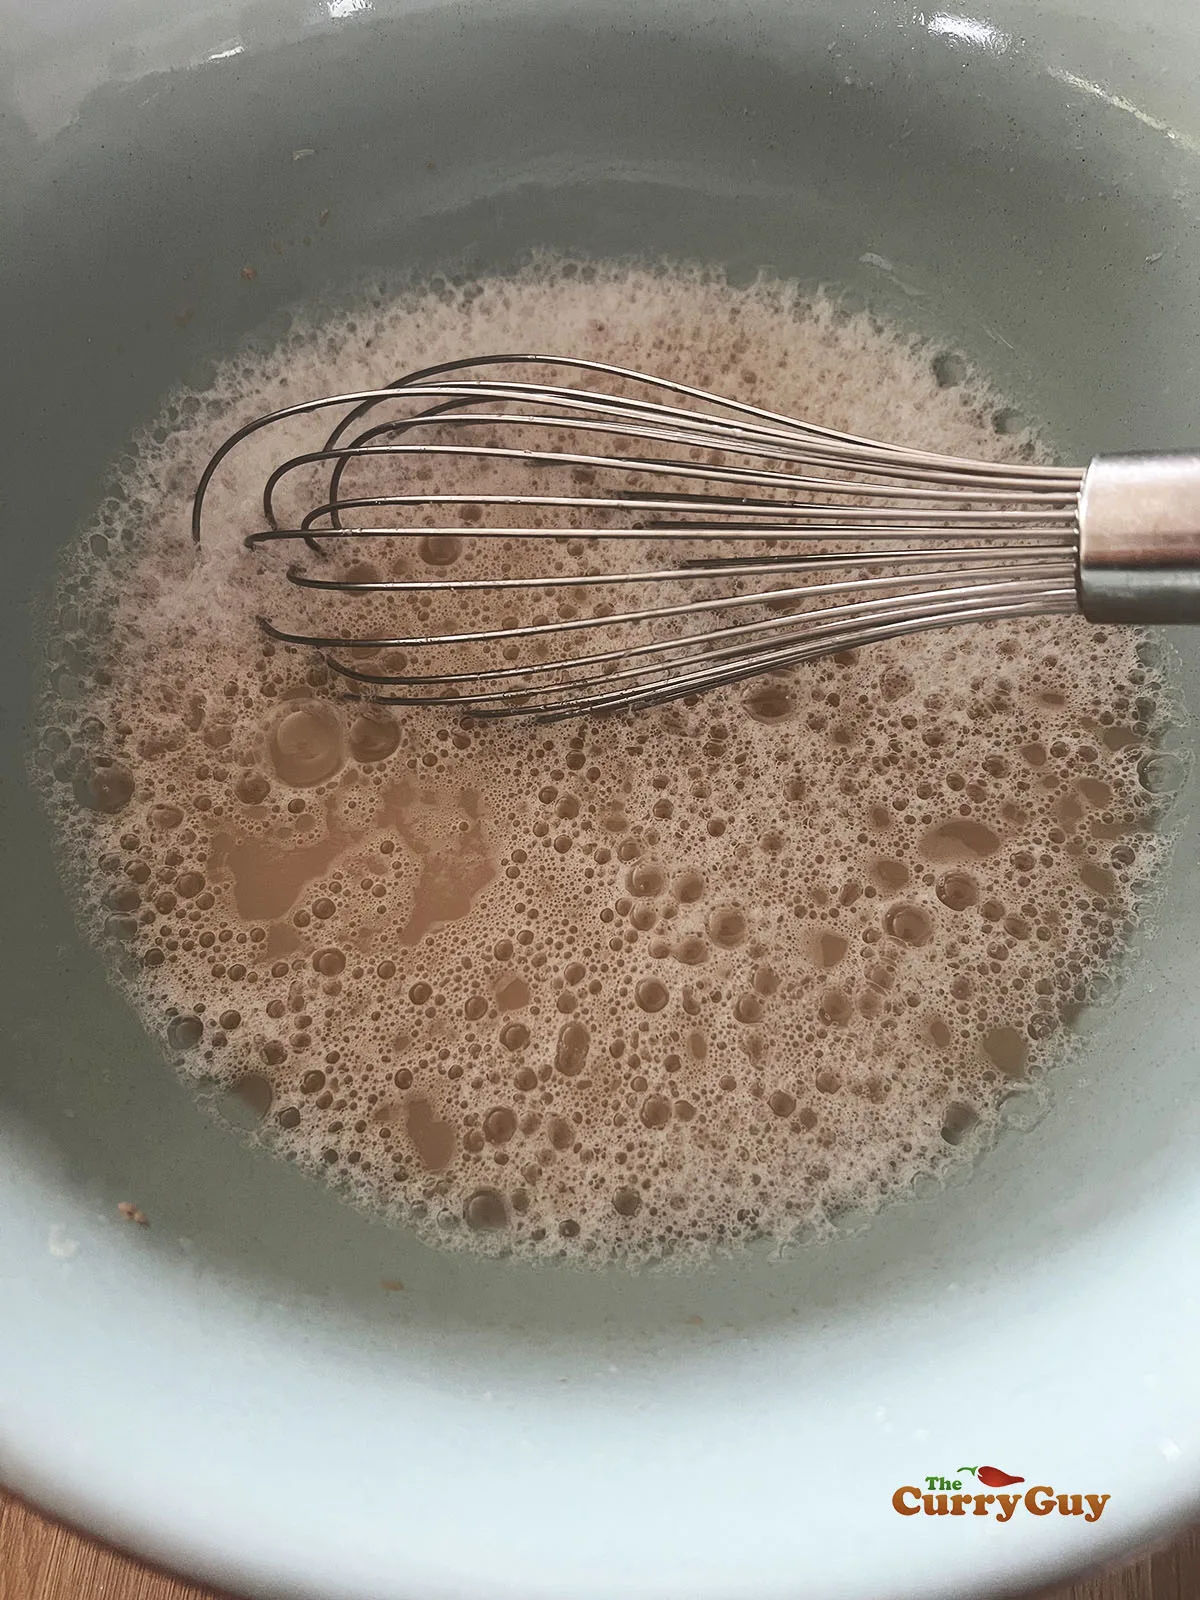
Whisk the yeast and sugar with the water to combine.
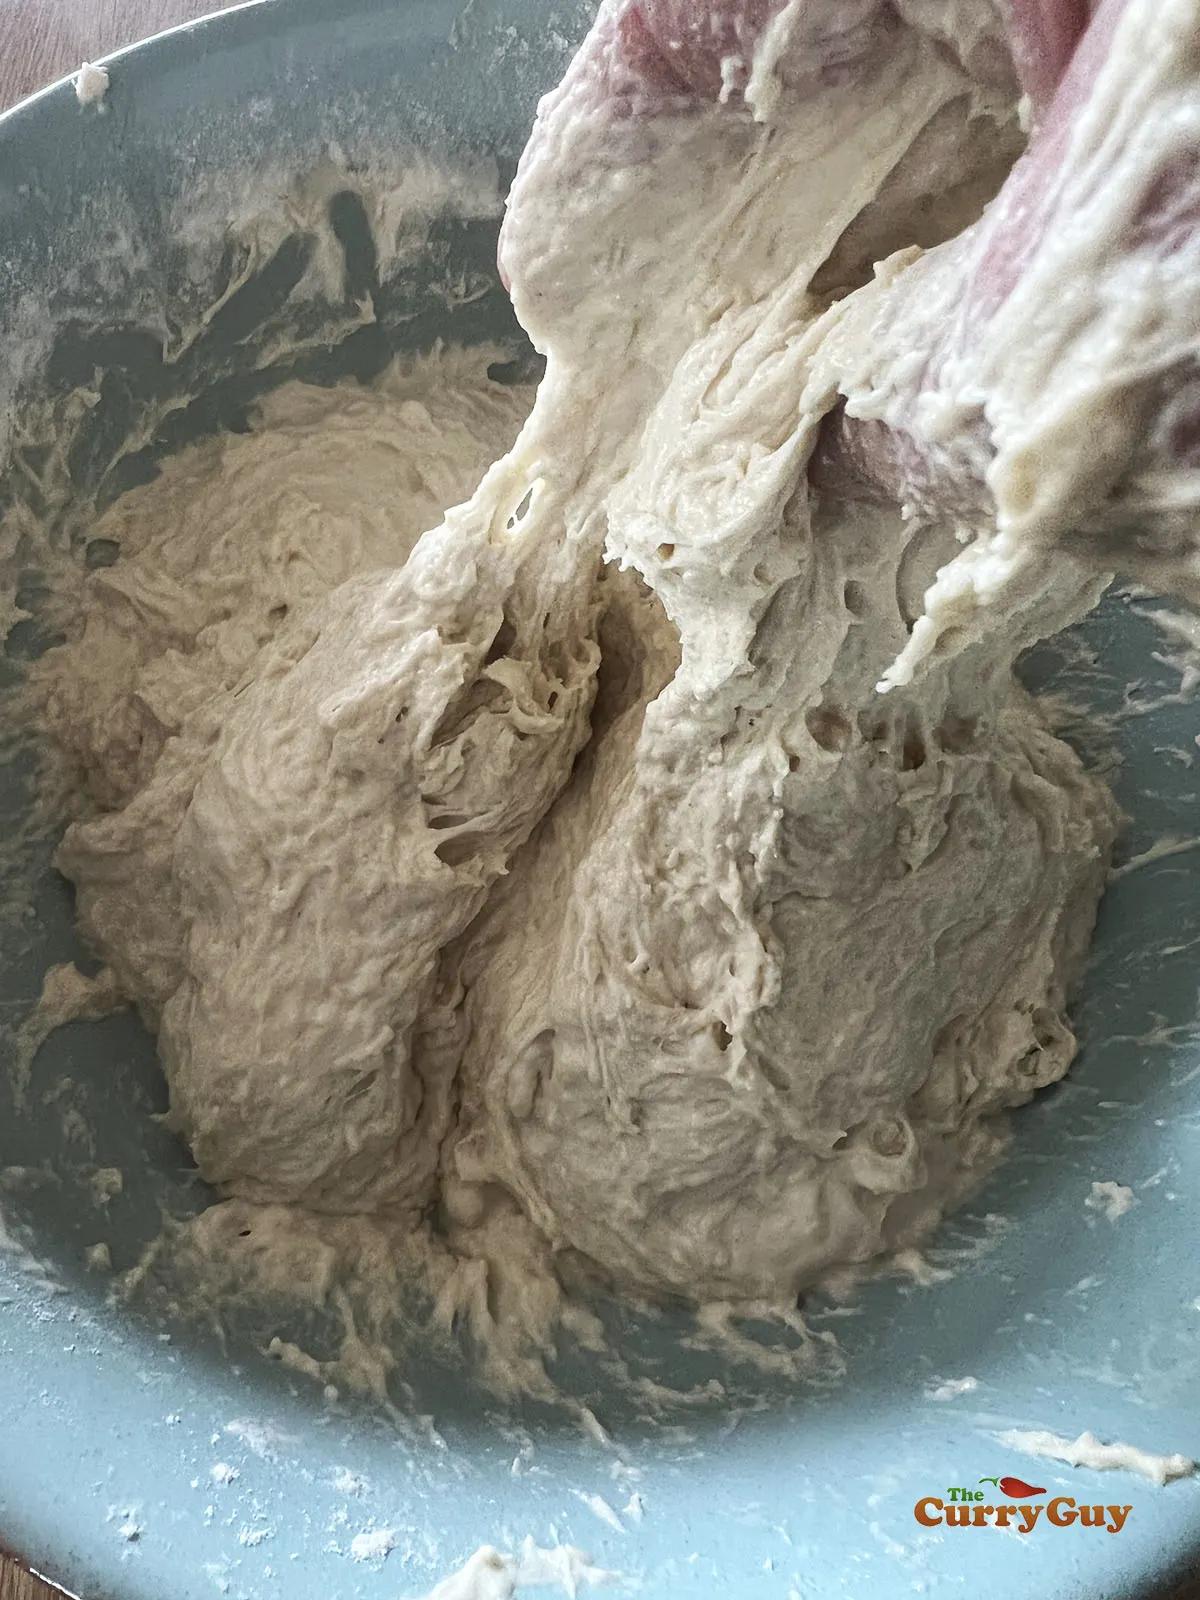
Add the flour and salt to the water and yeast mixture and mix well to combine. It will be a very sticky dough.
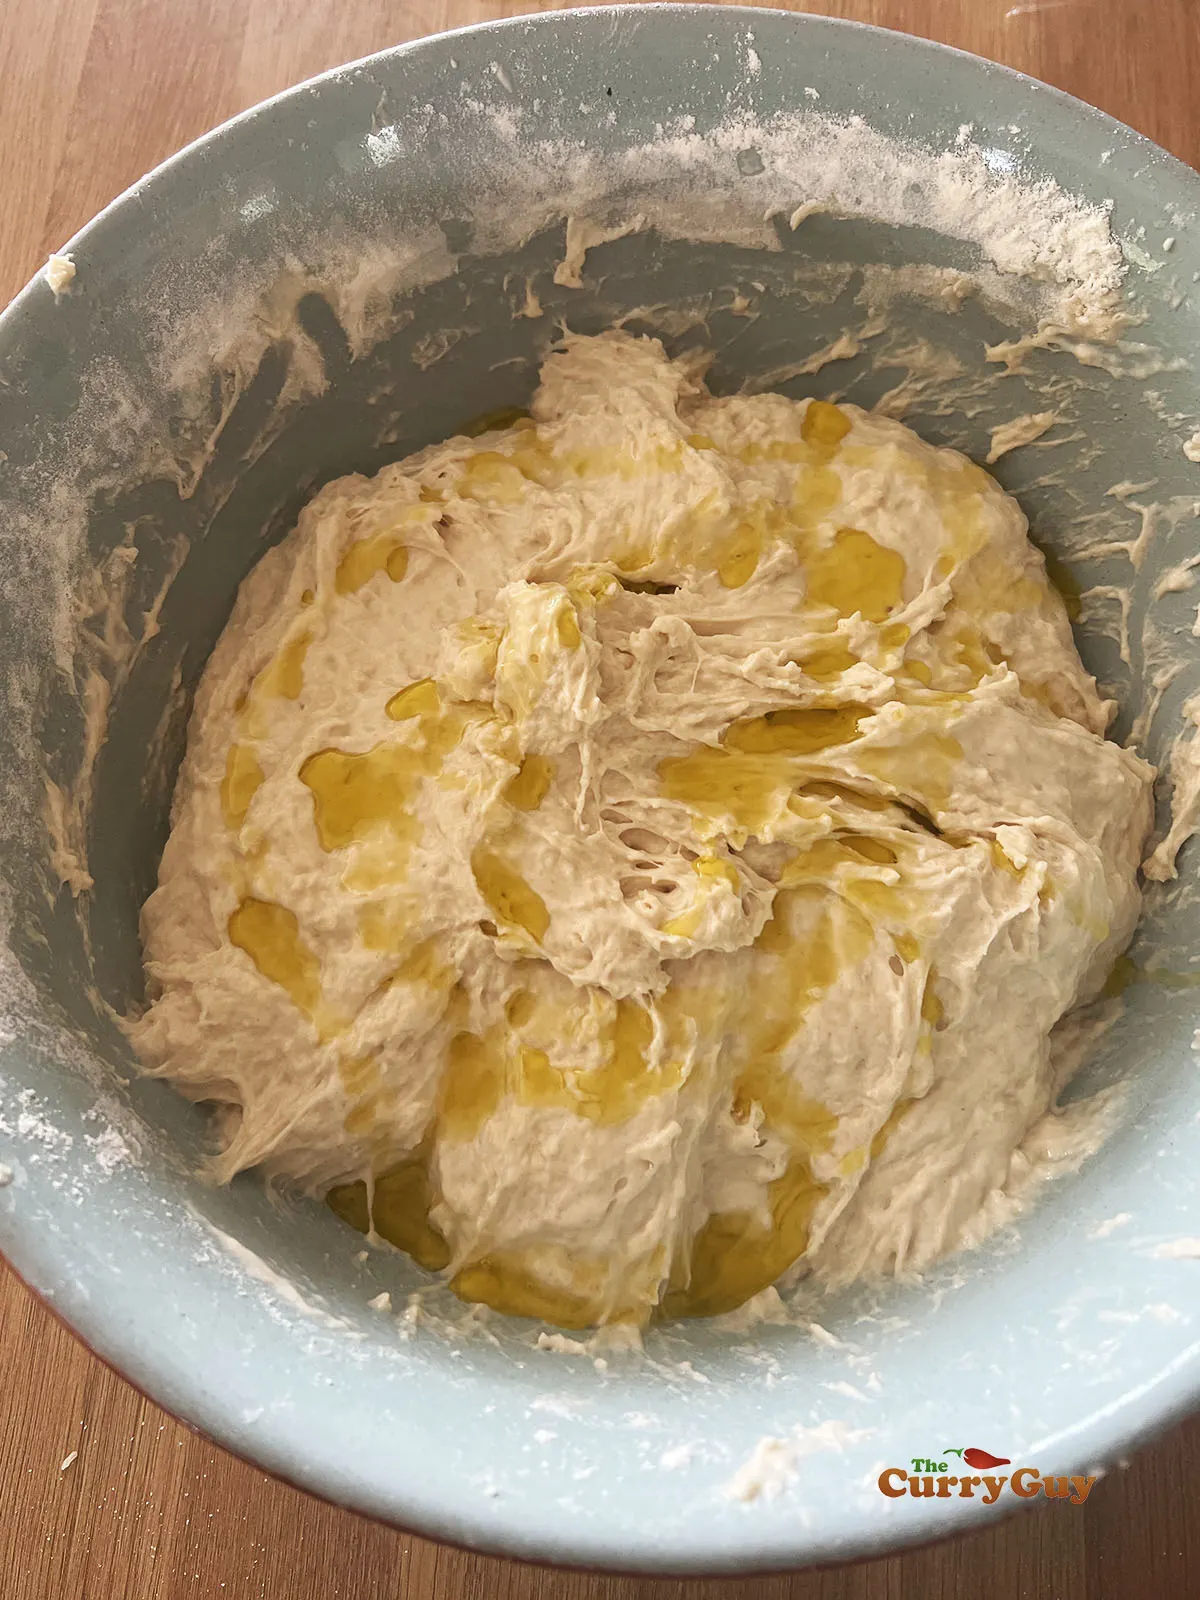
Form into a ball and drizzle the olive oil over the top. Cover and let rise until doubled in size.
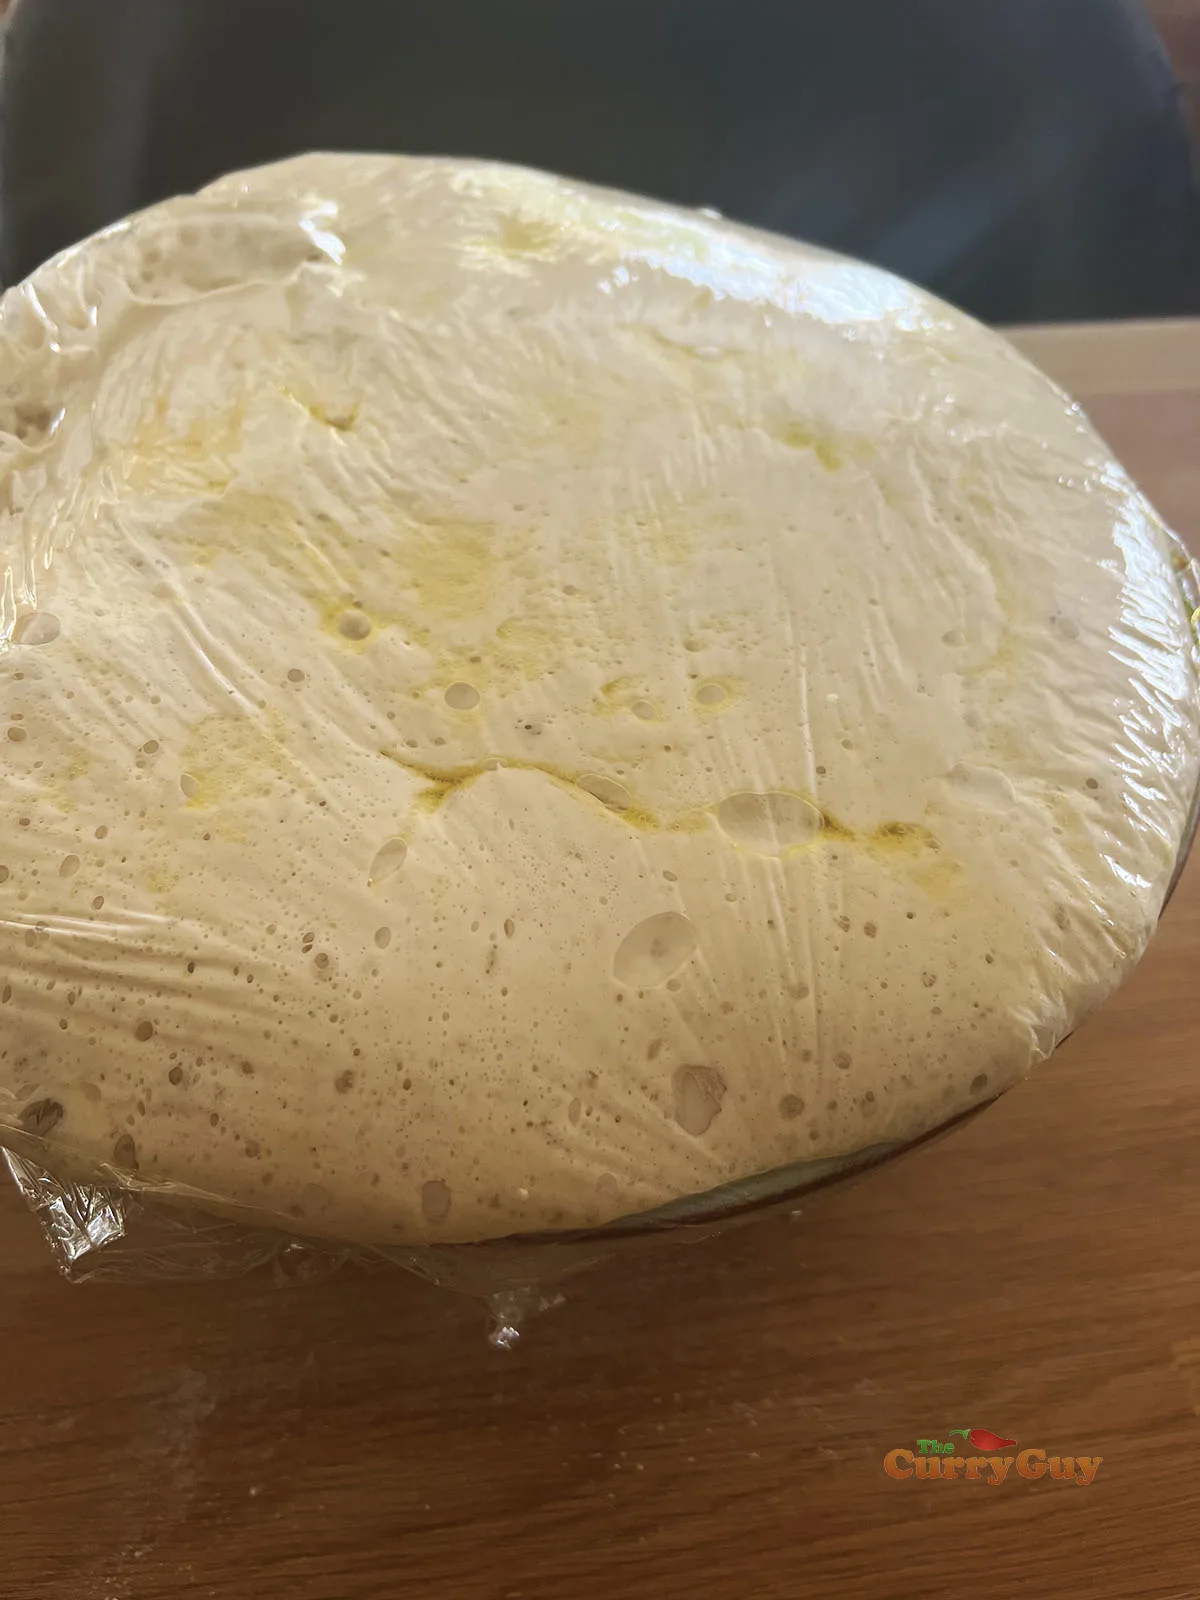
Once the dough has doubled in size, punch it down and allow to rise again.
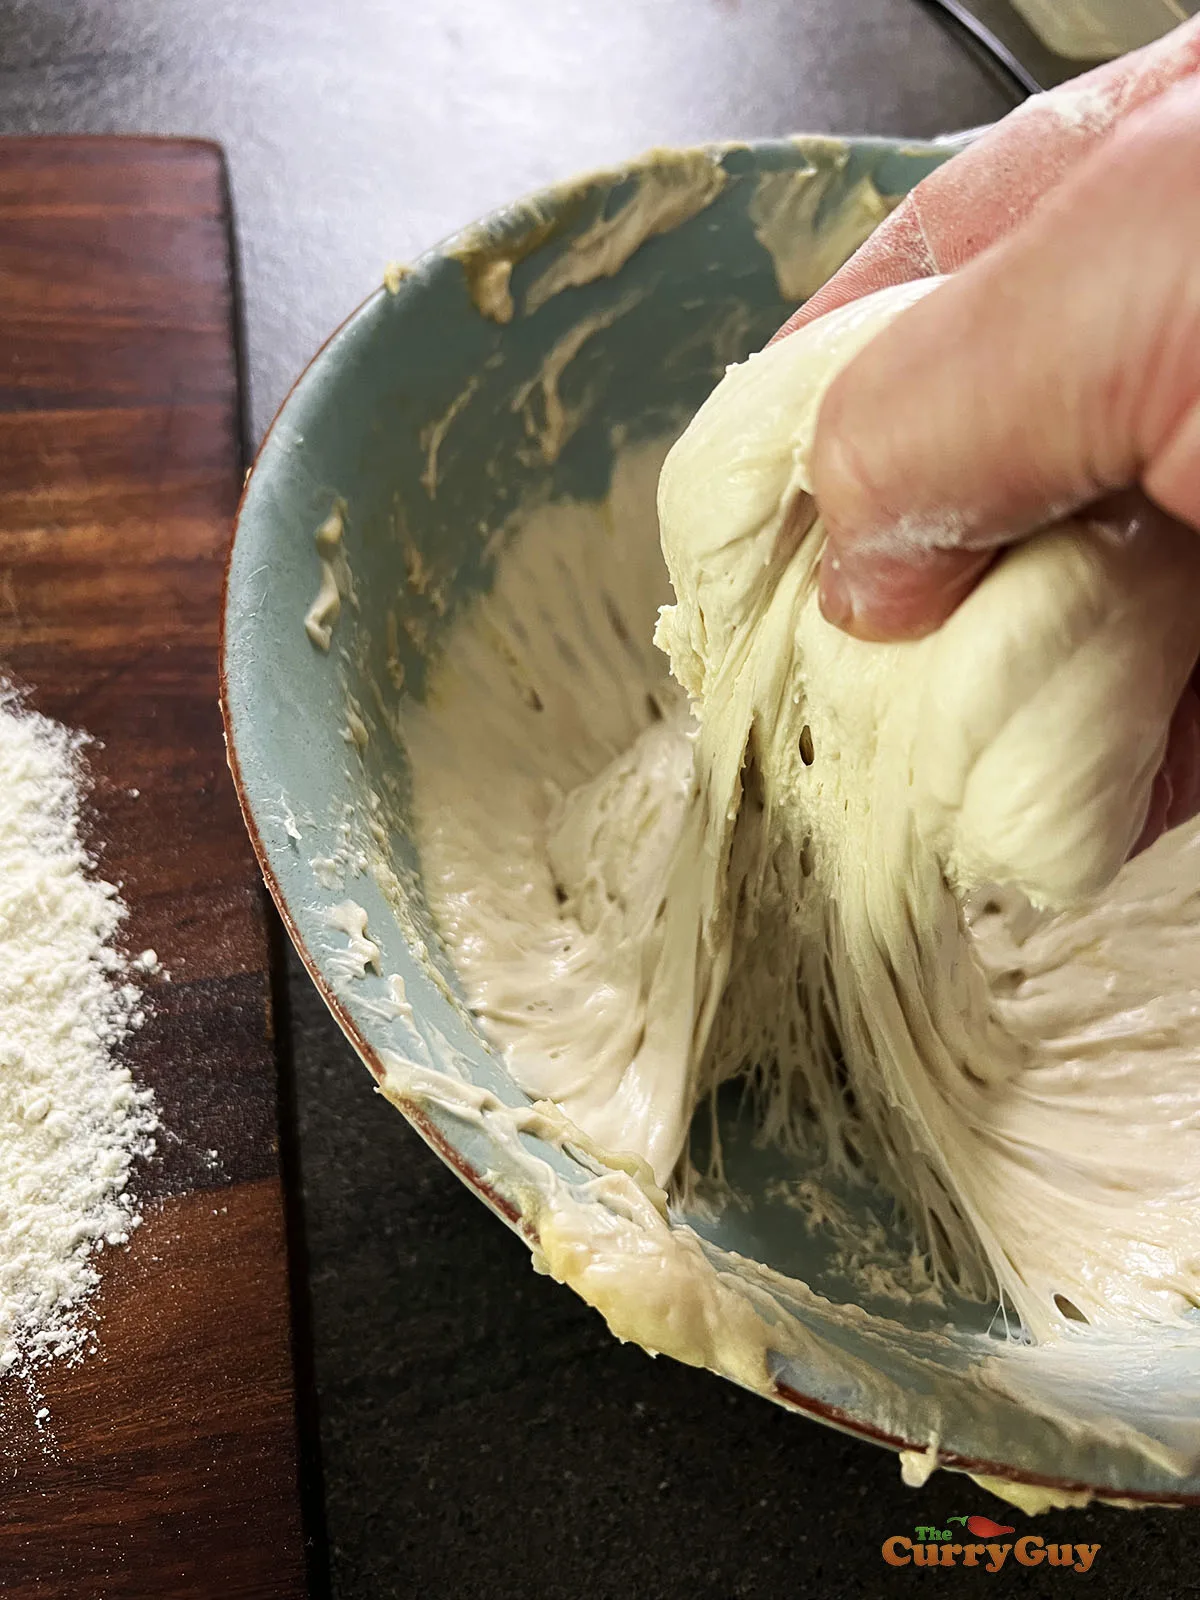
Knead the dough as best you can. It will be quite sticky. When ready to get cooking, grab a handful of dough and place it on a flour dusted surface.
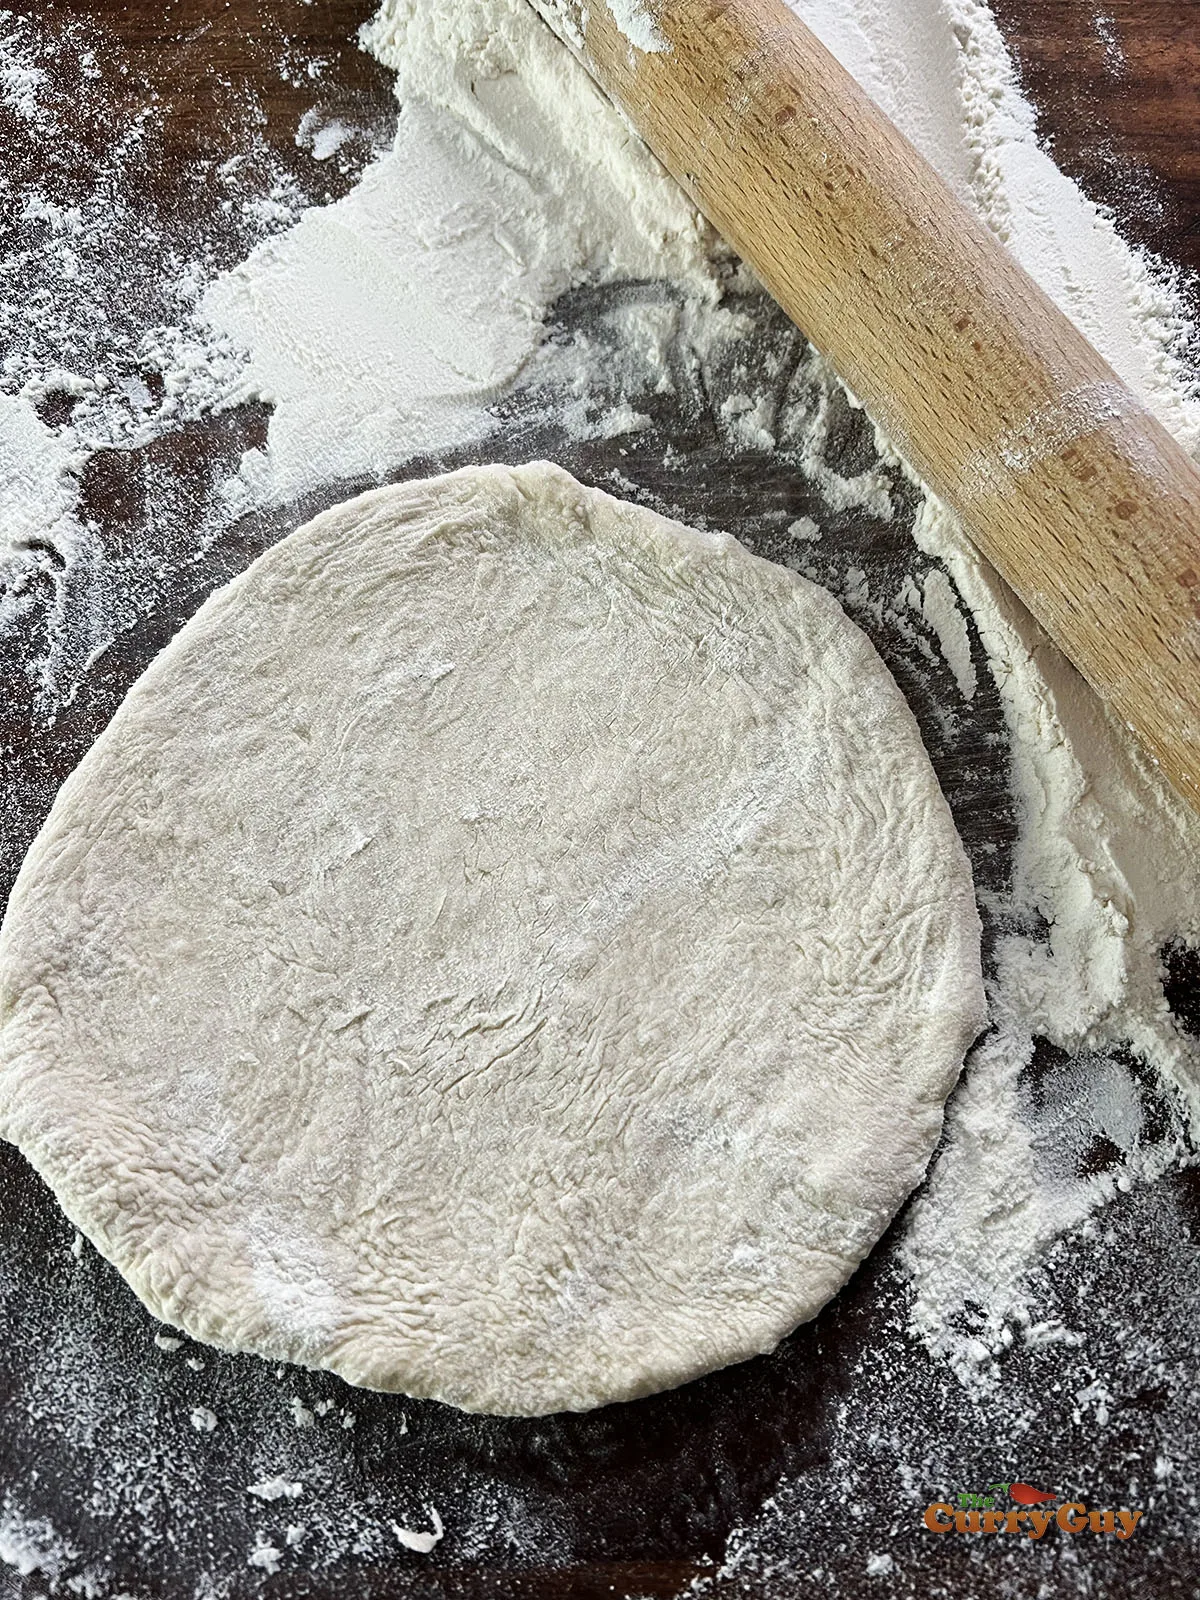
Add just enough flour to your dough so that it is really soft and sticky but not so sticky that it is sticking to your hands. Roll it out into a round or oval shape that is about 1/2 inch thick.
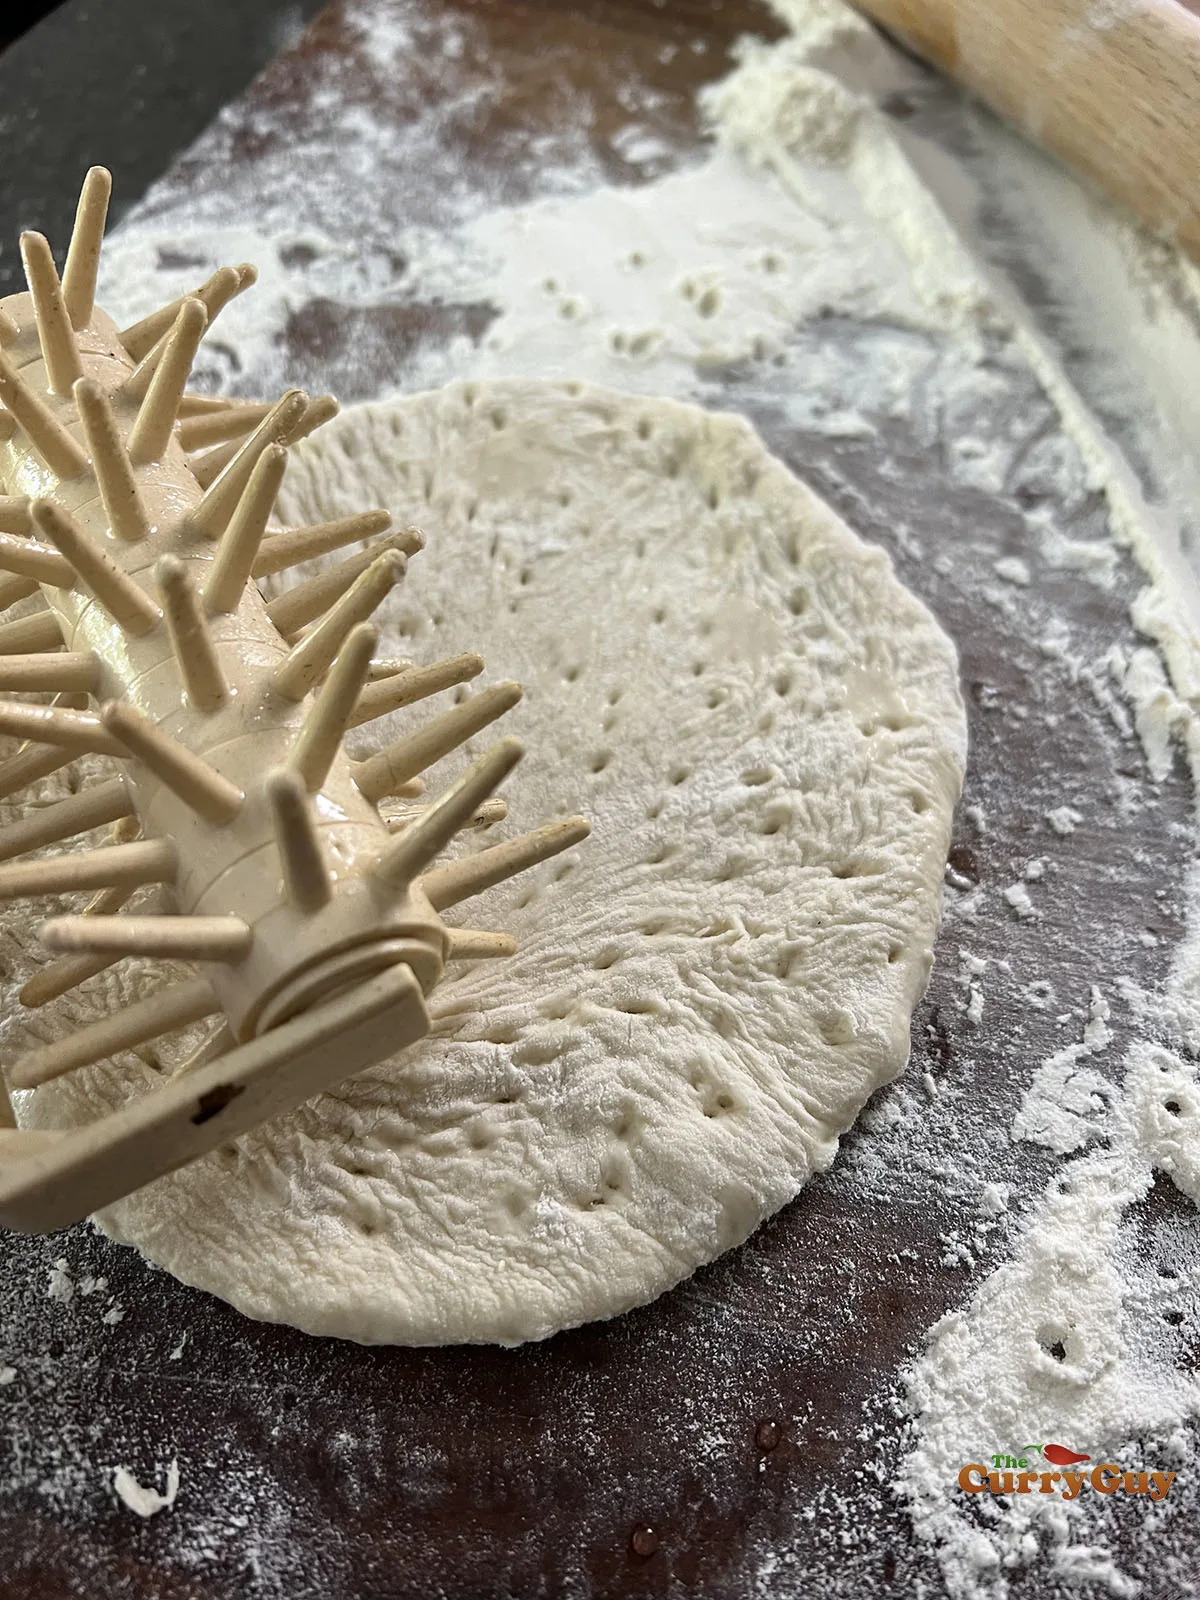
Make holes all over the surface with a fork or other tool.
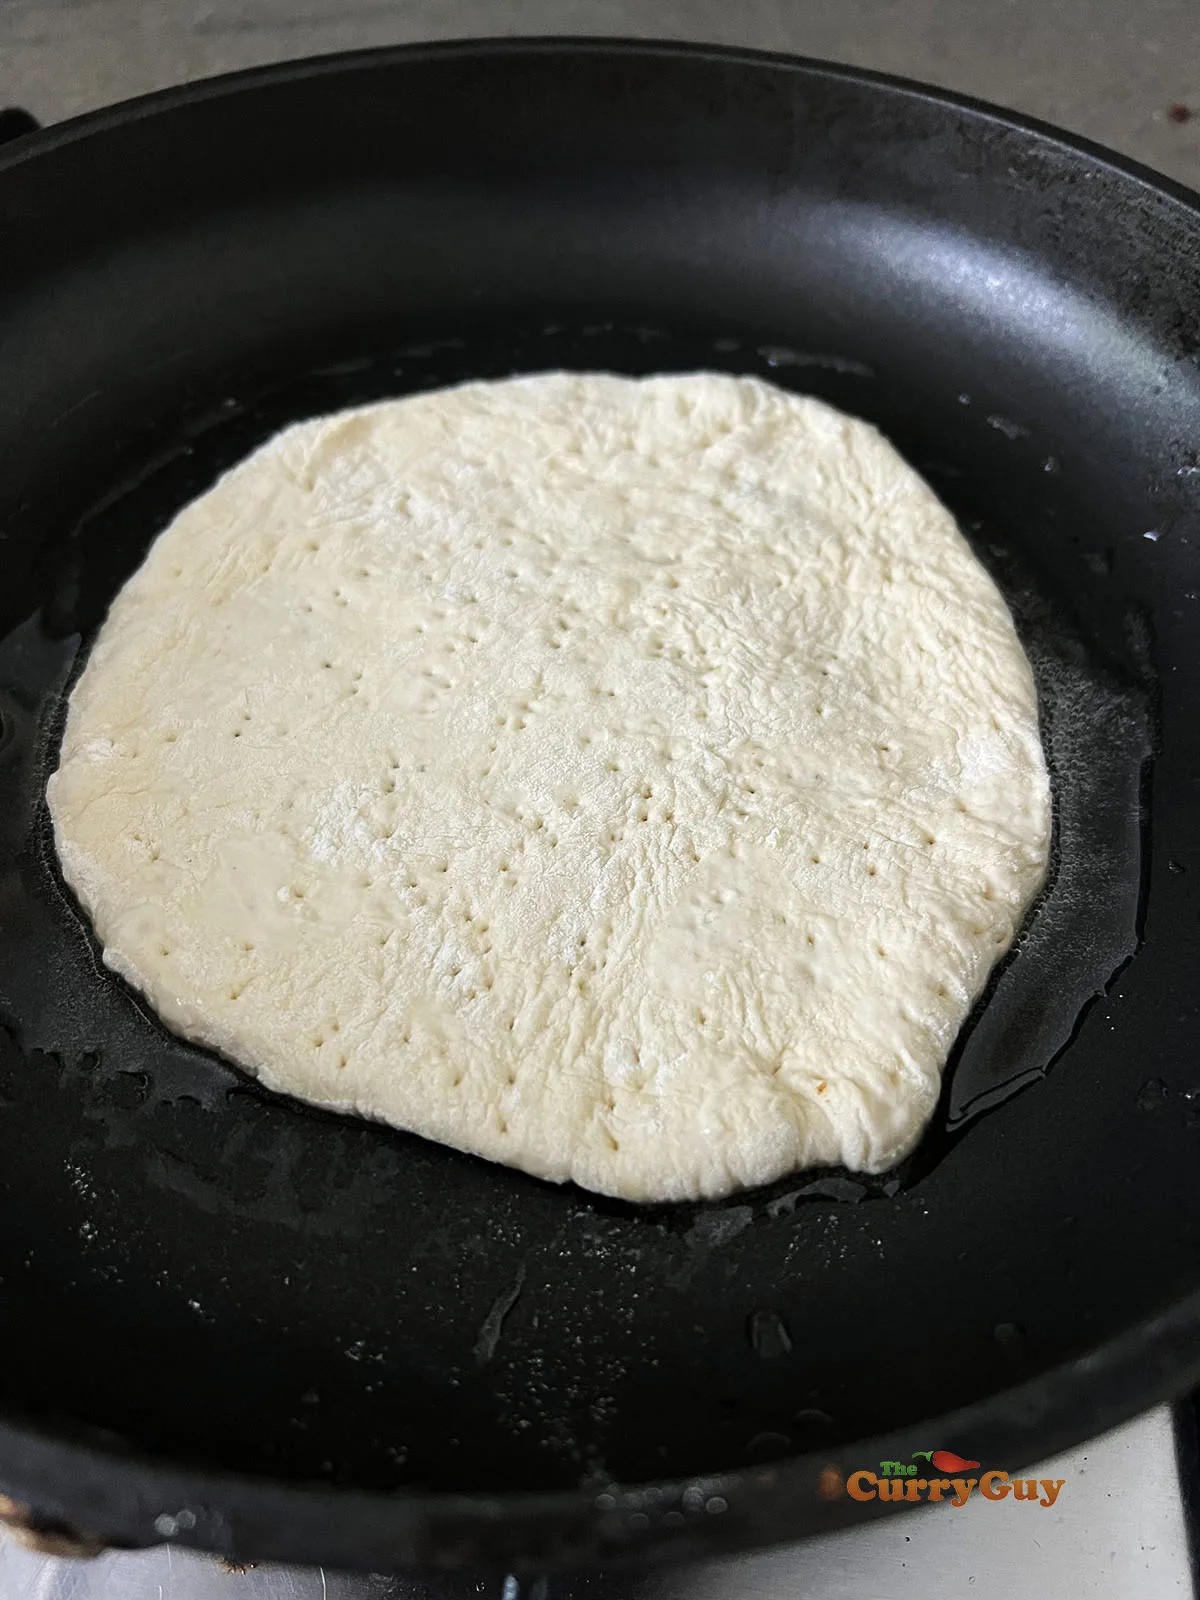
Heat a pan over medium-high heat and add about a tablespoon of oil to the surface. Place your pita in the pan.
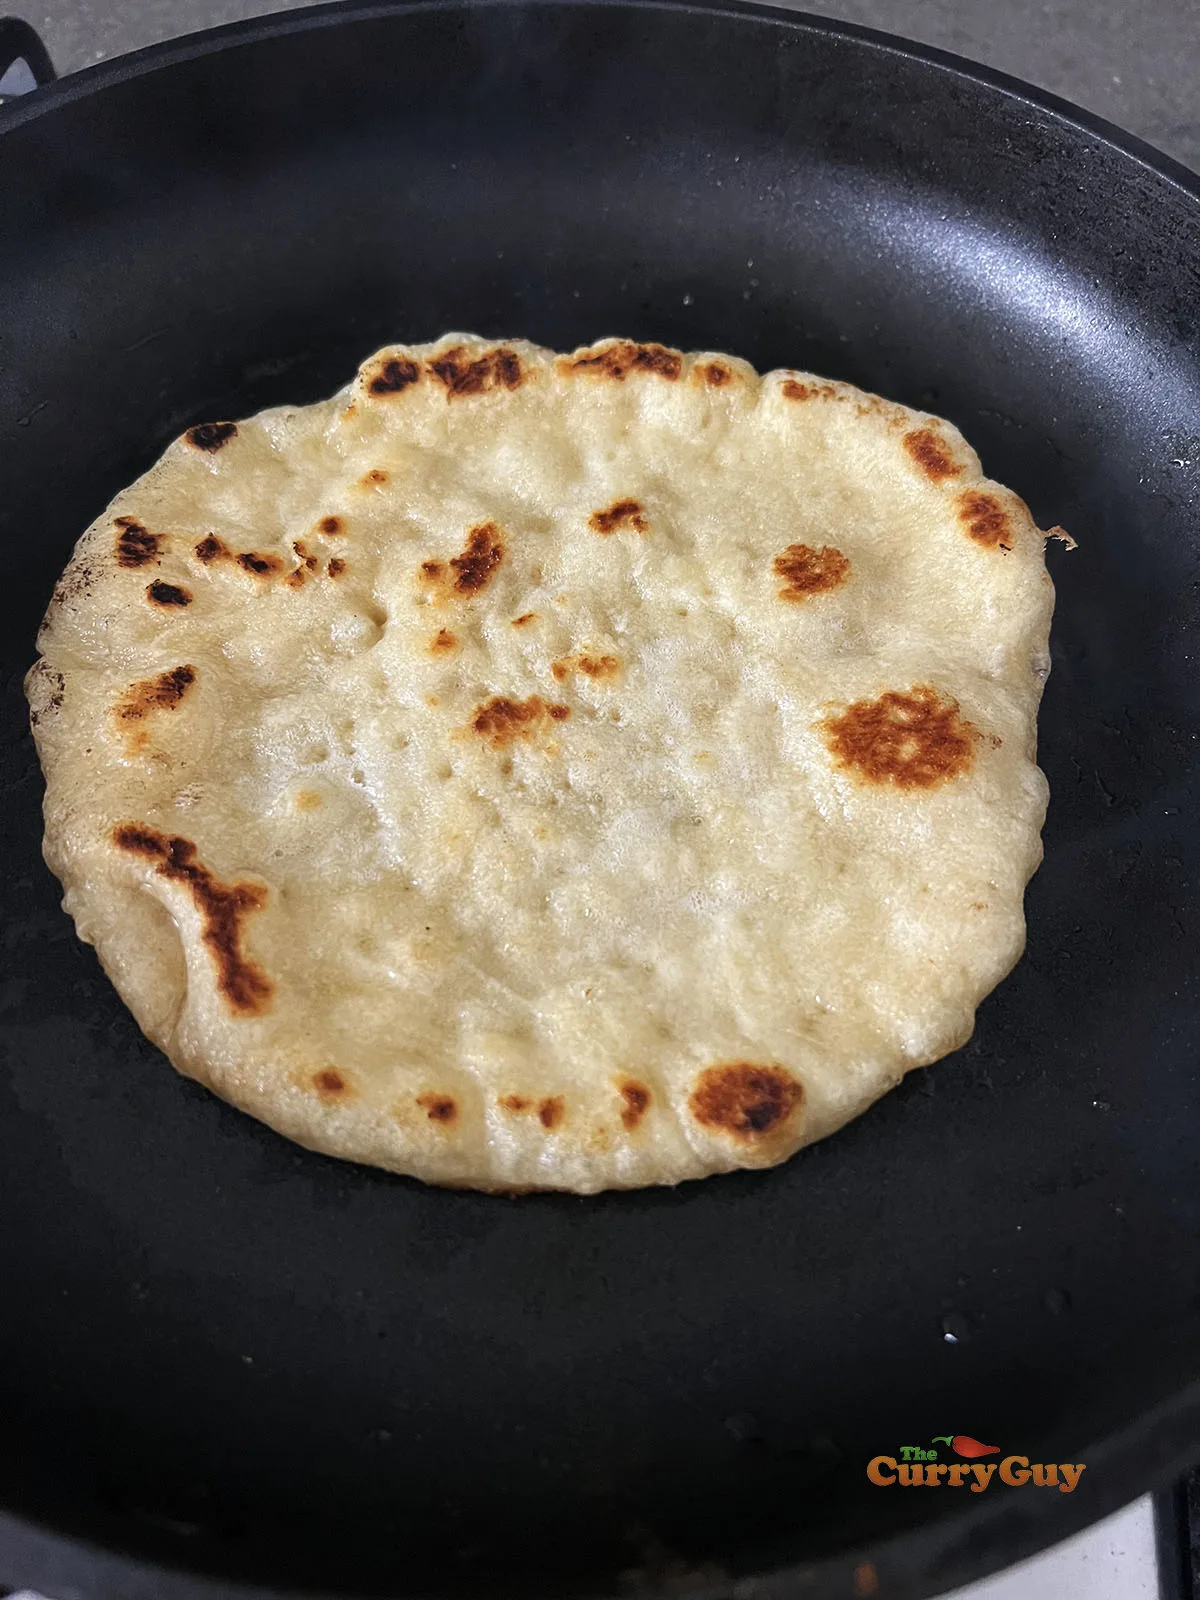
As the pita begins to turn a golden brown on the underside, flip it over to cook the top. Then turn it back over again and continue frying until crispy, fluffy and cooked through.
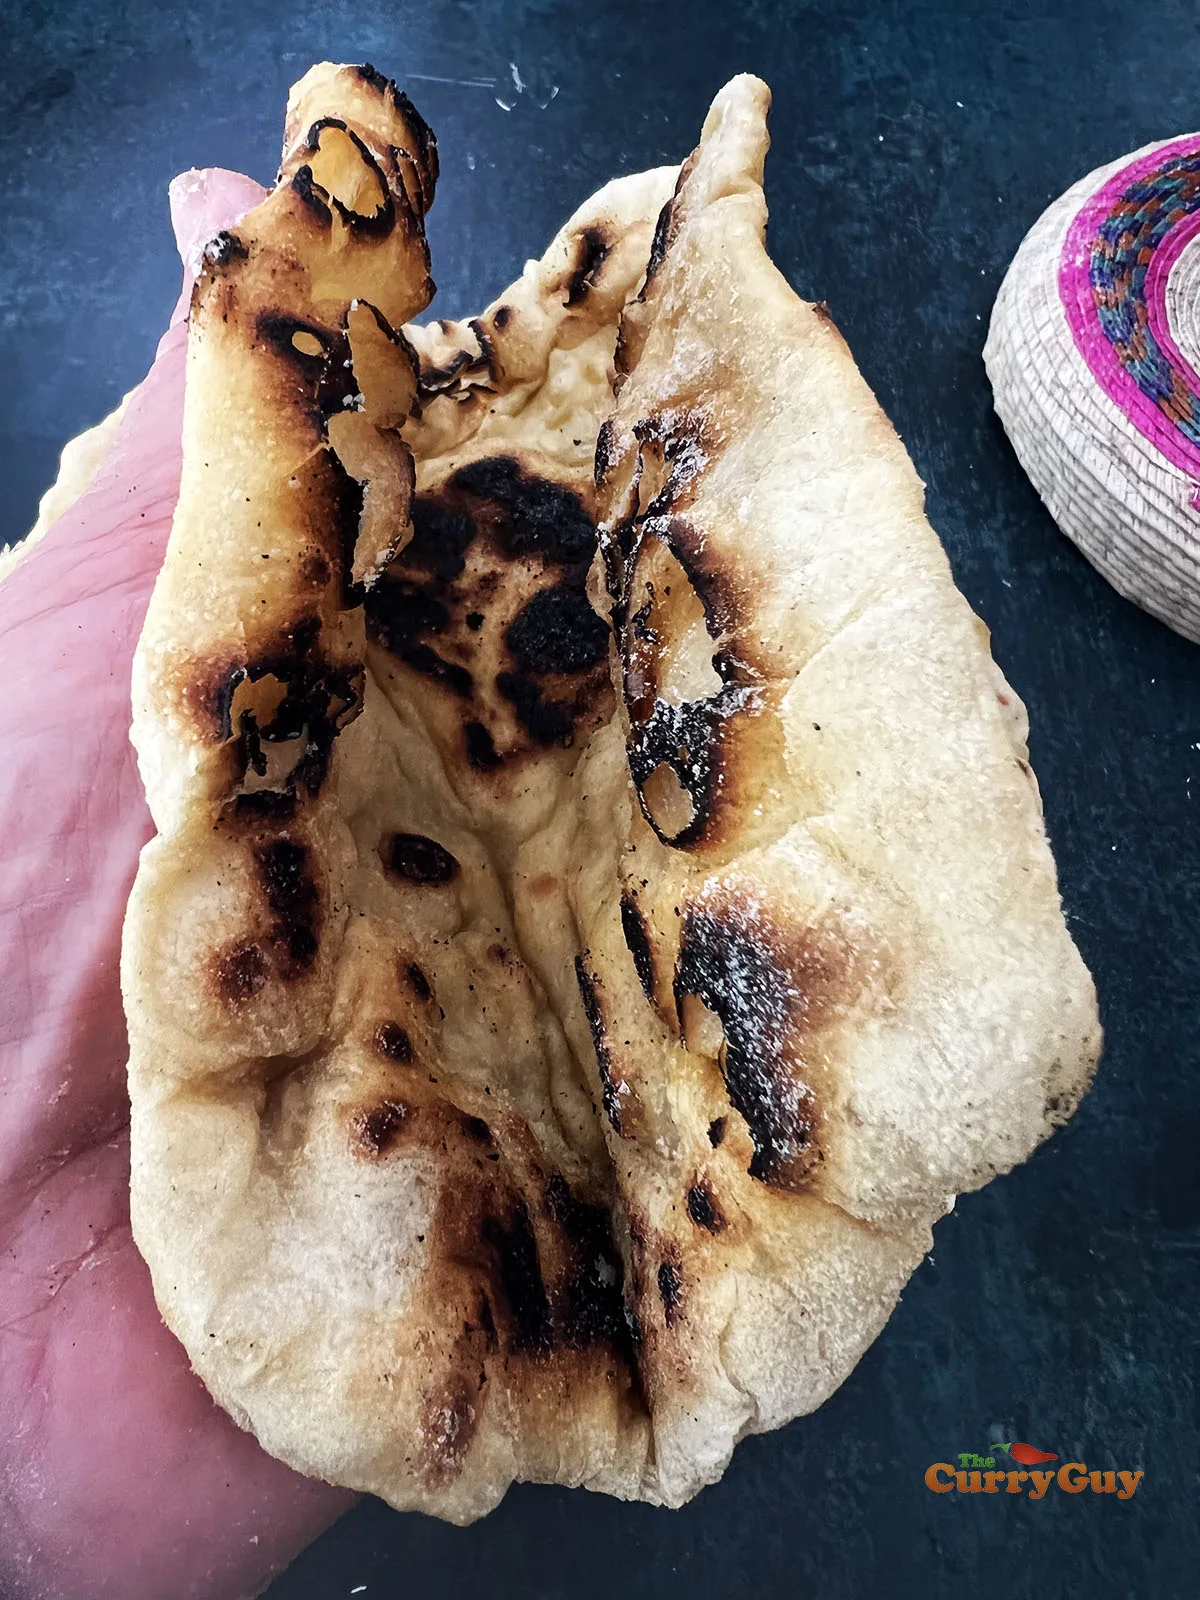
Stack your cooked pitas. This will help keep them warm to serve. The above pitas were cooked in a dry frying pan without the oil.
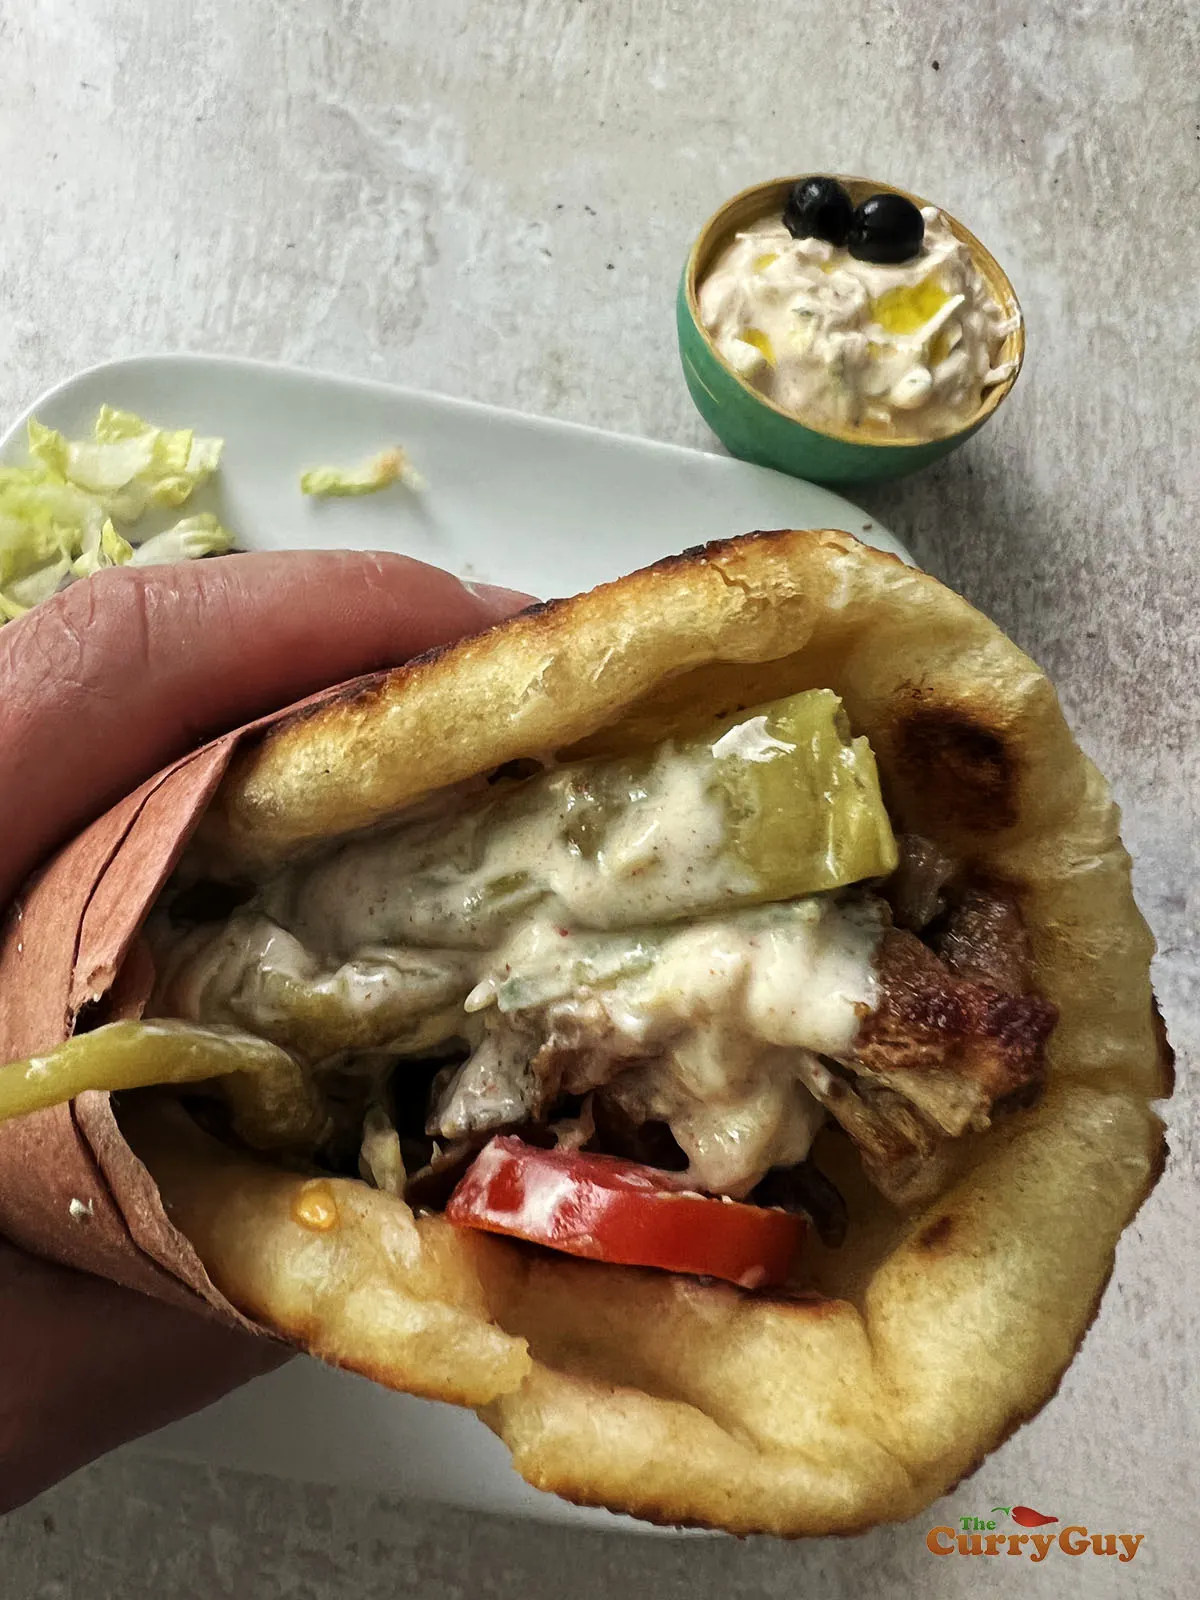
Use these wraps for Greek gyros or to wrap anything else you have. They are also delicious on their own. The above pita was fried in oil.
How To Make Homemade Pitas
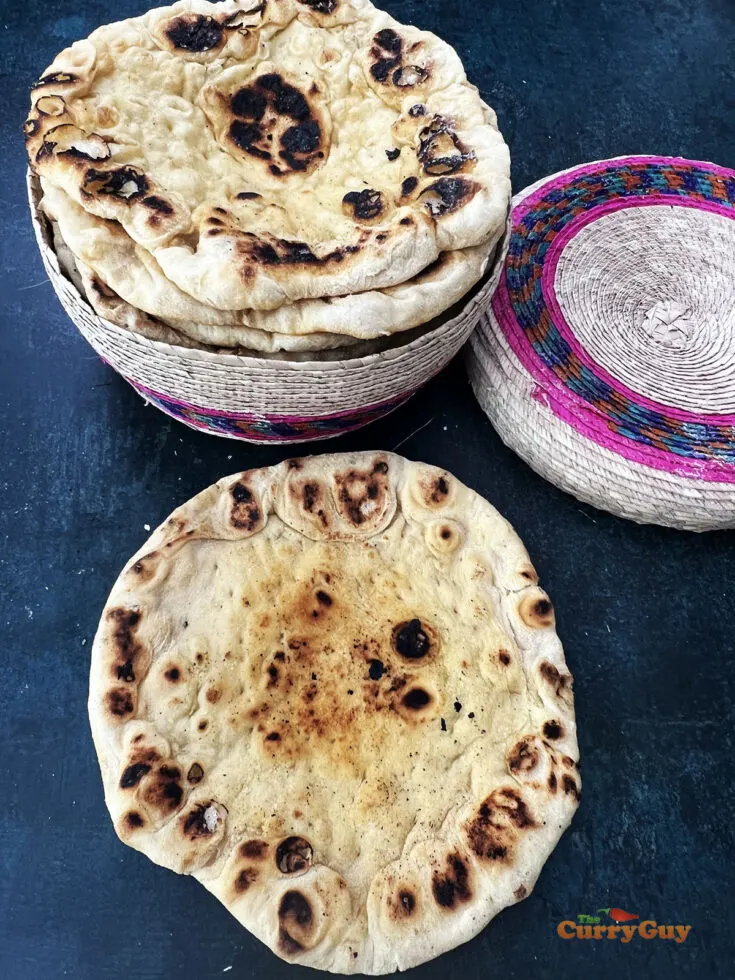
Ingredients
- 1kg (34oz) strong white bread flour
- 750ml (25 fl oz) hand hot water
- 4 tsp dry instant yeast
- 2 tsp sugar
- 2 tsp salt
- 2 tbsp olive oil
- Rapeseed (canola) oil
Instructions
- Pour 500ml (2 cups) warm water into a bowl and add the instant yeast and sugar. Whisk it all together, cover and set aside for about 20 minute or until bubbles are beginning to form as the yeast comes alive. Add the flour and salt and begin mixing it all together to combine. Then start adding the remaining water. Your dough will be quite sticky and wet which is what you’re going for.
- Form it as best you can into a large ball and top with two tablespoons of olive oil. Cover the bowl and set in a warm place until the dough has doubled in sized. Then punch it down and allow it to double in size again. For a stronger sour dough flavour, you can leave the dough to rise again overnight but that isn’t necessary if you don’t want the stronger flavour.
- When ready to cook your pitas, dust a clean surface with flour and grab a good pool ball sized ball of the dough. It will be sticky! Place it on the floured surface and start kneading it into the flour. Add more flour if needed until you have a very soft dough ball that is sticky but not sticking to your hands.
Roll this out into a round or oval shape that is about ½ inch thick or just a bit thinner than that. Using a fork, make small holes all over the surface. - Heat a frying pan over medium-high heat and add about a tablespoon of rapeseed (canola) oil. When sizzling hot, add your pita and brush it with a little olive oil if you like. Fry until the underside begins to turn a golden brown. Flip it over to lightly brown the top and then flip it over again. Repeat with the remaining dough.
As you cook each pita, stack them. This will help keep them soft and warm. I usually cover my cooked pitas too in order to keep the heat in.
Recommended Products
As an Amazon Associate and member of other affiliate programs, I earn from qualifying purchases.
Nutrition Information:
Yield:
12Serving Size:
1Amount Per Serving: Calories: 68Total Fat: 3gSaturated Fat: 0gTrans Fat: 0gUnsaturated Fat: 2gCholesterol: 0mgSodium: 389mgCarbohydrates: 10gFiber: 1gSugar: 1gProtein: 2g
I hope you enjoy these homemade pitas. If you do try the recipe, please leave a comment. I’m happy to answer recipe questions if you have any.


