This easy Tex-Mex style chili con carne recipe gets great results!
Chili con carne or chilli con carne as it's spelt in my current country, the UK is as delicious one pot bowl of deliciousness. This is a chili recipe like most people know it, prepared with ground meat and beans. You can use this same recipe to make a more authentic Texan chili too and all is explained below.

What is chili con carne?
Put simply, chili con carne is what you want it to be. I make it several different ways but this is probably the version that most people want to make.
Chili con carne means chili with meat. In Texas, where they really love their chili con carne it is exactly that. No beans are added and large chunks of meat are stewed in the chili sauce until tender and out of this world delicious.
Most people are more familiar with this version which is made with ground beef and beans.
Which beans to use in a chili?
The most common beans to use are kidney beans though pinto beans are also a popular choice which is what I personally prefer. Black beans are also used often.
Add your beans of choice or even a mix of them all. This chili can be made exactly as you want it.
Dried Beans vs. Tinned (canned) beans...
If you want to make things easy on yourself, just use canned (tinned) beans. That said, cooking dried beans will get better results. Not only are the beans themselves better but you also get to use the cooking liquid in your chili con carne.
This adds flavour so why not do that if you've got the time? Just follow the cooking instructions on the package.
Do I have to use beans?
Absolutely not. You can leave them out completely which is how chili con carne, the home of Tex-Mex chili is made. The sauce below is all Texan but you can choose what goes into it to your own preference.
How do I use cubed beef instead of ground beef?
That's easy. Simply brown the cubed beef and then simmer in the sauce until tender. When doing this, I usually use pieces of chuck, skirt and/or brisket. These cuts have excellent flavour but they do need to be cooked low and slow until they are super tender. When using ground beef as I've done here, I ask my butcher to grind the same, above mentioned meat. It's far better than anything you can purchase at the supermarket.
Adding tomato sauce
Tex-Mex chili does not include tomato sauce. It is what it is... chili and meat. The sauce is simply that with spices and herbs added.
I like a bit of tomato sauce in mine so I add it. You can decide which is best for you.
Working ahead
Chili con carne is like a good curry. If you make it a couple of days ahead of serving, it actually gets better as the flavours develop.
This is good news for those who don't want to be slaving over a pot when they have guests around.
You can literally make this one or two days ahead of serving and then just heat it up. All of the garnishes can be prepared one or two days ahead of serving too.
Can chili con carne be frozen?
Yes. This chili will freeze very well. In fact, it freezes so well that I usually make twice as much as I need.
Doing this, I get all the cooking done in one pan and have plenty left over for future dinners. All you need to do is defrost and heat it up in a pan.
A word about this dried chilies...
In this simple recipe, I used dried ancho a guajillo chilies. Sometimes I use other varieties with these too. You can find both online and at specialty grocers. I've also seen them lately at supermarkets.
You could just use chili powder to taste. That will work but you won't get the same depth of flavour as toasting, soaking and blending dried chilies.
How to make this chili con carne.
The following photographed steps are also explained in the recipe card below.
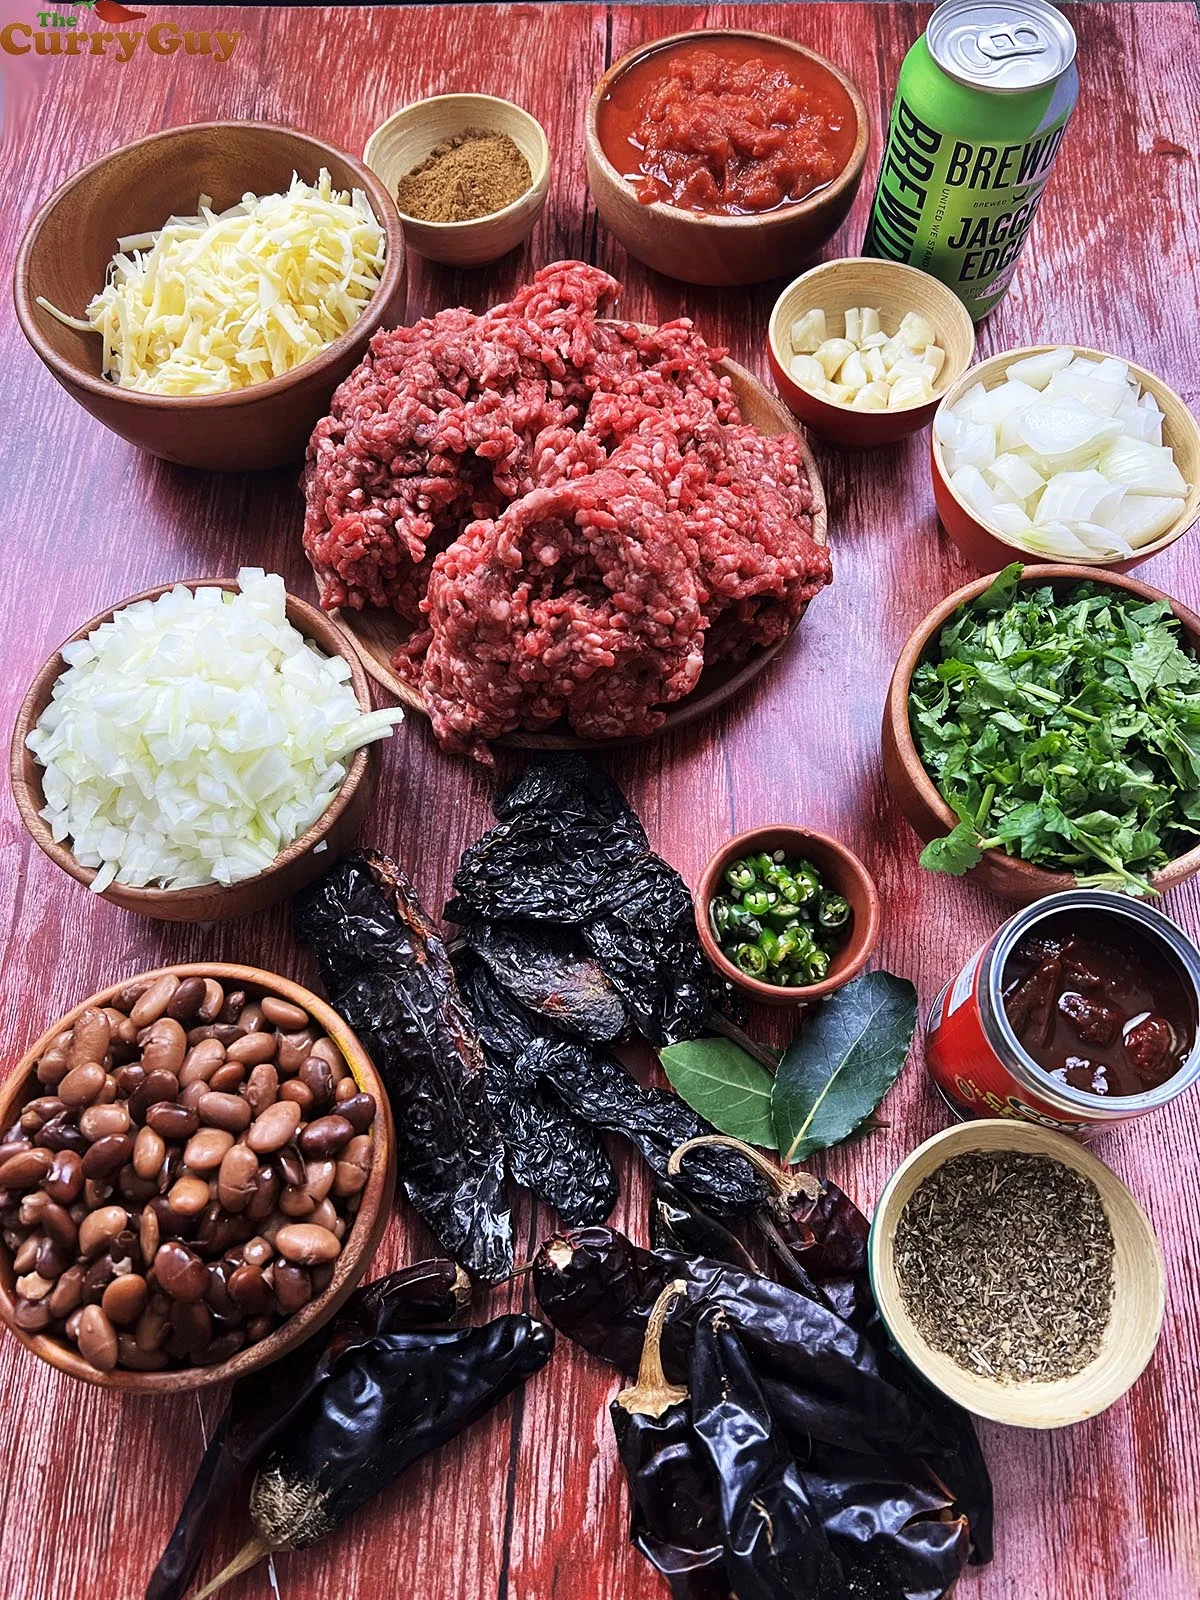
Get all of your ingredients together before your start cooking. It's a lot easier that way.
Step 1.
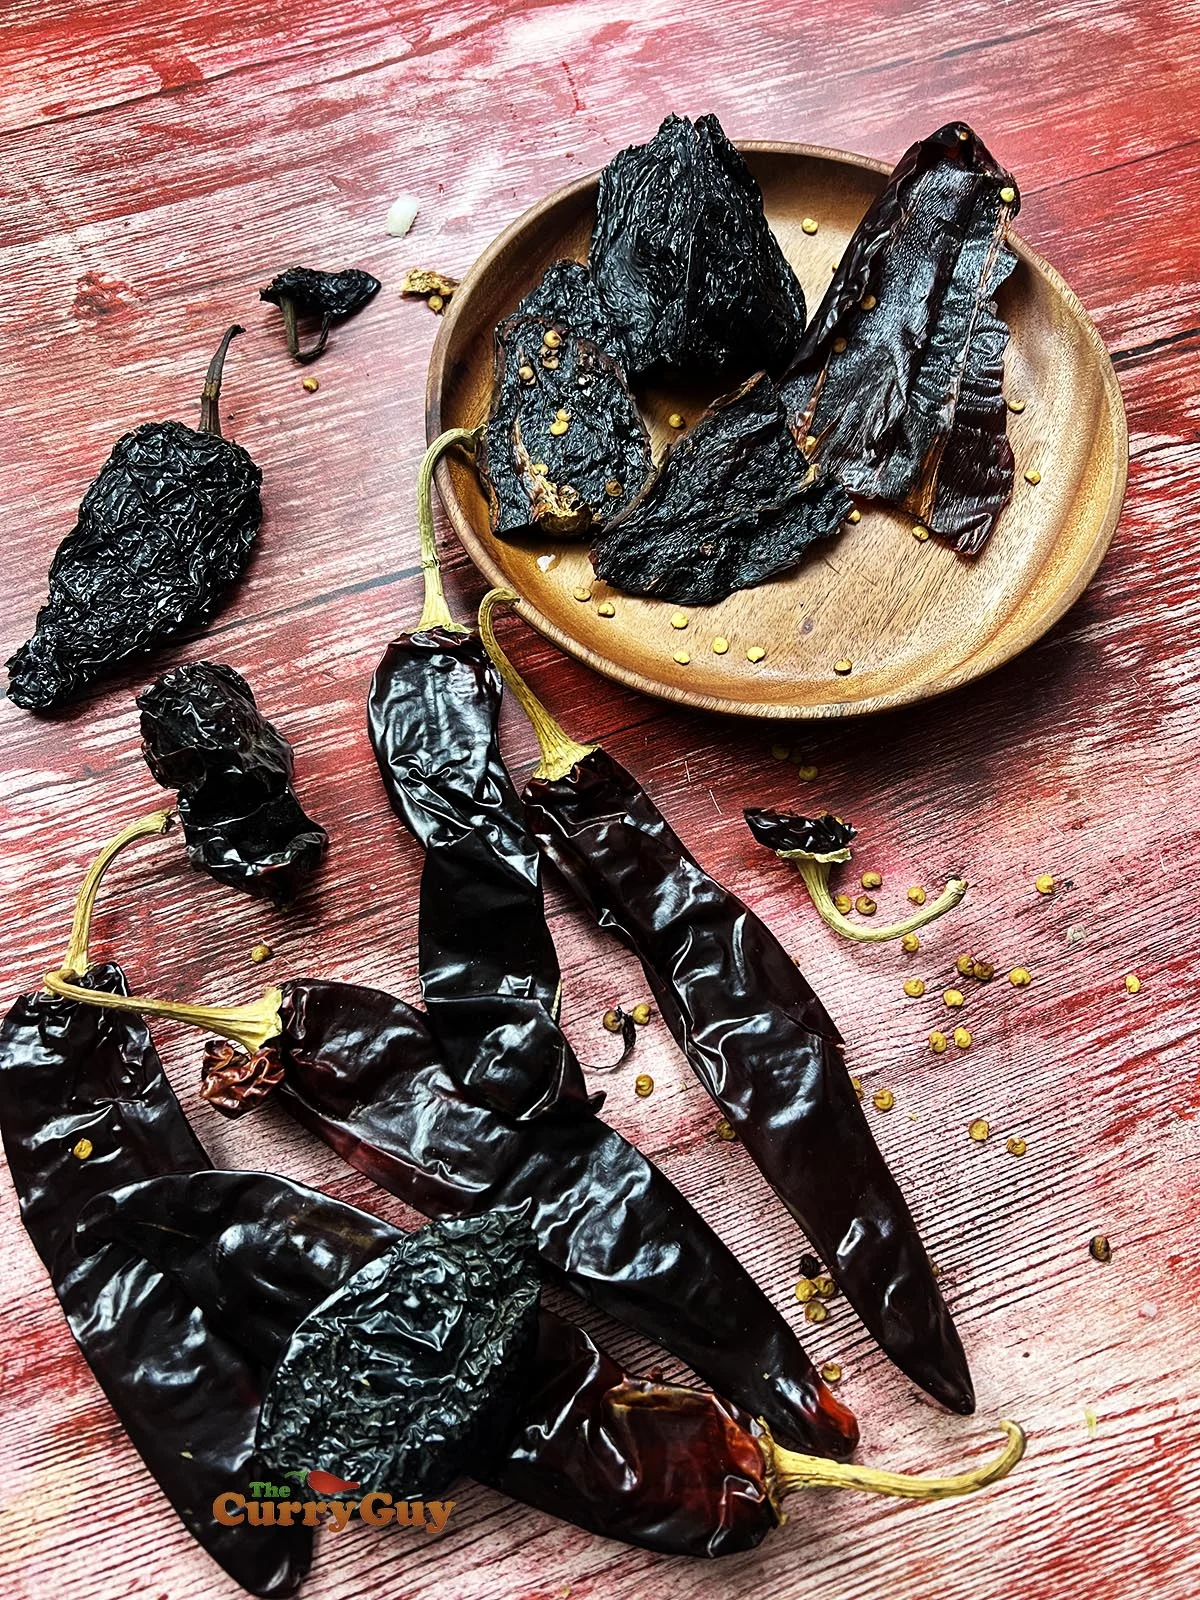
Prepare the chillies by pulling off the stems and then tearing them open. Remove the membrane and seeds. No need at this point to get rid of all the seeds as the rest will fall out in the pan or when being soaked.
Step 2.
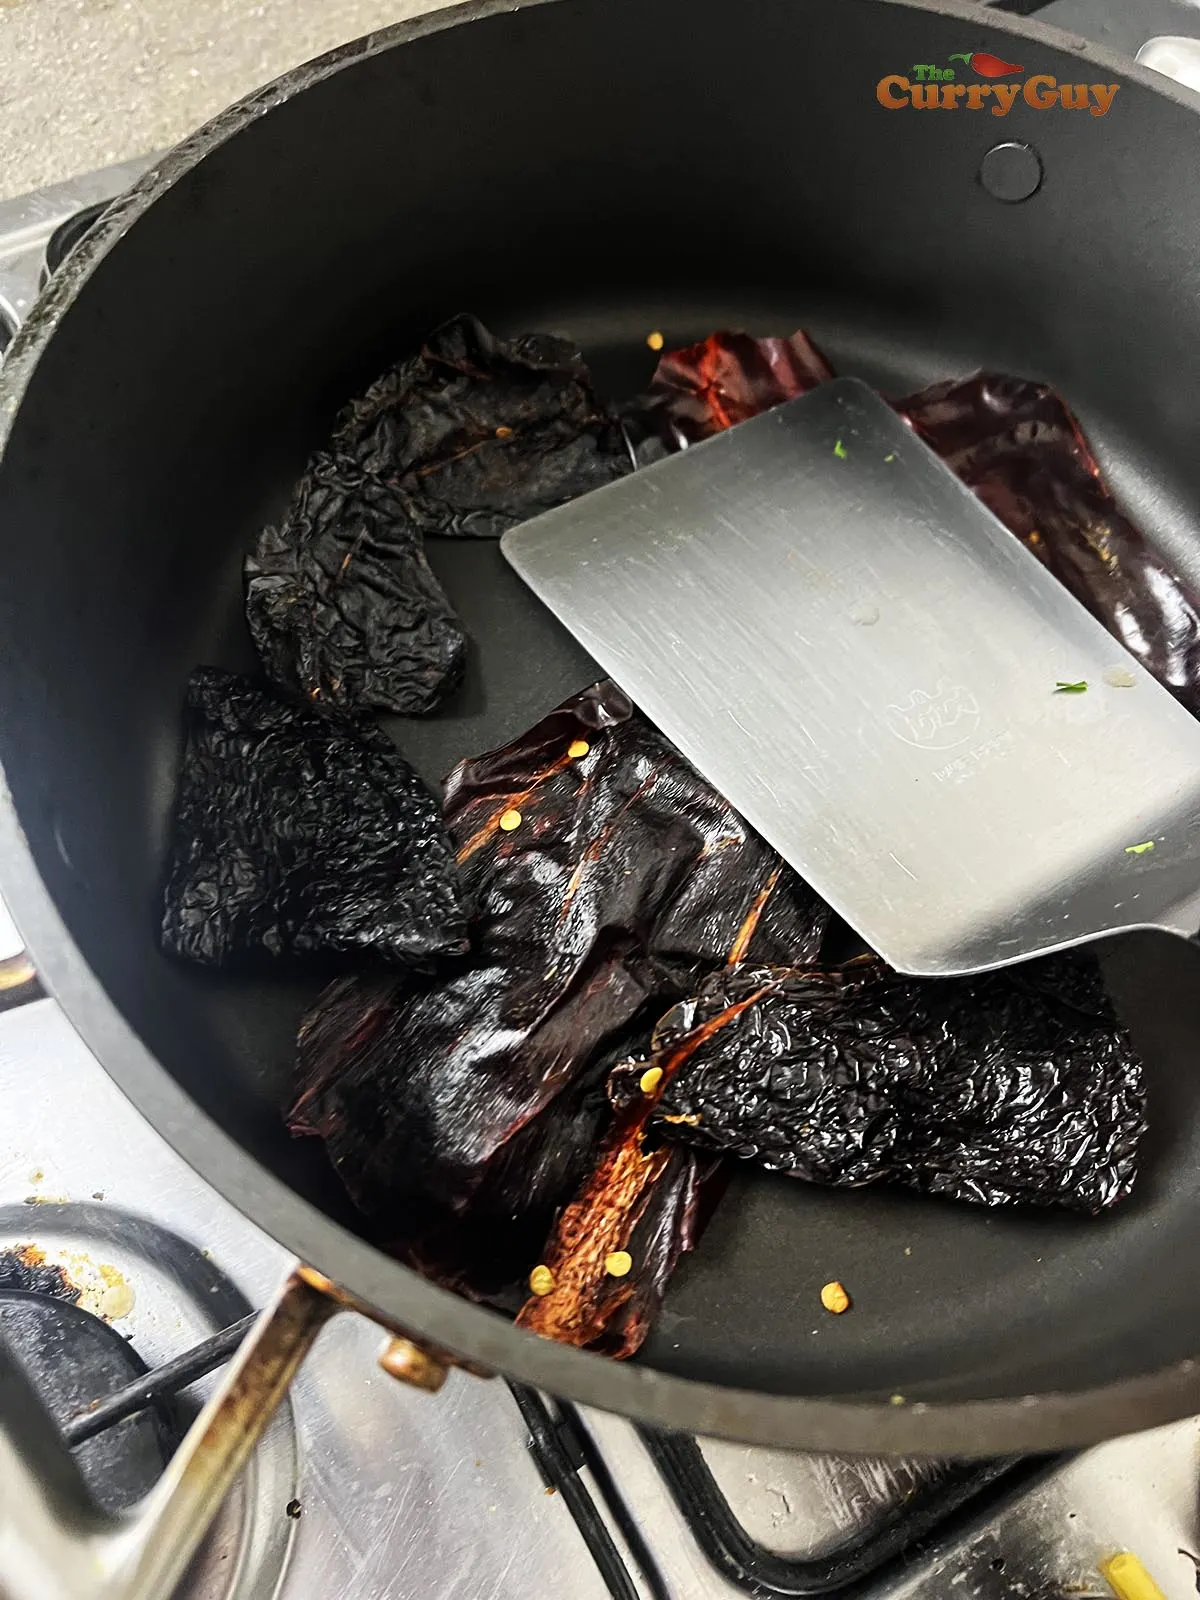
Toast the chilies over a medium heat for about a minute per side. You want to toast them not burn them so be careful. When they turn fragrant and have softened some, take them out of the pan.
Step 3.
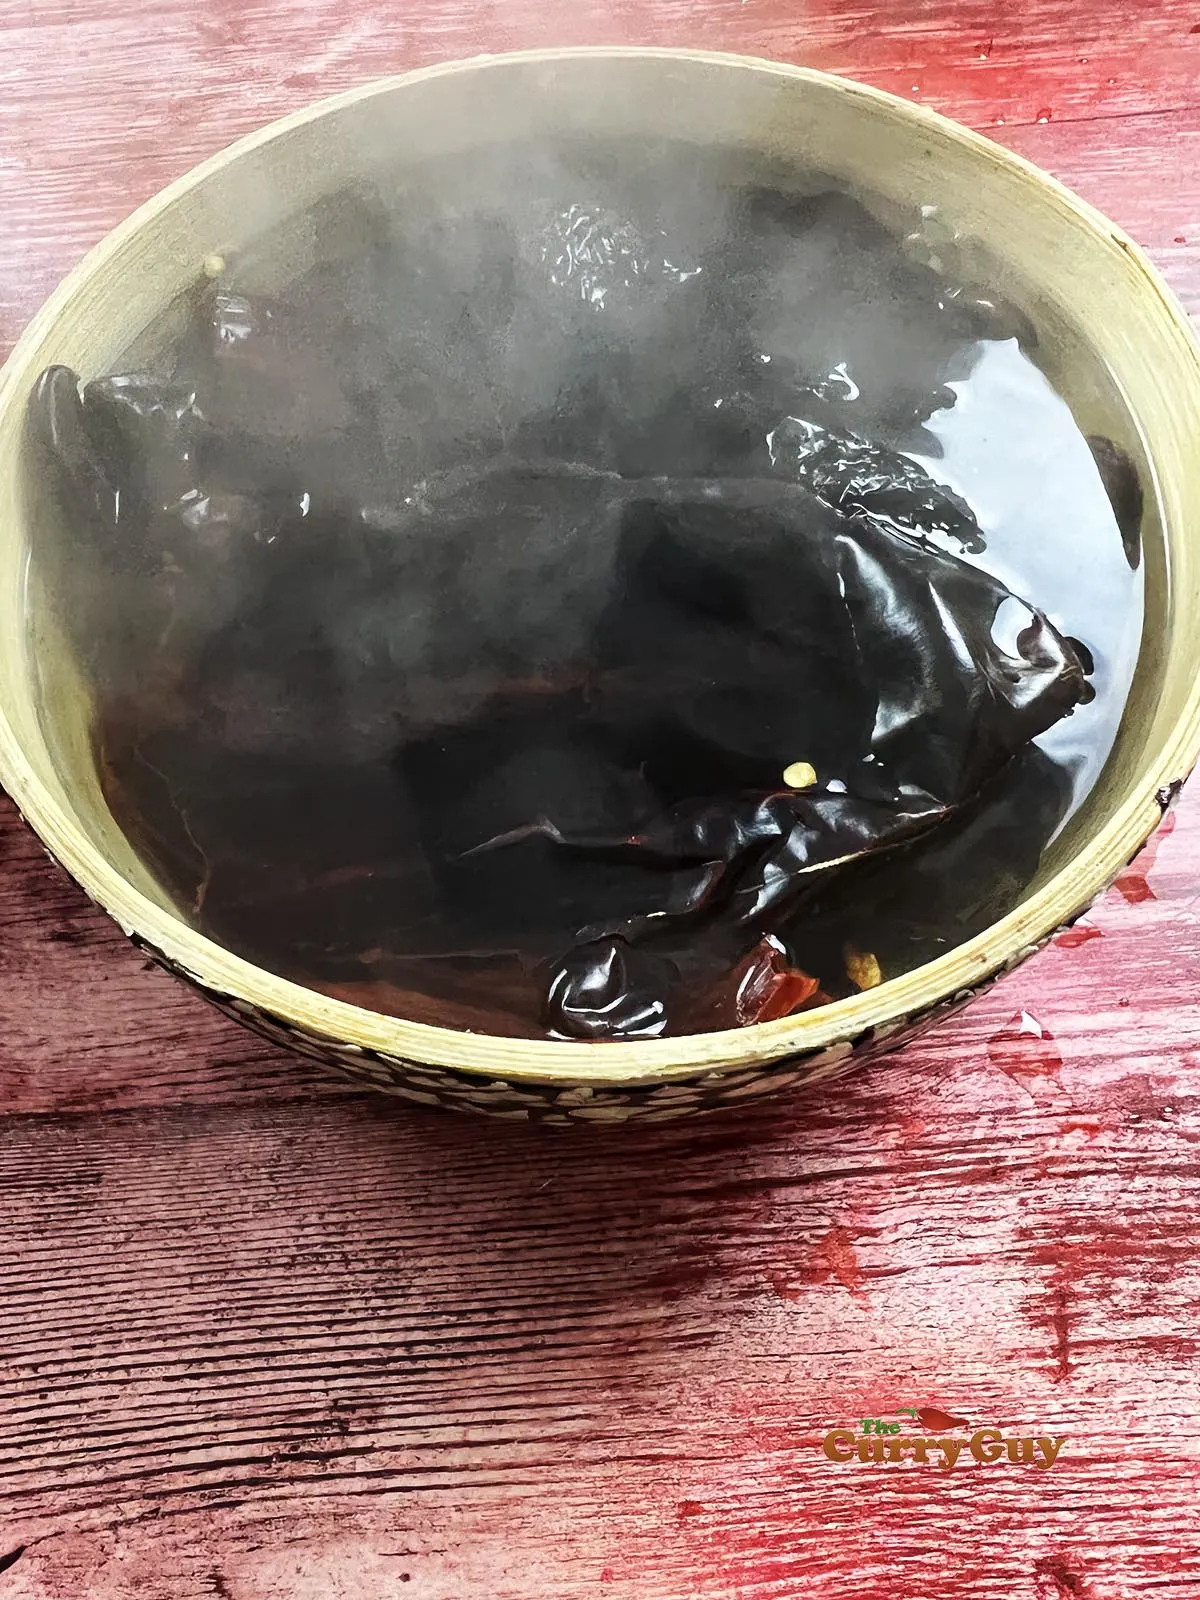
Transfer the soaked chilies to a bowl and cover with boiling water. Allow to soak for about 30 minutes to soften and rehydrate.
Step 4.
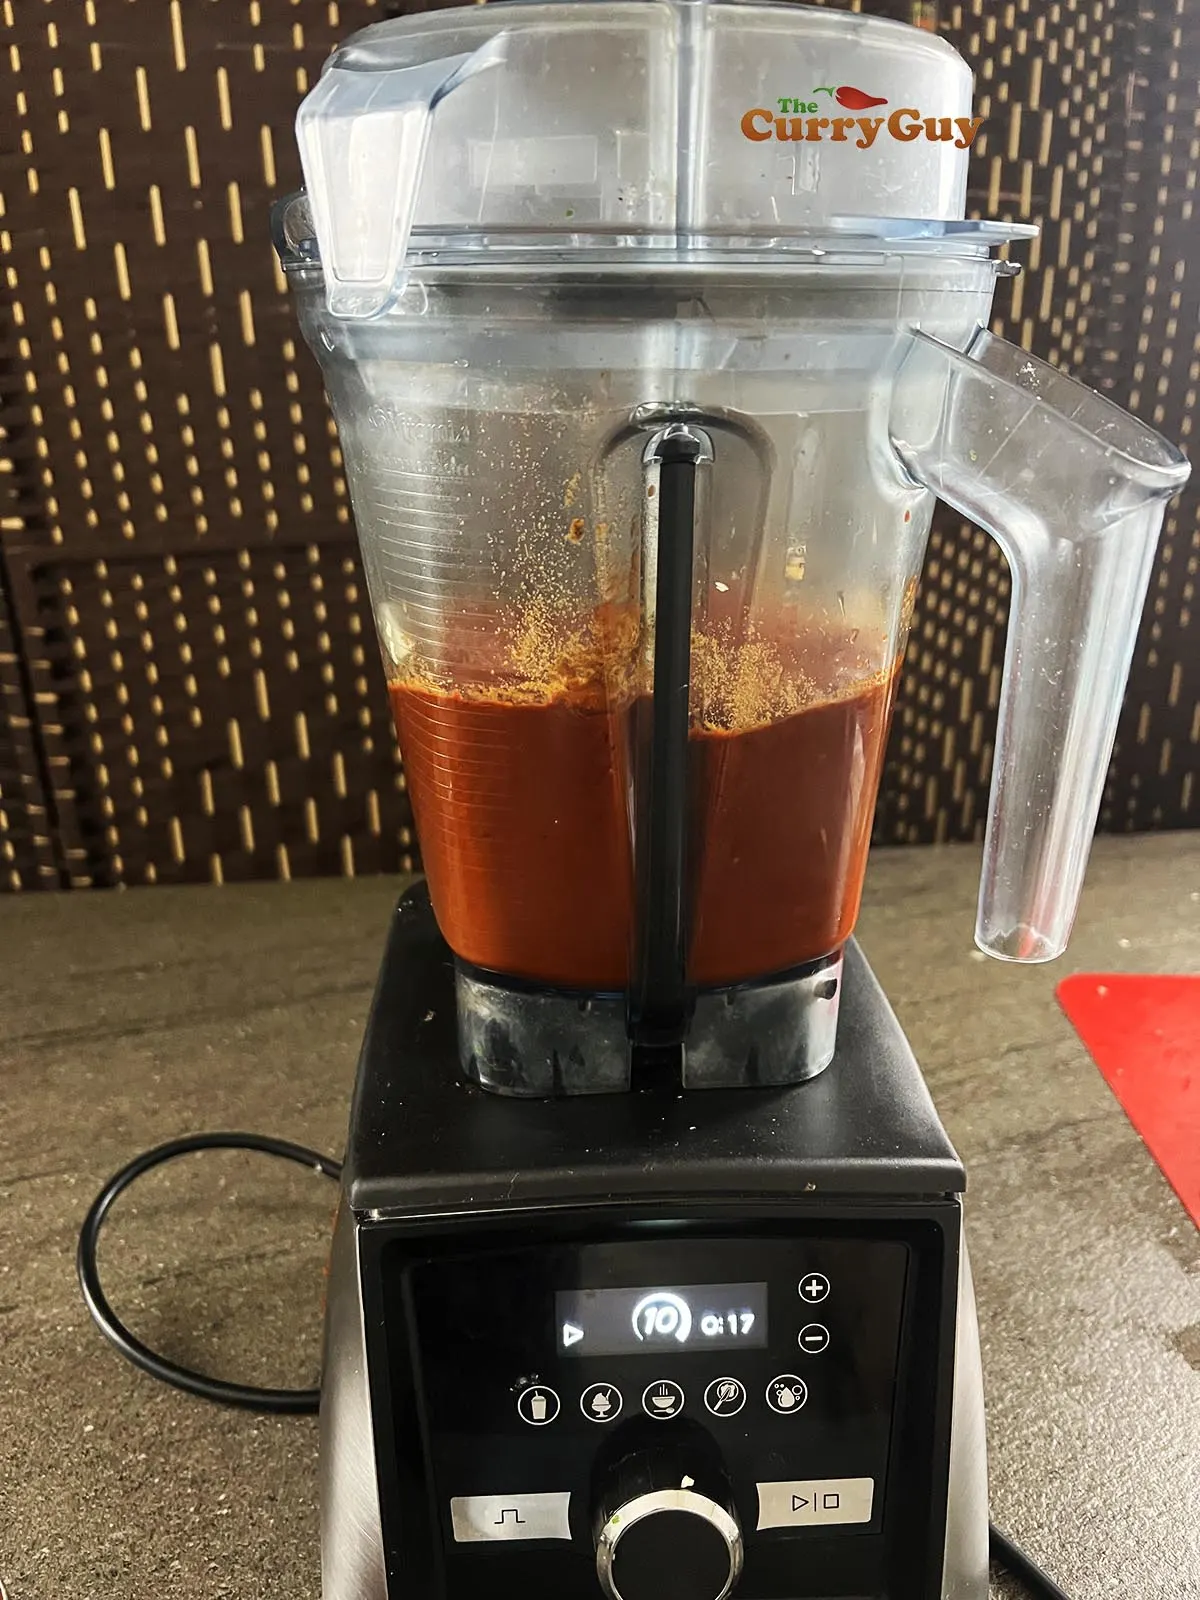
Blend the rehydrated chilies with the remaining sauce ingredients (see the recipe card below for full list). Set aside.
Step 5.
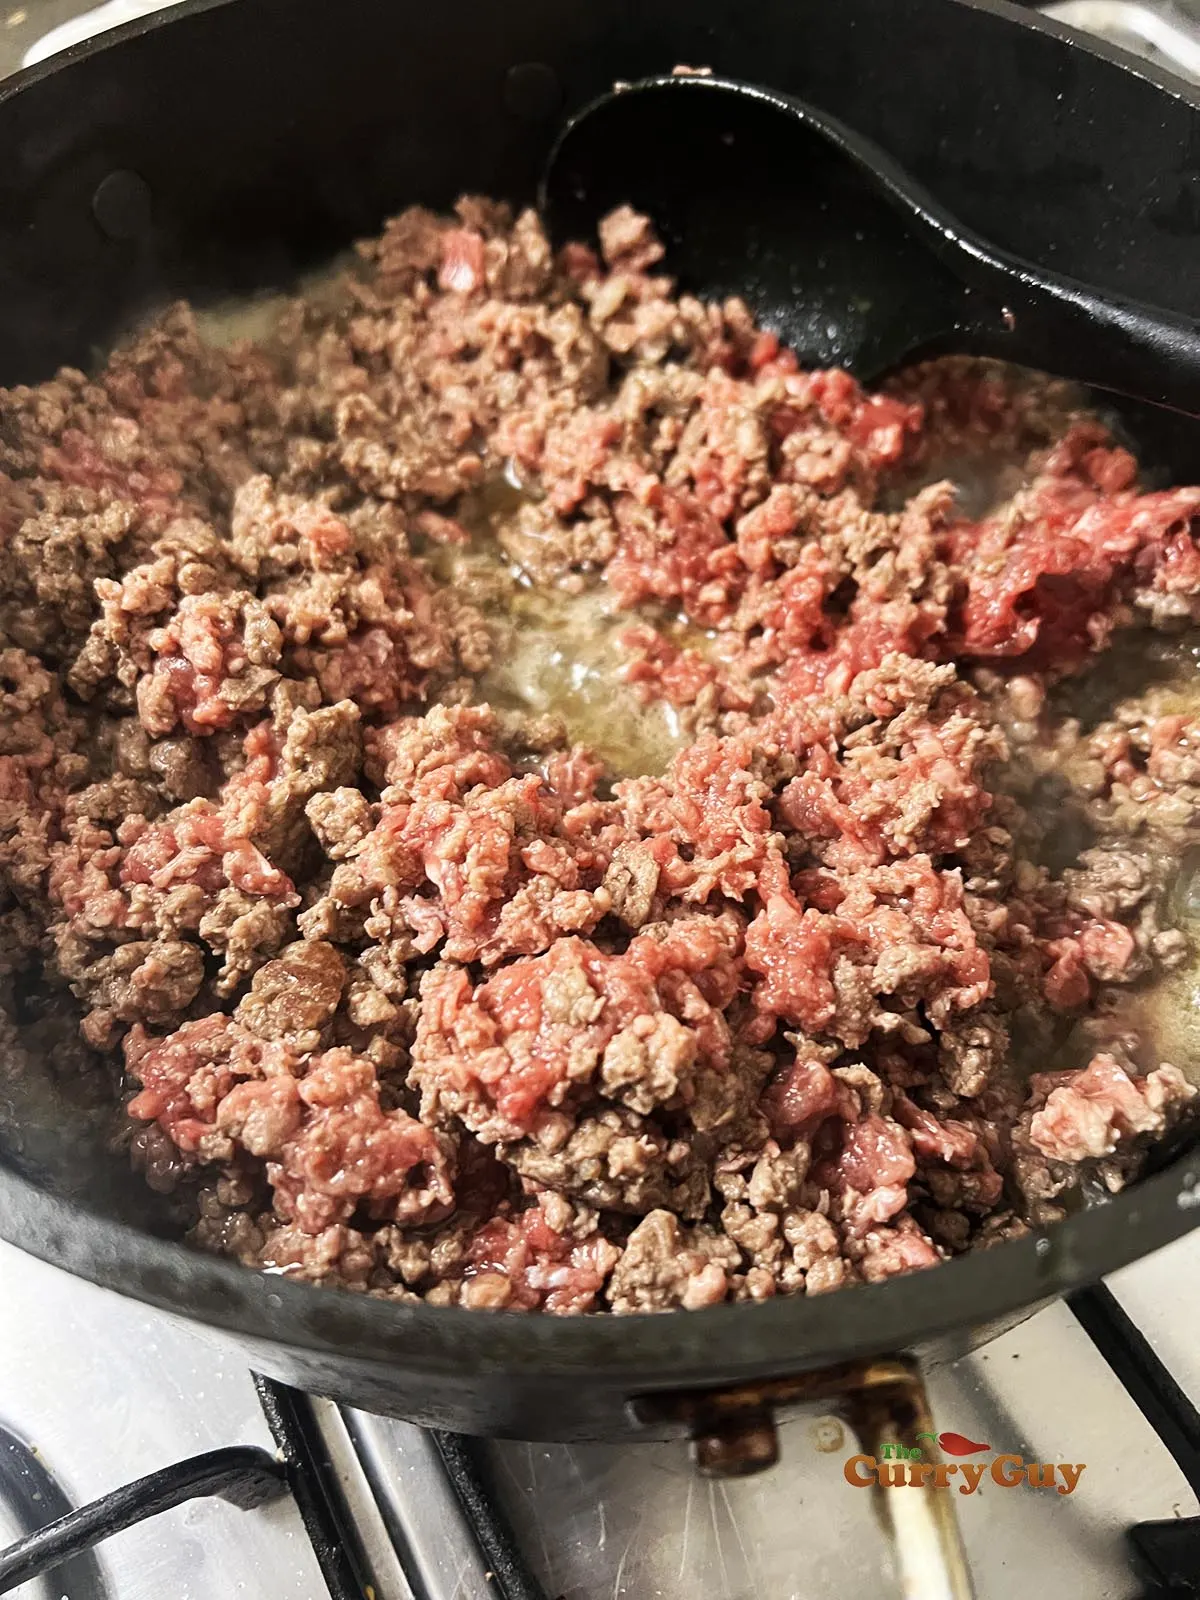
Brown the meat in a little oil. Be sure to use a spatular or spoon to break it apart some so that there are no large lumps.
Step 6.
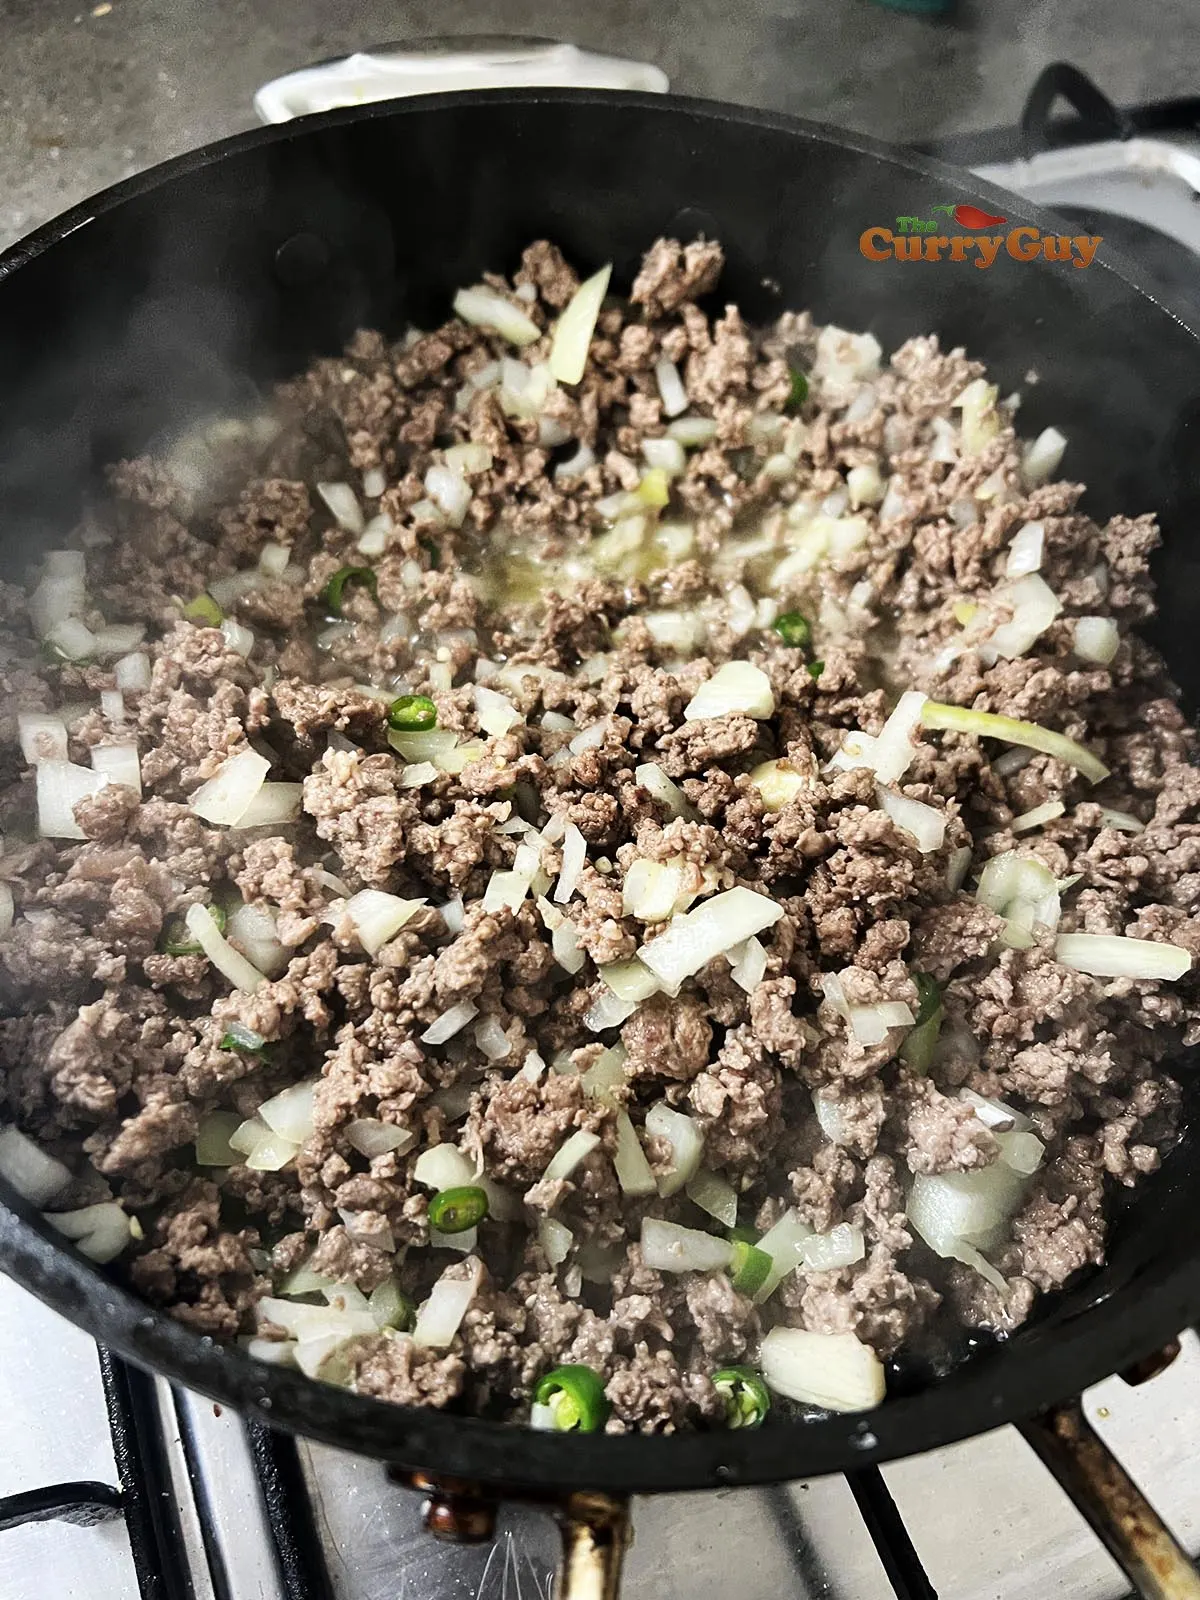
Stir in the onion and fresh chillies and continue cooking to soften the onion for a few minutes.
Step 7.
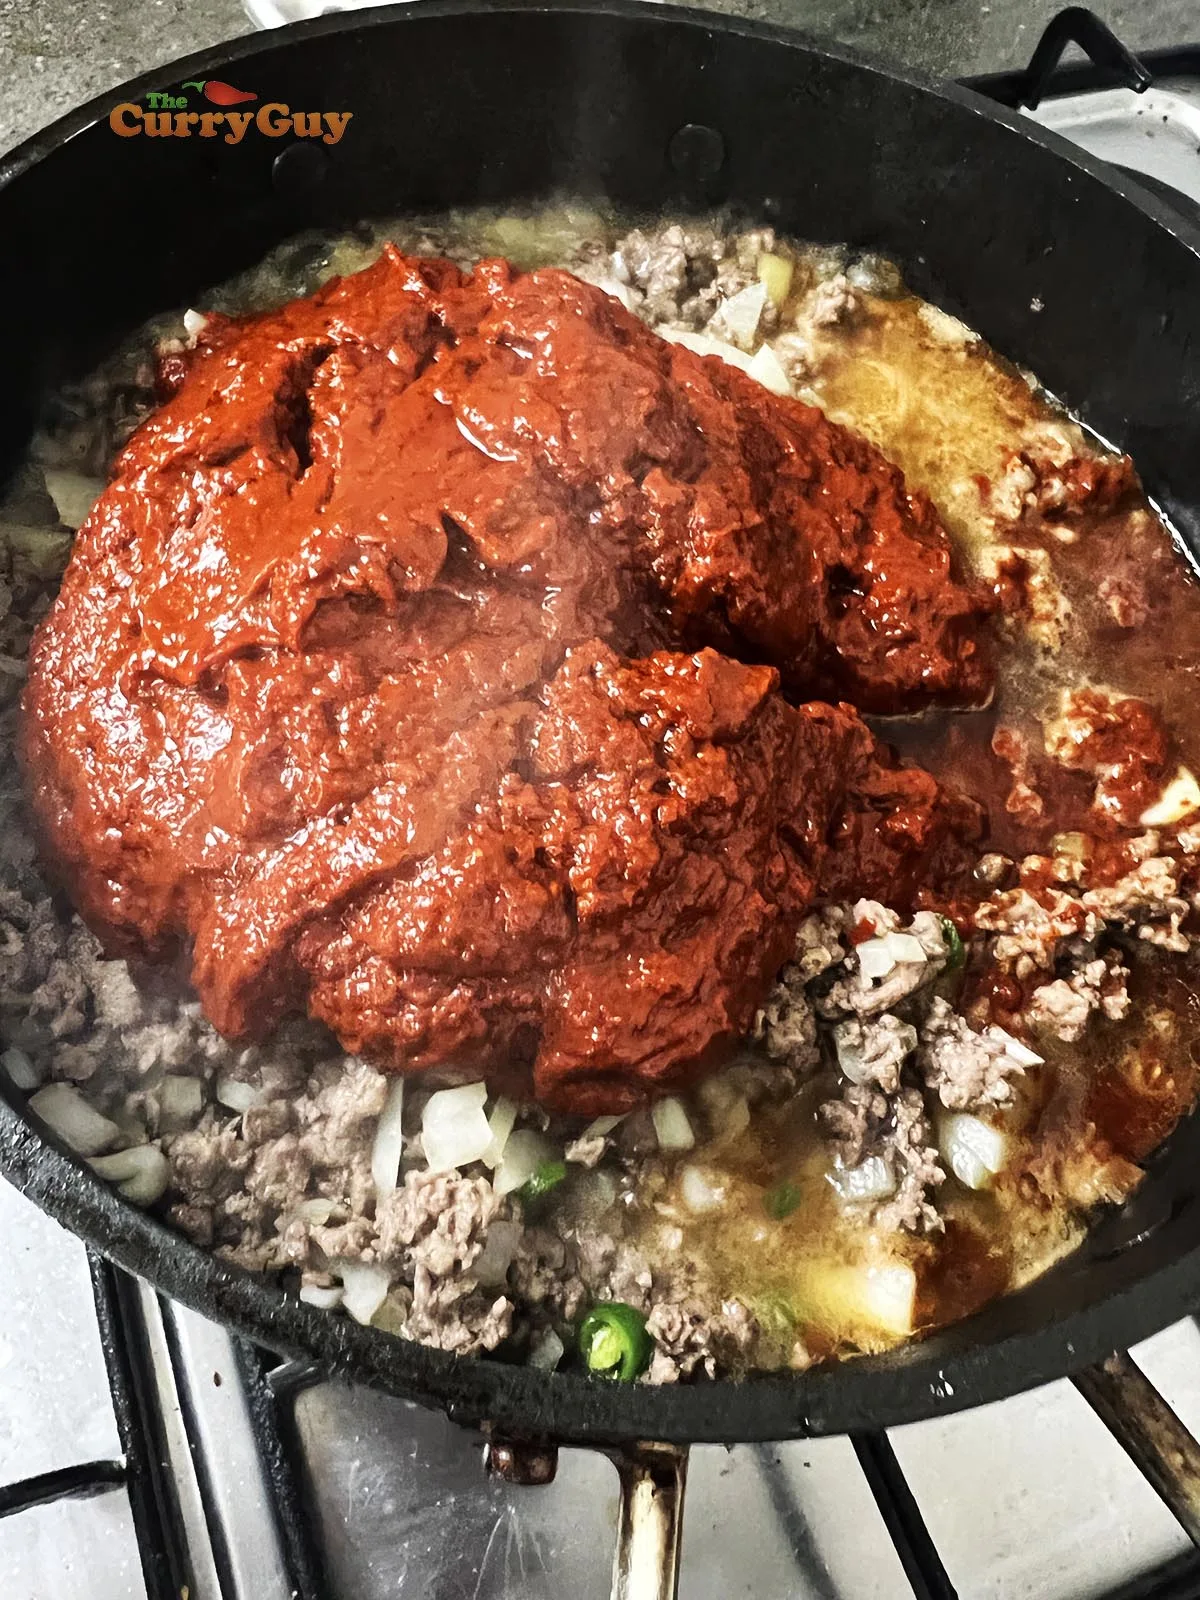
Pour the blended chili paste into the pan and stir well to combine.
Step 8.
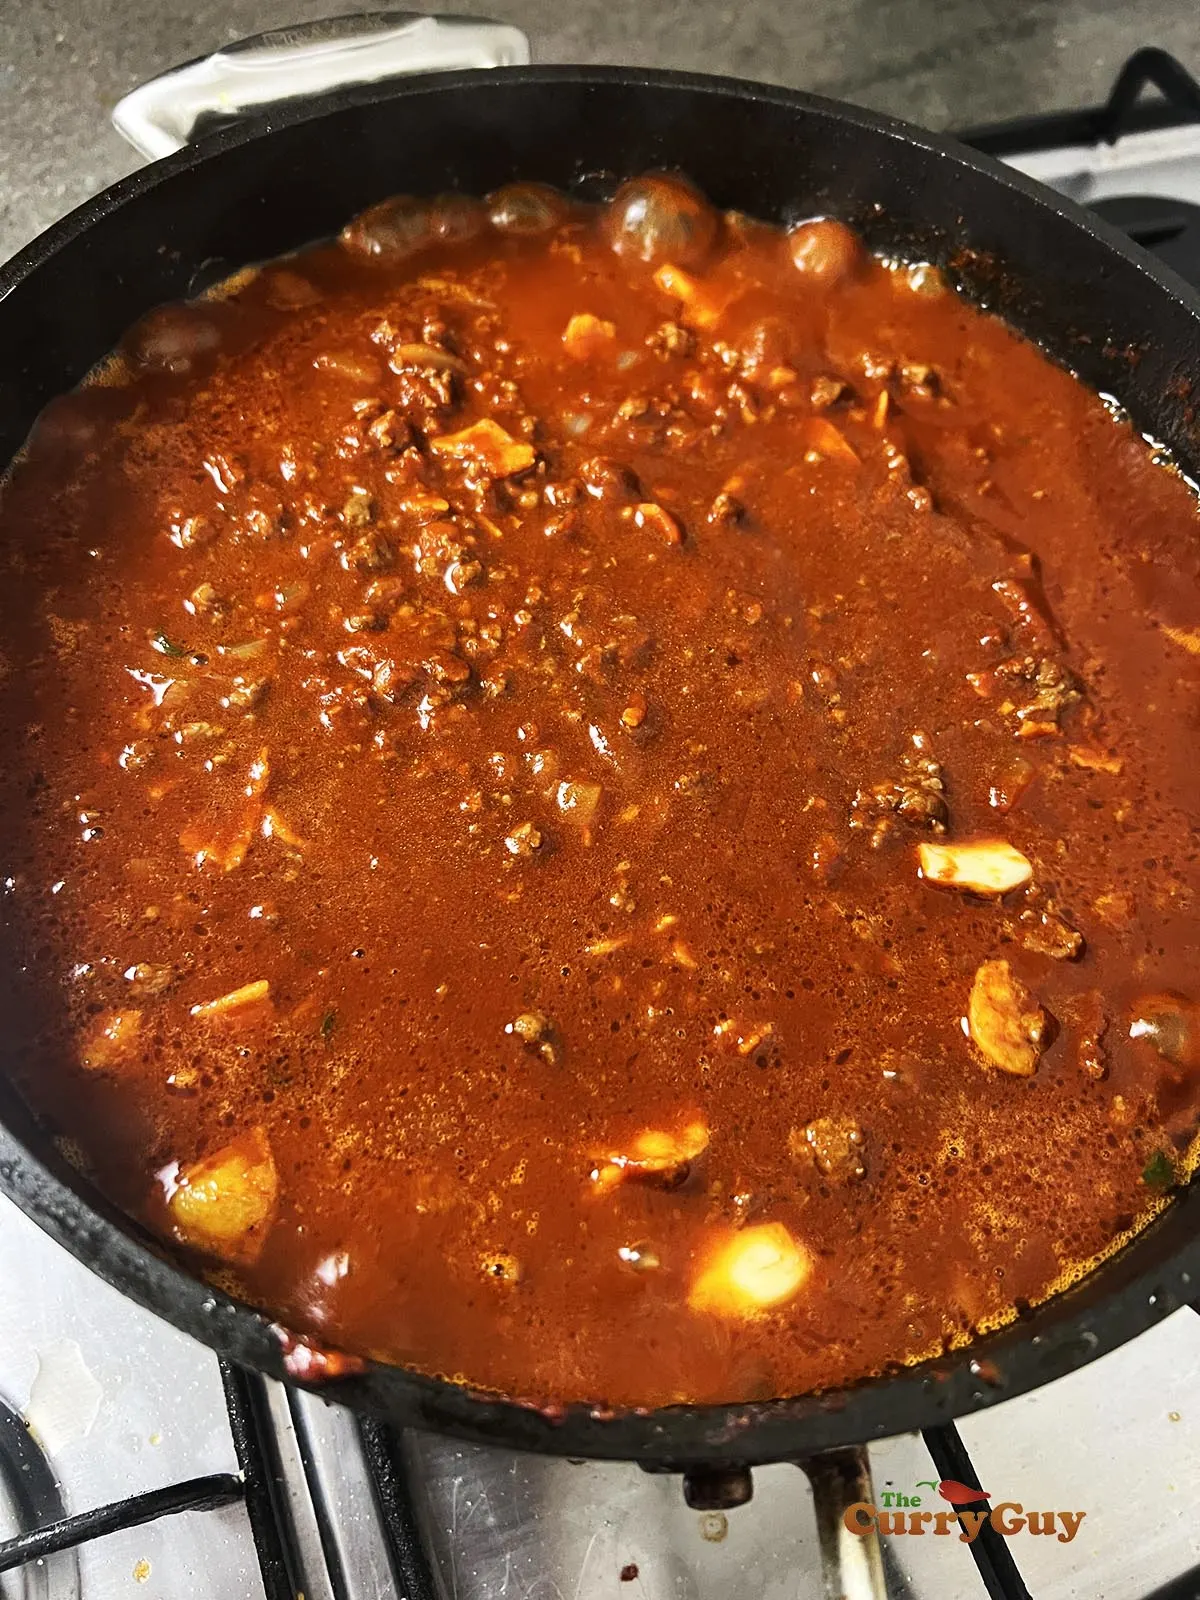
Stir in some beef stock, water, soaking liquid from cooking the beans or chili water from soaking the chilies. All or one of these can be added to the sauce.
I tend to add a little of each. You just need to add enough so that you can simmer the chili con carne for a while which will benefit the flavour.
Step 9.
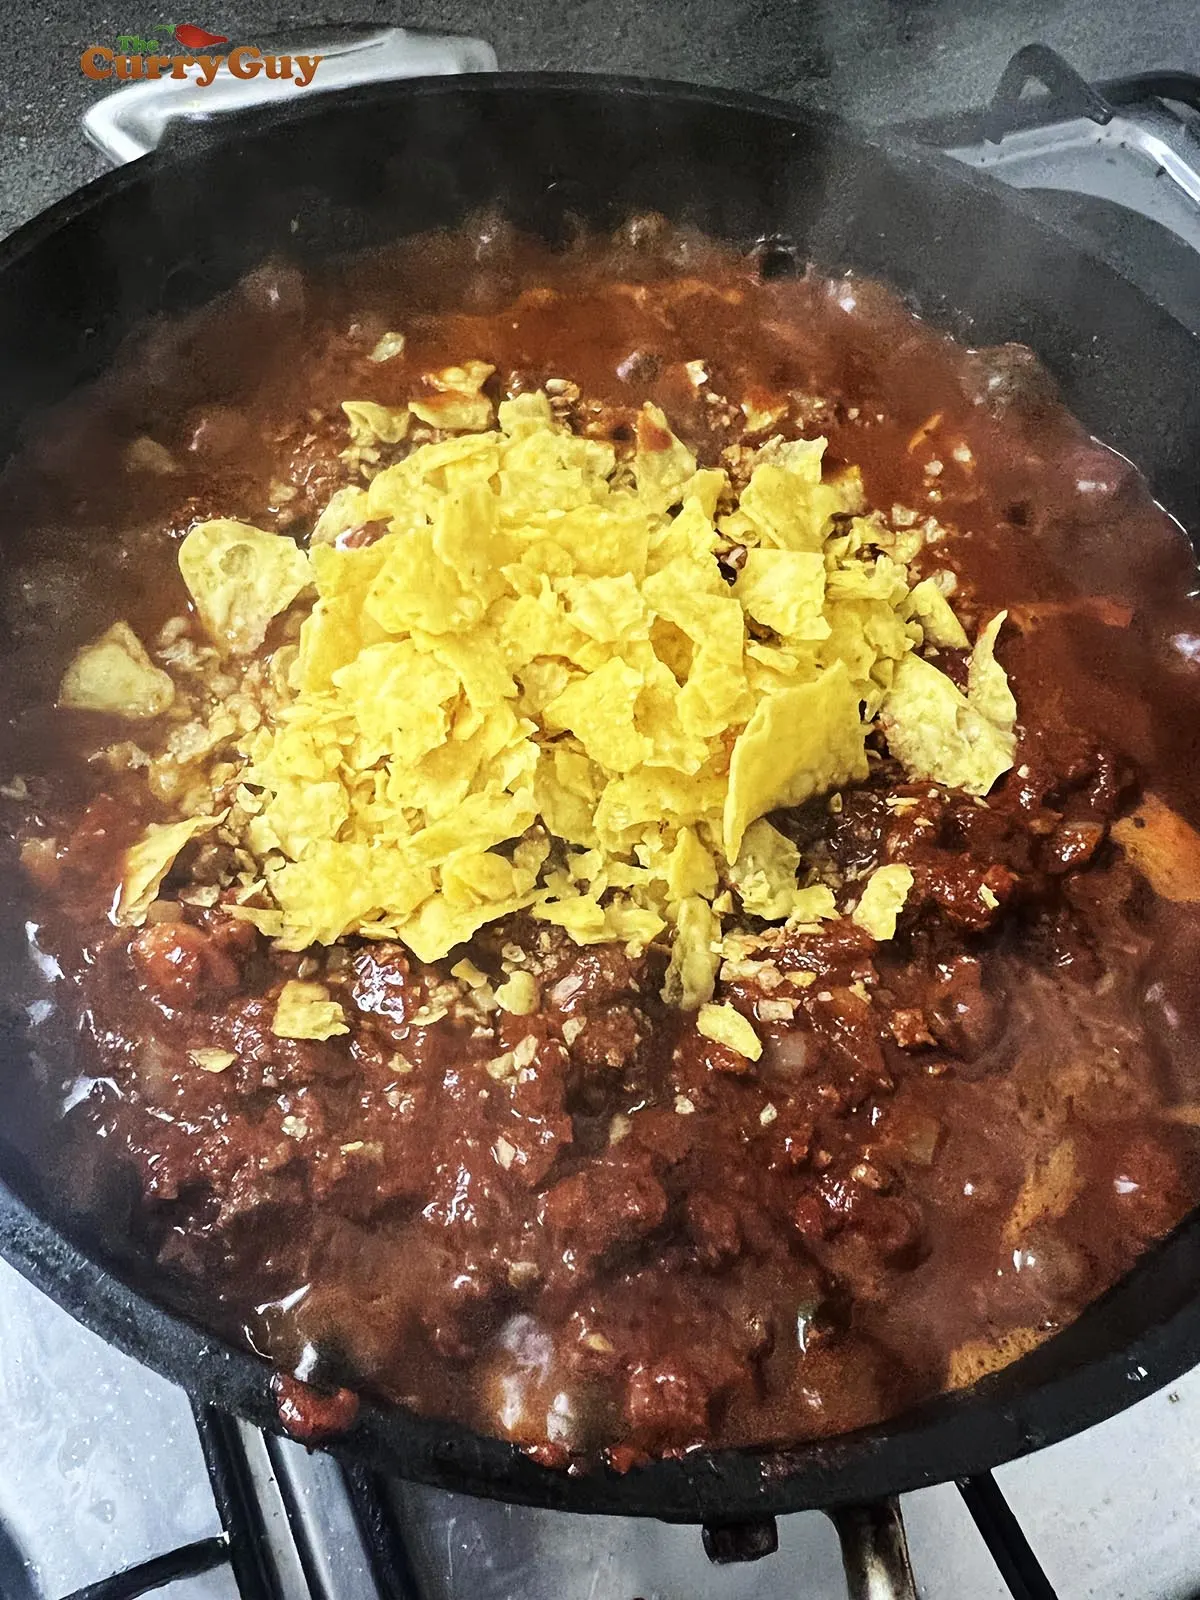
As it simmers, stir in some corn chips and a handful or two of cheese. These will not only give the chili delicious flavour but also thicken the sauce.
Step 10.
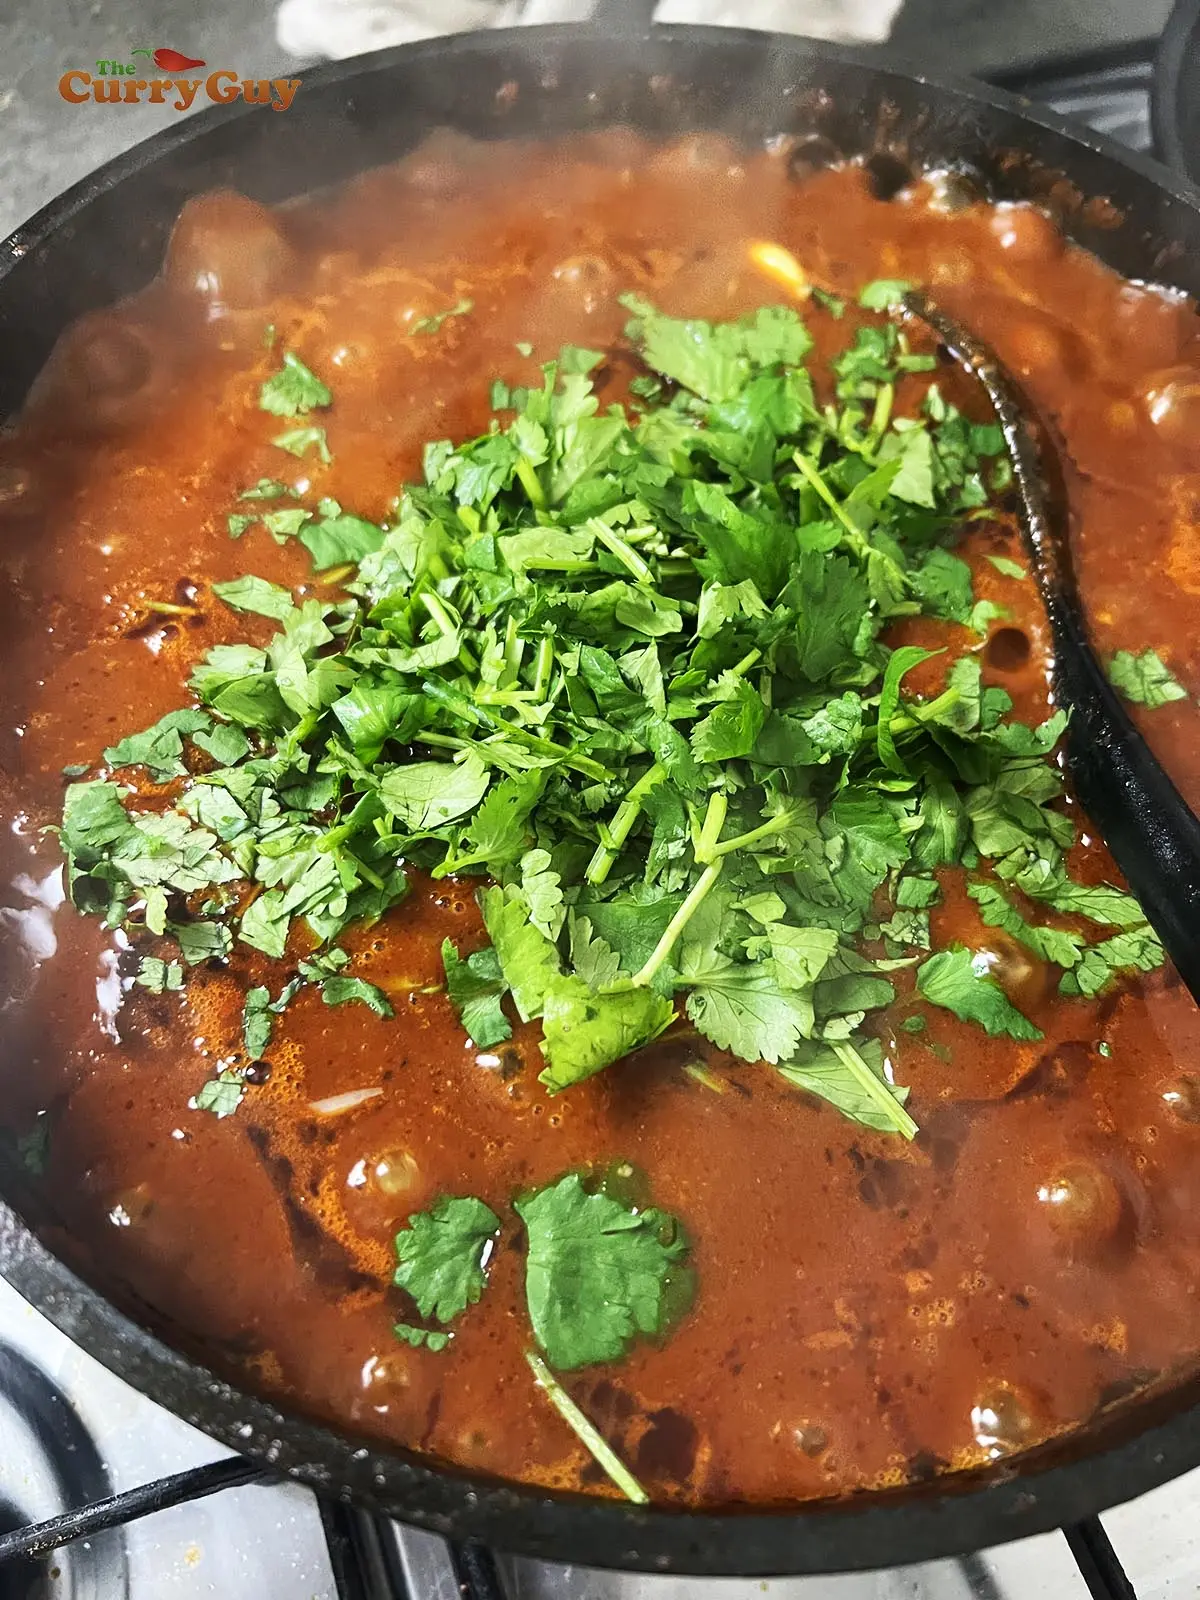
Add the beans and coriander (cilantro) and continue simmering for a few minutes.
At this point, you can really fine tune the chili con carne. Add salt to taste and even add some more chili powder if you want it spicier. A good twist of lime juice is also nice.
Step 11.

Serve with your choice of toppings!
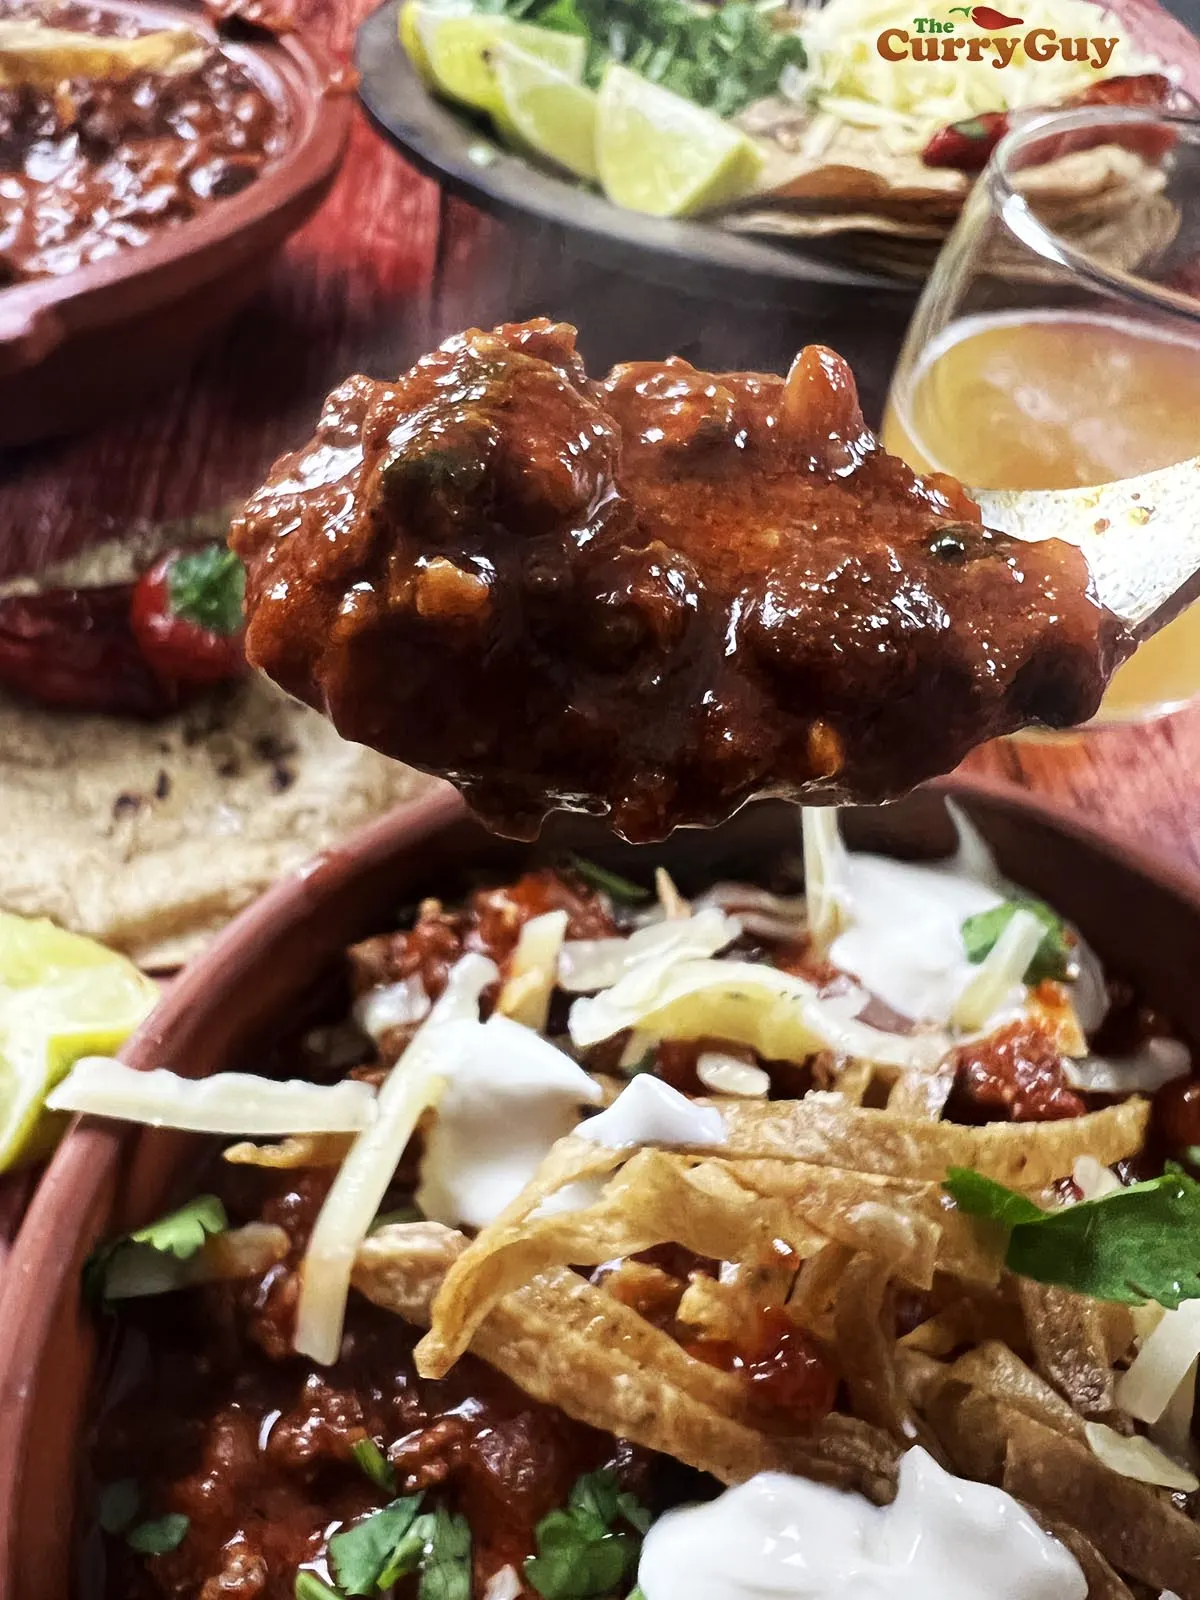
Dig in! I have given a few ideas for toppings in the recipe card below.
If you like this chili con carne recipe, you might like to try some of these too...
Pork Pibil Tacos - Really good on their own or with this chili! The pork for this recipe is slowly cooked in banana leaf and then pulled apart for the tacos.
Birria de Res - This is a delicious chili-like stew. It is also the key ingredient in the now famous birria tacos.
Birria ramen - A rather new addition to the Mexican menu. Come to think of it, you could also make this chili con carne into a delicious bowl of ramen in the same way.
Beef Queso Dip - Serve as a delicious starter dip with corn chips.
Sheet pan chicken fajitas - Sometimes you just want a no-fuss meal. This is it and these fajitas taste great too.
Pork carnitas - My favourite taco!
Refried beans - What Mexican feast would be complete without them? You could cook the pinto beans for these and the chili con carne at the same time. Two meals in one.
Chili Con Carne
Ingredients
- FOR THE CHILLI SAUCE
- 6 dried ancho chillies, torn open and seeds removed
- 6 dried guajillo chillies, torn open and seeds removed
- 8 cloves garlic, smashed and roughly chopped
- 1 medium onion, roughly chopped
- 400ml (1 ½ cups) tinned (canned) chopped tomatoes
- 3 tbsp chipotle chillies in adobo sauce or to taste
- 1 level tbsp dried oregano
- 1 ½ tbsp ground cumin
- FOR THE CHILLI CON CARNE
- 1kg (2 lbs.) Minced beef
- 3 tbsp light olive oil
- 1 onion, finely chopped
- 3 green jalapeños chillies, finely chopped and to taste
- 4 cloves garlic, finely chopped
- 400ml (1 ½ cups) tinned (canned) chopped tomatoes (optional)
- 5 tbsp fresh coriander (cilantro), finely chopped
- 2 bay leaves
- 500g cooked pinto beans with some of the cooking broth
- 2 handfuls grated medium or sharp Cheddar cheese
- Salt and pepper to taste
- Cayenne chilli powder (optional and to taste)
- TO GARNISH
- More cheese and chopped fresh coriander to taste
- Sour cream to taste
- Thinly sliced fried corn tortillas
Instructions
- Heat a large, heavy-based saucepan over medium high heat and toss in the chilies. Push them down with a wooden spoon or spatula until they become fragrant from the toasting. This should only take a few seconds.
- Then flip them over to toast the other side. The chilies will turn a couple tones darker while toasting but try not to burn them and turn the exterior black or they will become bitter. Transfer the toasted chilies to a large mixing bowl and pour boiling water over them. Allow to sit in the water for 30 minutes.
- After 30 minutes, the chilies will be soft and rehydrated. Transfer them, one by one to a blender, removing any seeds you might have missed earlier. Taste the soaking water. If it has a stong, bitter flavour, discard it but if it is sweet and only mildly bitter, keep it. Top the chilies in the blender with the remaining sauce ingredients and blend to a smooth paste. You can add some of the soaking water or fresh water to assist blending if necessary. Set aside.
- Returning to the saucepan, heat the oil over a medium high heat and add the minced beef. Fry for about 5 minutes or until the meat is completely cooked through, stirring and breaking the meat apart as you do so that there are no large lumps.
- Once cooked, add the chopped onion and chilies and continue frying and stirring for 5 to 8 minutes or until the onion is turning a golden brown. Stir in the chopped garlic and fry for a further minute before adding the prepared chili sauce, the beer, the additional chopped tomatoes, if using and some beef broth, retained chili soaking water and/or retained cooking liquid from the beans if you cooked them from dried, to cover. If you want to add beef broth but don’t have any fresh, you could add water and a beef stock cube.
- Toss in two handfuls of corn chips and bring to a simmer, stirring occasionally for about 30 minutes. You could turn the heat right down to low and simmer for longer adding more liquid if required for more depth of flavour.
- After cooking for about 30 minutes, the corn chips will have disintegrated and thickened the sauce. Taste it and season with salt and pepper to taste. You could also up the heat some by stirring in a bit of cayenne chilli powder.
- Stir in the tinned (canned) or freshly cooked beans and simmer for another minute to heat them through. Spoon this thick chilli into bowls and garnish with the above mentioned ingredients or try a few ideas of your own.
Recommended Products
As an Amazon Associate and member of other affiliate programs, I earn from qualifying purchases.


Nutrition Information:
Yield:
8Serving Size:
1Amount Per Serving: Calories: 410Total Fat: 19gSaturated Fat: 6gTrans Fat: 0gUnsaturated Fat: 10gCholesterol: 42mgSodium: 381mgCarbohydrates: 42gFiber: 11gSugar: 11gProtein: 22g


Leave a Reply