Tonkotsu broth is a must for tonkotsu ramen and can be used in other ways too.
If you want to make the best tonkotsu ramen, you need to first prepare a tonkotsu broth. It isn't difficult but it does take some time. Just over 13 hours to be exact but it's easy work and you will be rewarded in the end for your efforts!

Are you ready to become a tonkotsu ramen master?
If you’ve ever gone out and tried a bowl of steaming hot tonkotsu ramen, you’ll know why I had to do some research and figure out how to make it myself. Perhaps that’s why you found this recipe and I promise, my version of tonkatsu broth, the backbone of an authentic tonkotsu ramen won’t let you down. By the time you finish this tonkotsu broth recipe you will be a master of the art!
To begin, let’s start by defining exactly what tonkotsu ramen is. Unlike most ramen recipes, tonkotsu ramen doesn’t take its name from what is added to the broth and ramen noodles but instead the pork broth itself.
‘Tonkotsu’ means ‘pork bones’. It’s the way you prepare the pork bones and cook the amazing pork stock that makes tonkotsu ramen so special.
Why does it take so long to make the tonkatsu broth?
The pork bones are first prepared as you would most Asian meat stocks. You start by rinsing any impurities off the bones. When I say to scrub those bones clean, I mean it! Get them sparkly clean. Actually, pork bones can’t get sparkly clean but I’m sure you get the idea.Then the pork bones (tonkatsu) are boiled for about ten minutes.
While the bones are boiling, you need to skim off any foam and other impurities that rise to the top. If you cleaned your bones as well as I told you to, you will have very little to skim. If you didn’t you have a big job ahead of you.
This process is a typical first step of preparing Asian meat stocks. The bones are then poured into a colander and rinsed some more to get them as clean as you can. The cooking water is discarded. Then the bone are boiled in sufficient water for 12 hours. This long boiling time is what makes the tonkotsu broth creamy and delicious.
Which pork bones are best for this broth?
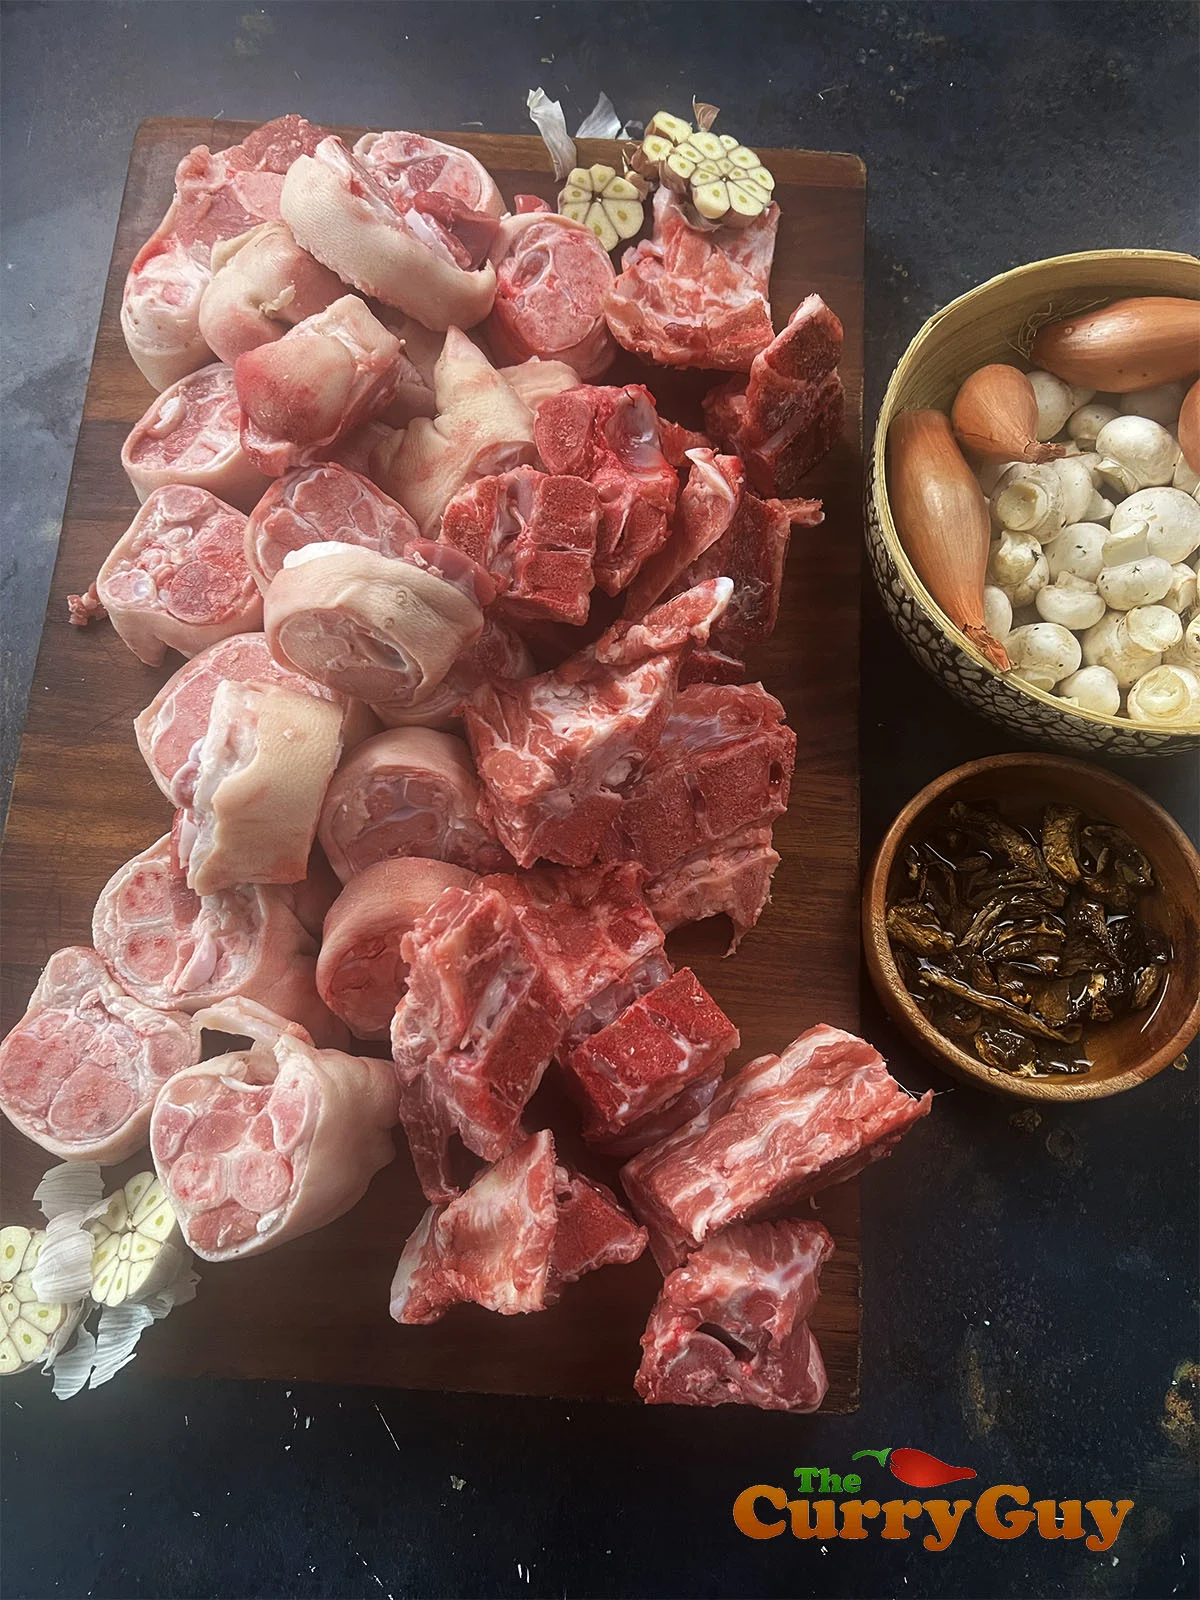
The bones you use are also very important. I use a mixture of pork trotters and necks. The trotters need to be cut across the bone into about 5 pieces so that you get the full benefit of all that fat, marrow and collogen that flavours and colours the broth. I usually ask my butcher for a 50/50 mix of pork trotters and meaty neck bones.
This makes a lot of broth. Can I downscale the recipe?
Yes. You can downscale or upscale the recipe. I rarely make less than this as it takes so long to make. In fact, I usually double or triple the recipe as I did in the step by step photos below. If you have a large enough pot, I suggest doing the same.
Although you can halve this recipe, it takes just as long to make a small amount as it does a large amount.
How to decide how many bones to use in the tonkotsu broth...
As mentioned above, it is a good idea to make as much tonkotsu broth as you can fit into your pot. You just need to ensure that the bones are always covered with about 5cm (2 inches) of water as it boils.
In the photos below, I used 10kg (about 20 lbs) of pork neck and trotter bones, all cut into small pieces. You could of course use fewer or more depending on how much tonkotsu broth you want to make. The recipe card below is for a much smaller amount of broth.
For your information, in the photos below, I used a 20 liter pot and with the bones in, I was still able to add 14 litres of water. As the water evaporated away during the cooking process, I needed to add another 15 litres of water!
So don't worry about adding too much water and making the broth flavourless! The whole idea behind boiling the bones for so long is to suck every last bit of flavour out of them. Keep the bones covered with 5cm (2 inches) of water at all times and your tonkotsu broth will be amazing!
Covered vs Uncovered Pot...
When I was younger, living in San Francisco, there was a place that specialised in tonkotsu ramen. That is all they made and it was always packed. They had two massive pots of pork bones on the boil at all times and they were uncovered.
The chefs kept a close eye on the broth and added more water as required. At home, you will probably find it easier to cover the pan so that the liquid doesn't evaporate as quickly. That said, you still need to watch it closesly.
Can Tonkotsu broth be made in a pressure cooker?
Not really. I did try. Following my recipe below exactly but in a countertop pressure cooker, I closed the lid and set it to pressure cook on high for 2 hours. The stock it produced was good and usable but it was not a tonkatsu broth. The steady boiling of the bones for 12 hours or longer causes the collogen, marrow and fat to emulsify into the broth slowly over time. This does not happen in a pressure cooker.
UPDATE: Since my first pressure cooker experiment, I decided to try my pressure cooker a couple more times. Once cooking it or just an hour and another cooking the broth for 3 hours. Both times, I got the same result as the first time I tried pressure cooking. Stick to the stovetop method for a good tonkotsu broth for tonkotsu ramen.
Surely not all Tonkotsu ramen has broth made like this?
That's right. There are tonkonsu stock cubes you can purchase. Unfortunately, this is what most restaurants use as it is quicker and easier to prepare. So by following my recipe, you'll get the best tonkotsu broth out there. Some restaurants specialise in nothing but tonkotsu ramen and it is the quality of tonkotsu broth you get at those restaurants that I am aiming for here.
Making Tonkotsu broth in step by step photos...
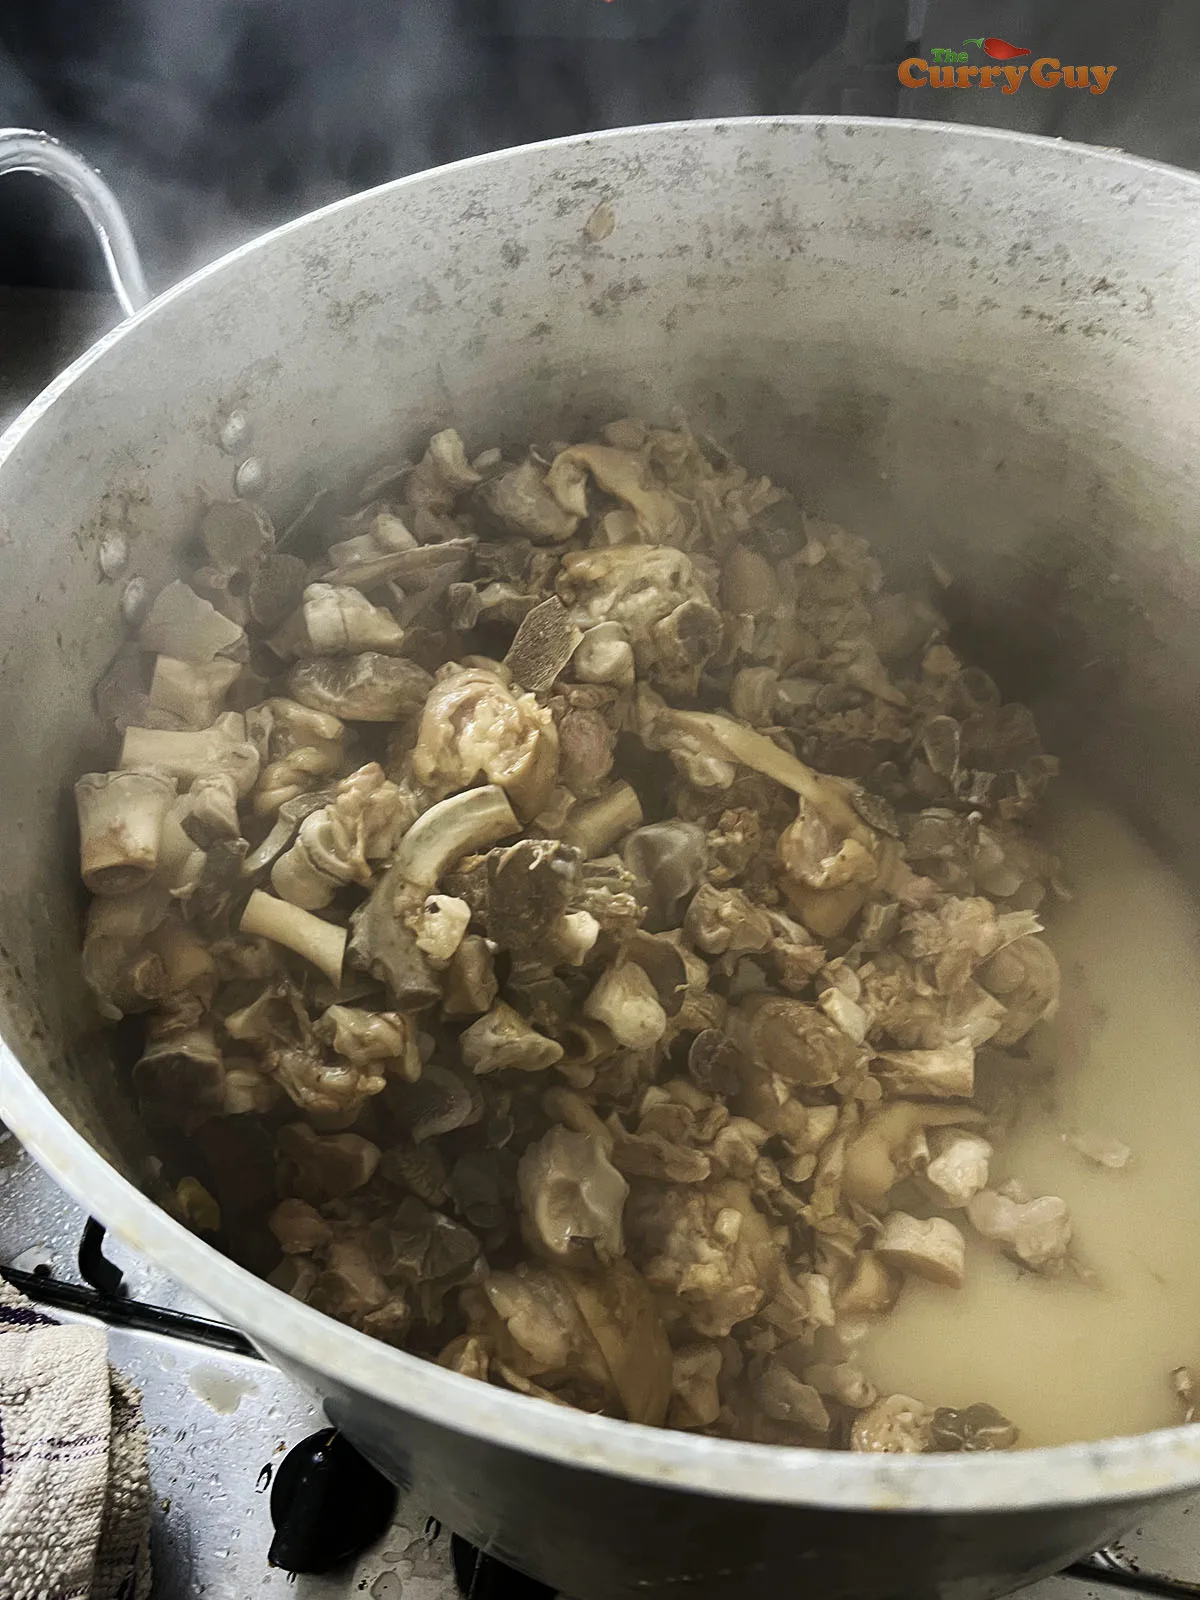
Step 2.
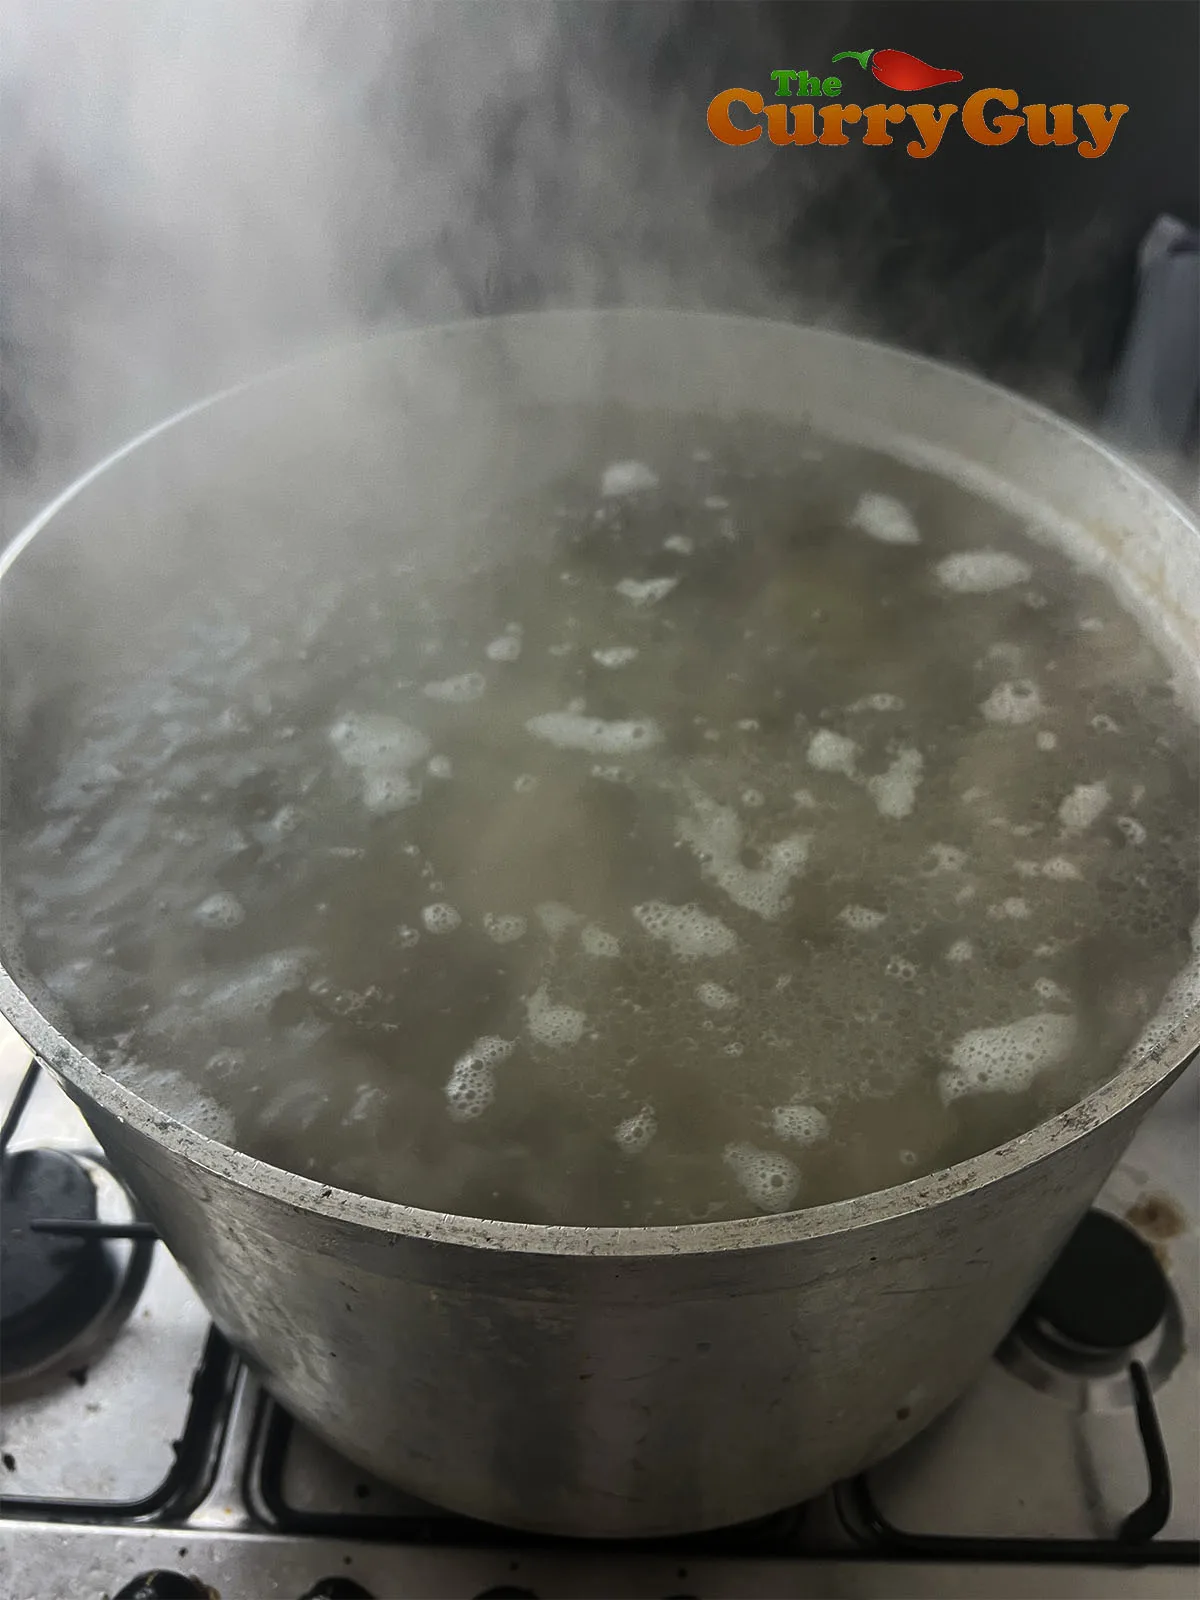
Wash the bones thoroughly and then place them in a large pot. Cover with water and bring to a boil. Then boil the bones for 10 minutes, skimming any impurities that rise to the top.
Step 3.
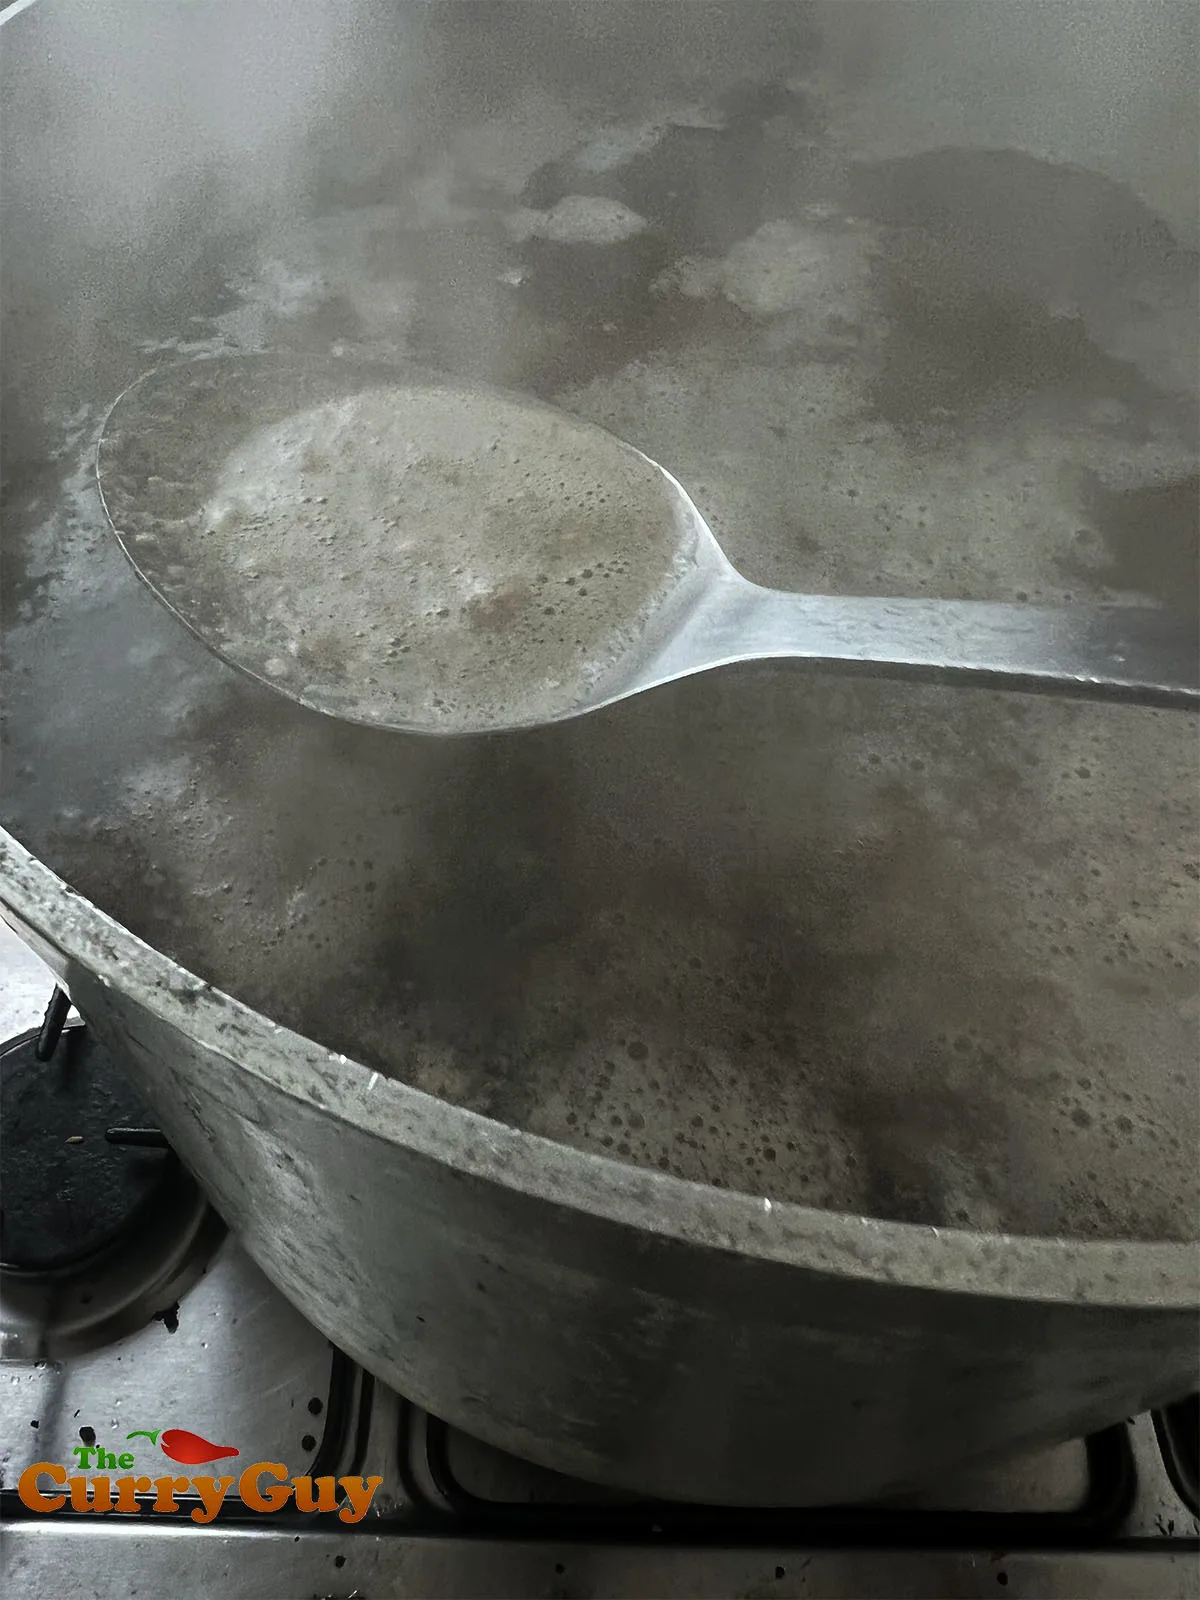
It's important to skim as much goop off the top as you can during the first cooking process.
Step 4.
Once the bones have boiled for 10 minutes, strain through a colander. The cooking liquid can be discarded. Be sure to wash each individual bone of any impurities such as blood or white and black gunk that is on them.
Step 5.
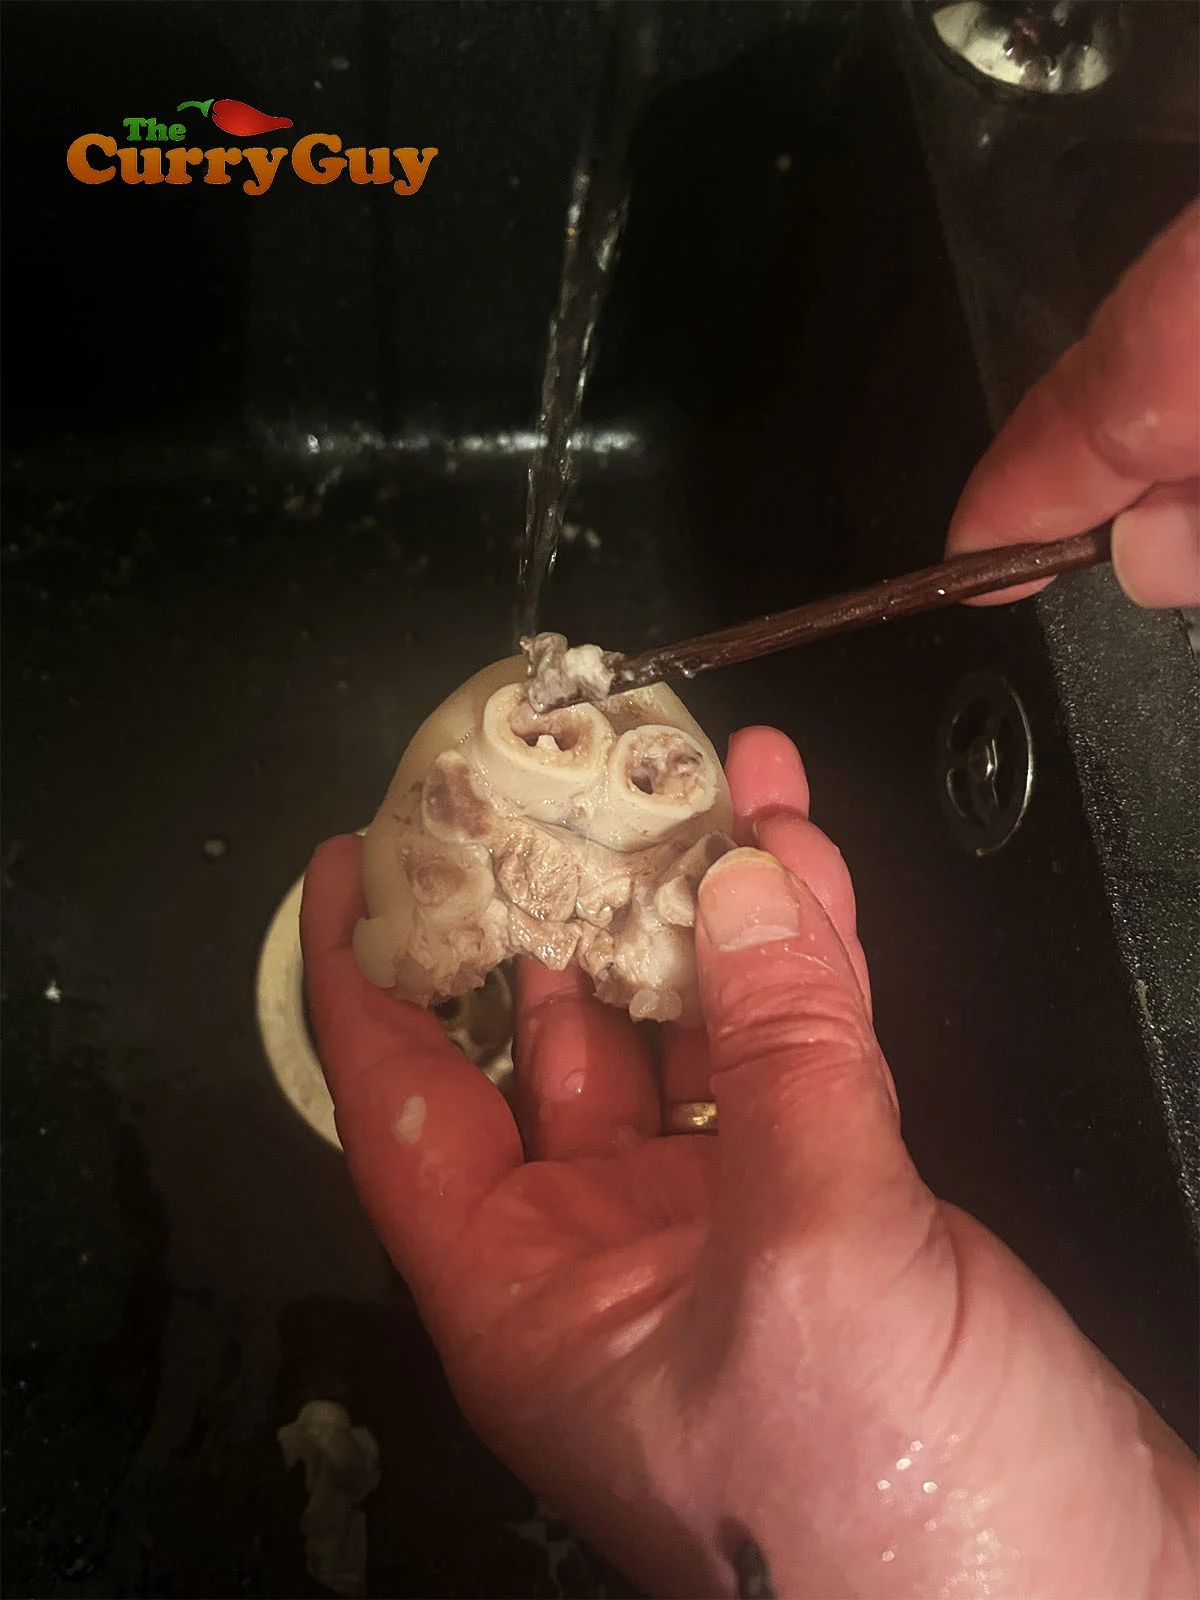
You can use a chopstick to get right in there and clean those bones. The cleaner you get them, the less you will need to skim and the better your tonkotsu broth will look when finished.
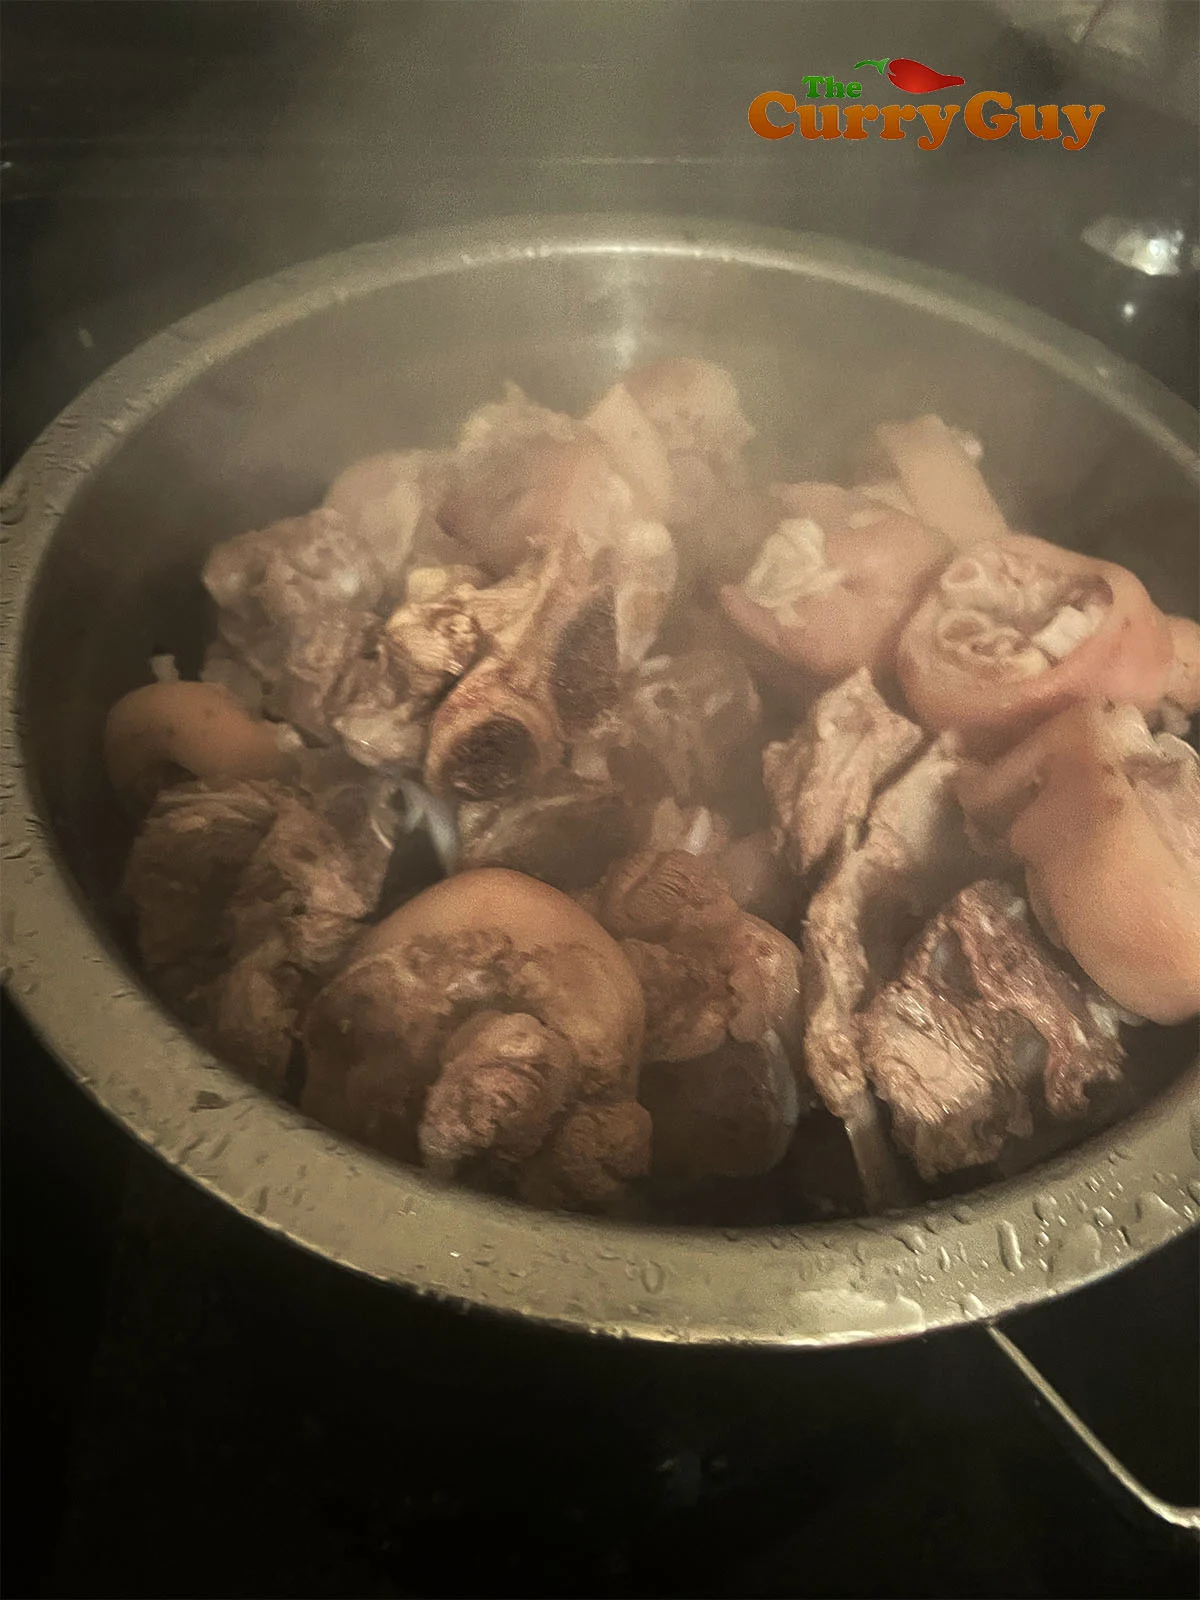
Step 6 - Time to heat start cooking again!
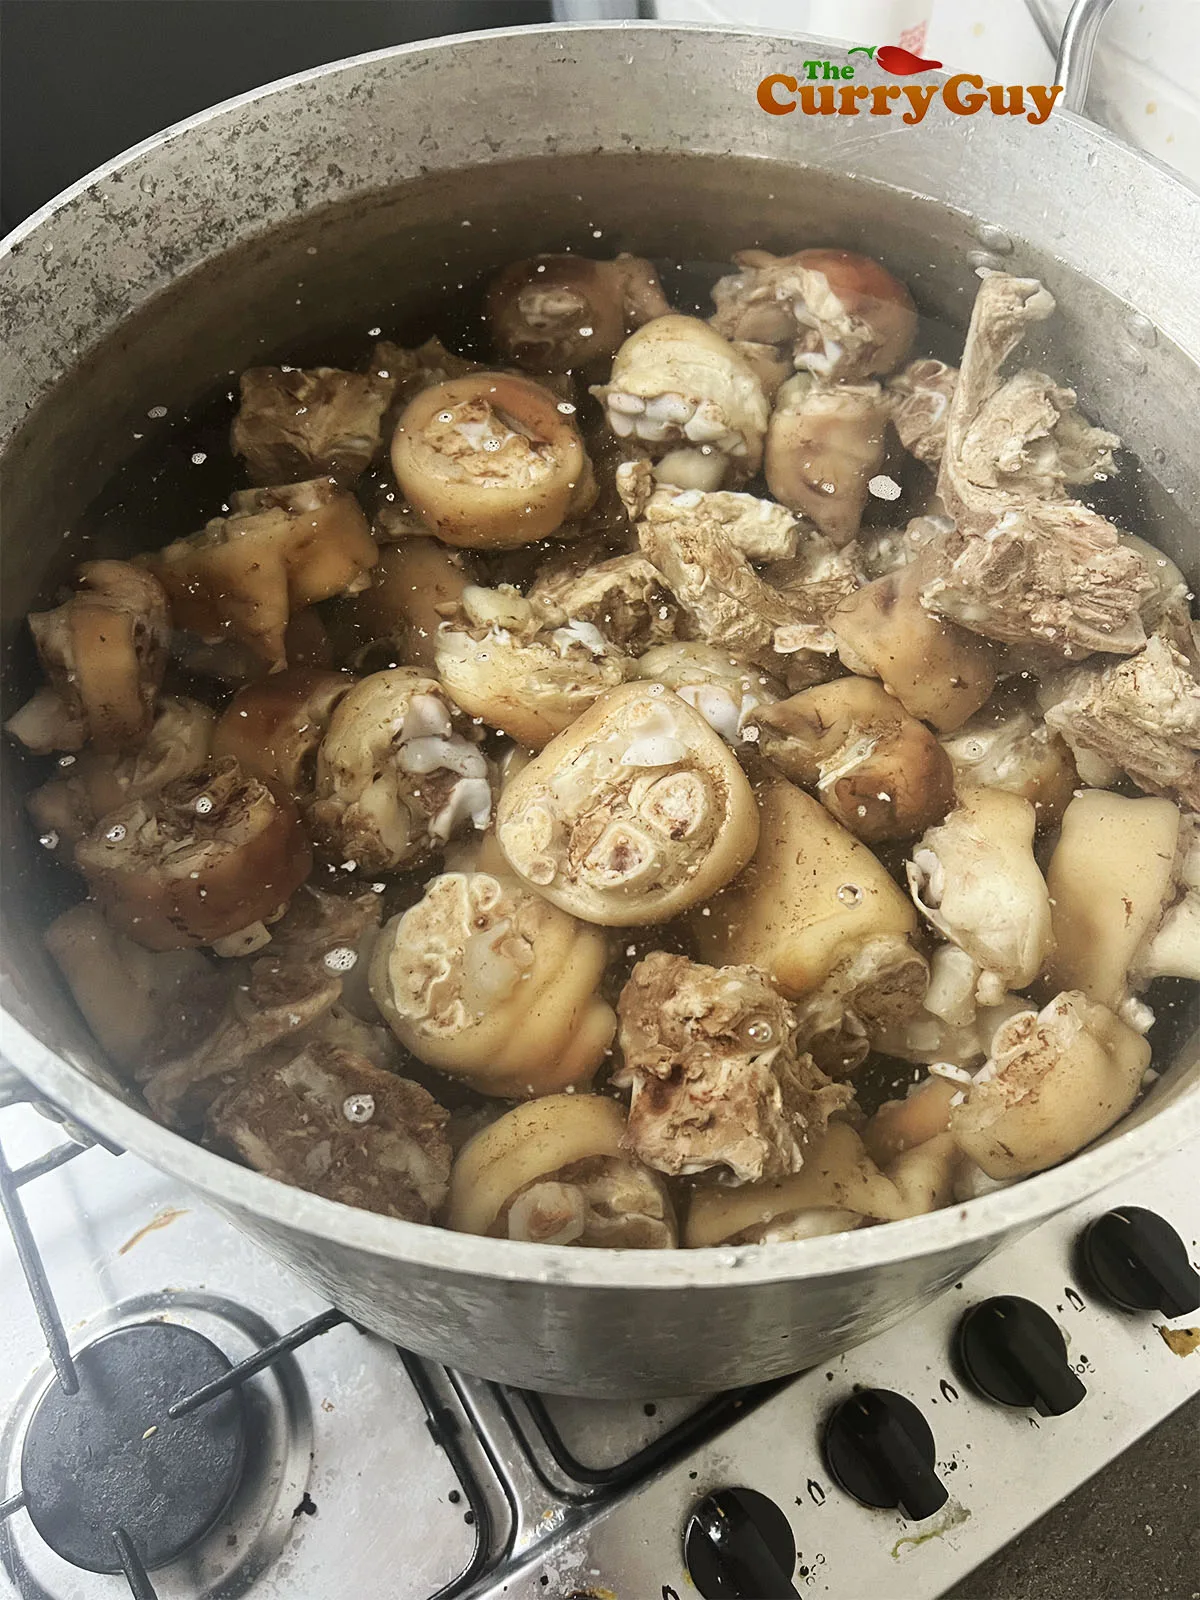
As the water heats up, be sure to skim any impurities that rise to the top again. If you washed your bones thoroughly, you should have very little to skim. Bring to a rapid boil and continue boiling for 12 hours. Add more water as needed. The bones need to be covered with water for the whole 12 hours so don't be afraid to add water as required.
Step 7.
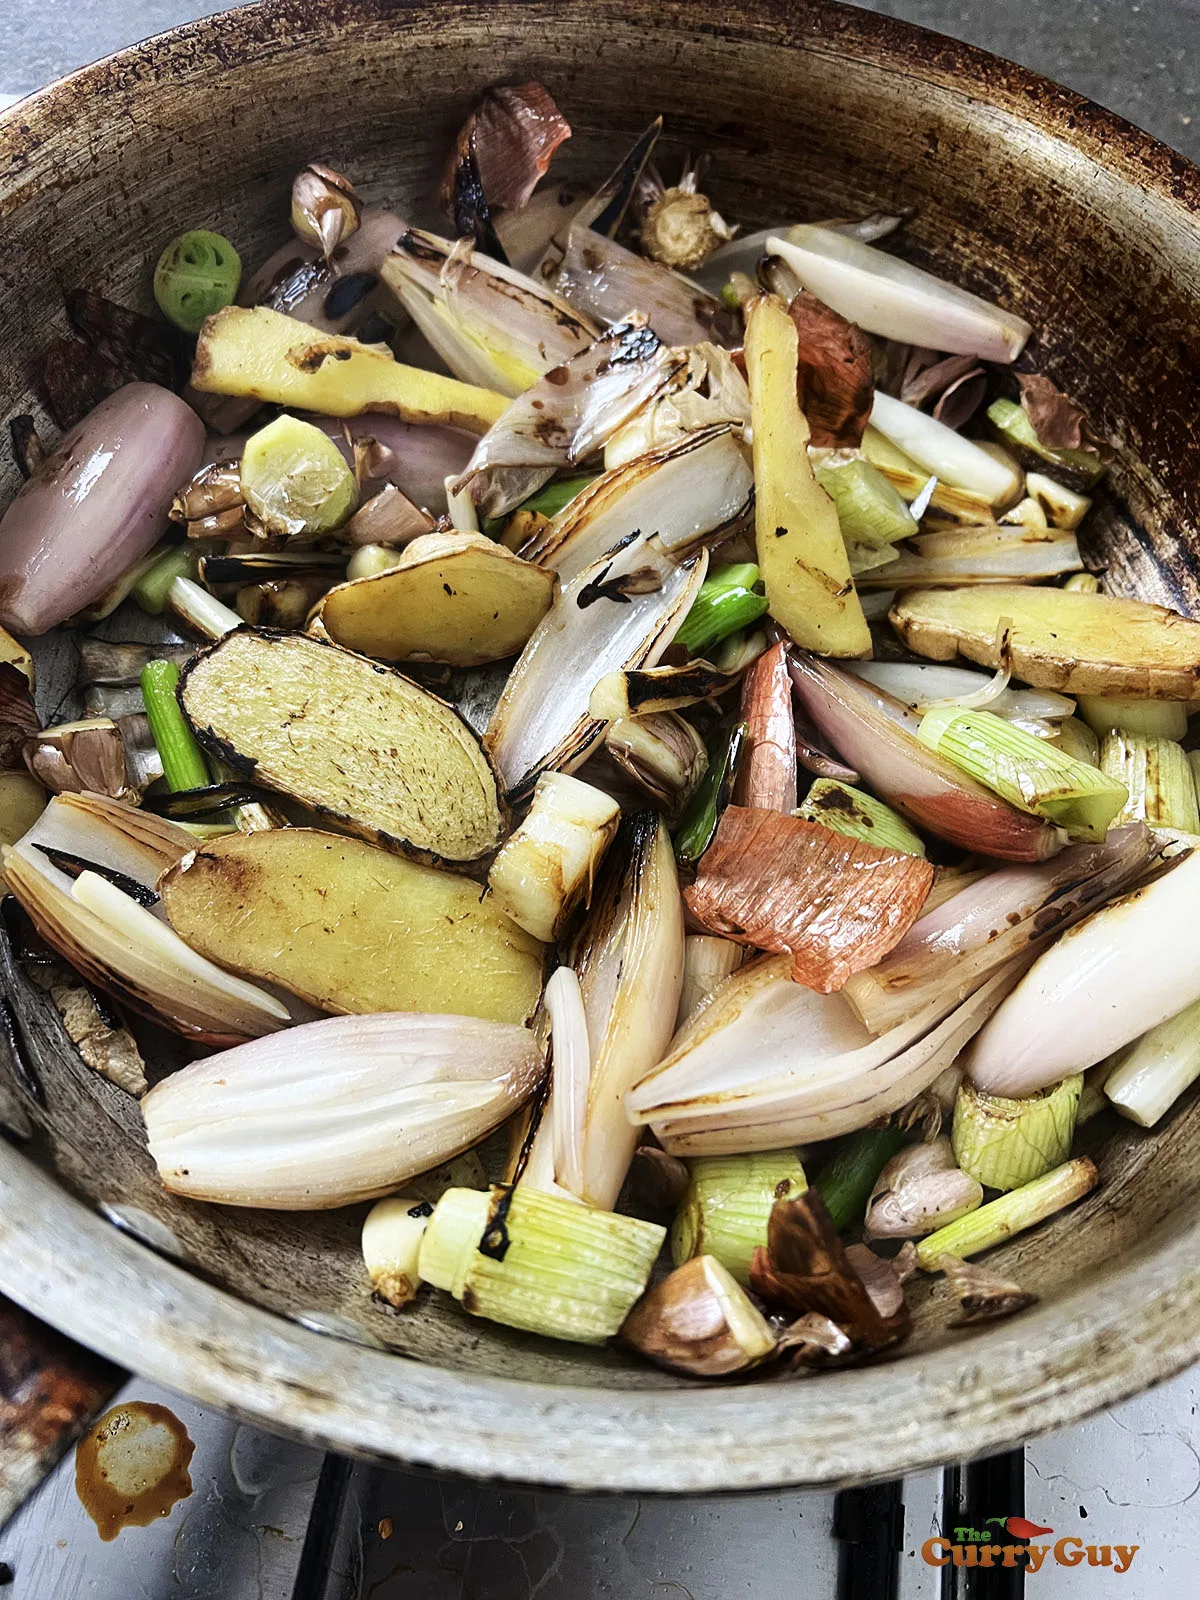
Adding aromatic vegetables to the tonkotsu broth is something I like to do for additional flavour. It is not necessary though. Many chefs don't add aromatics to their tonkotsu broth. You will get even better flavour by frying the aromatics
Step 8.
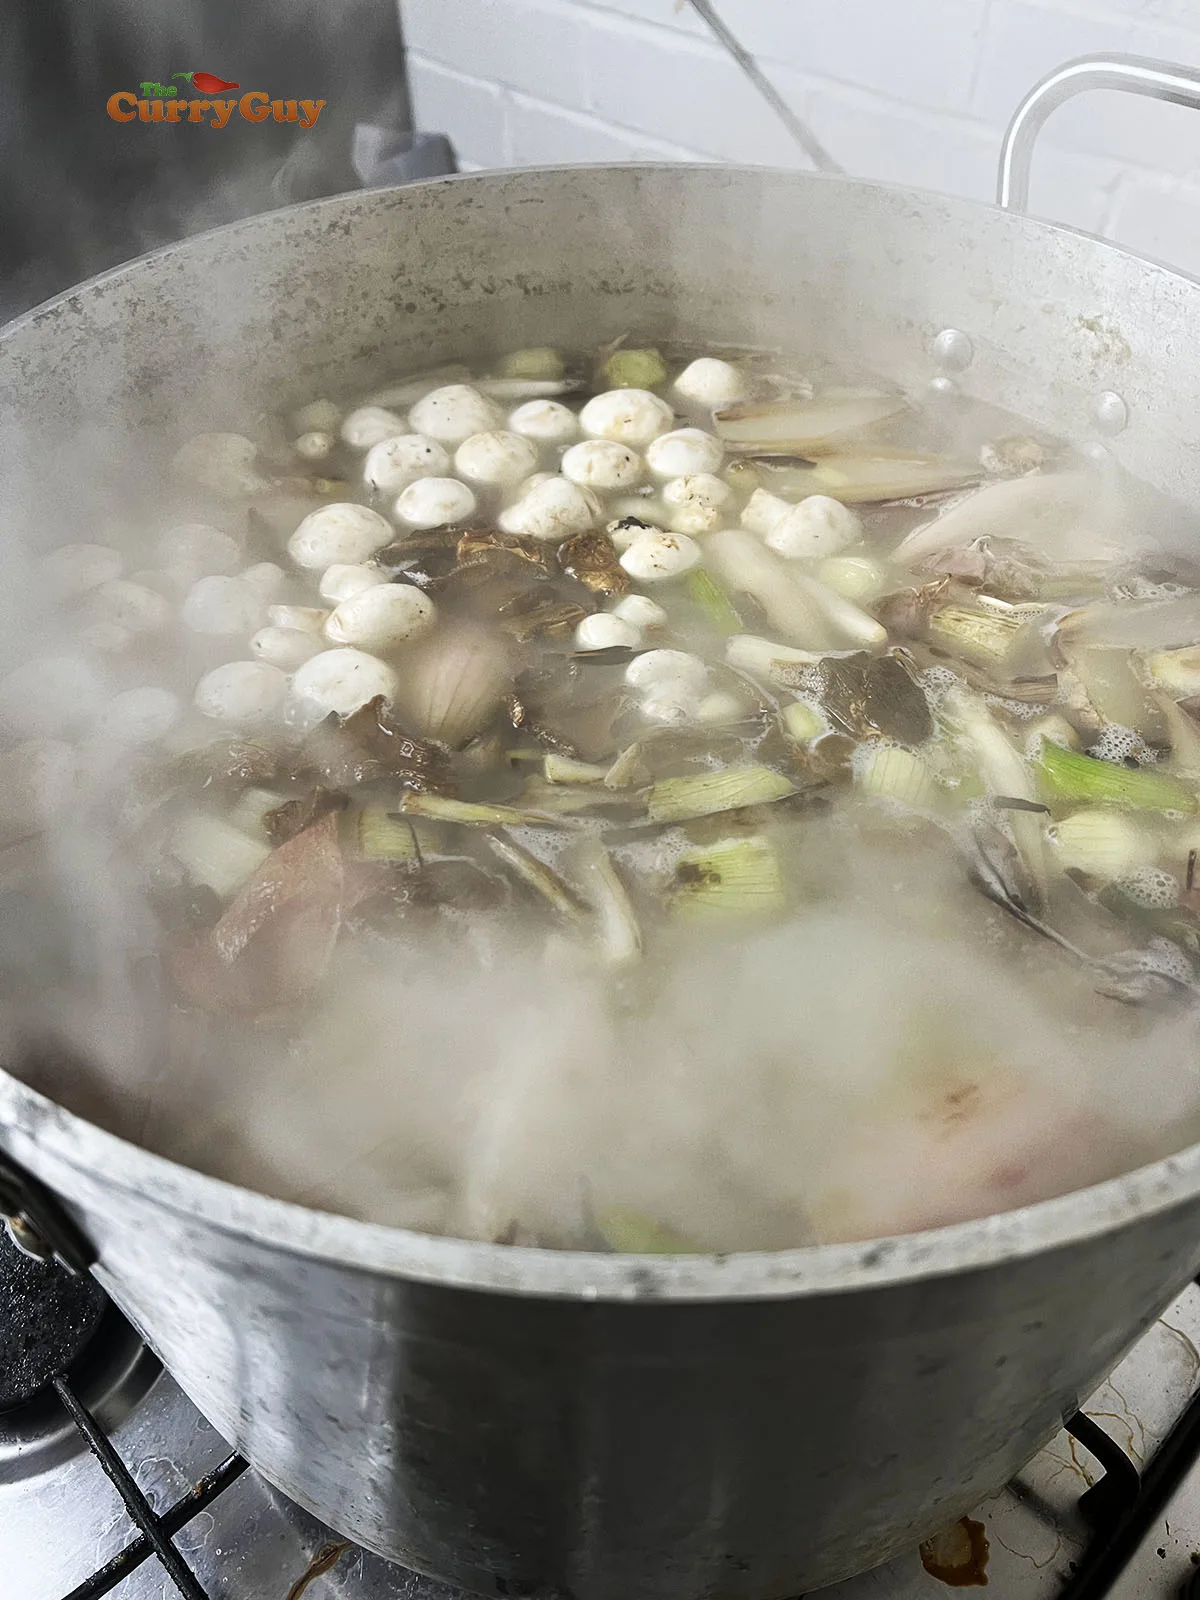
Add the aromatics and mushrooms to the broth and bring to a boil.
After 2 hours of boiling...
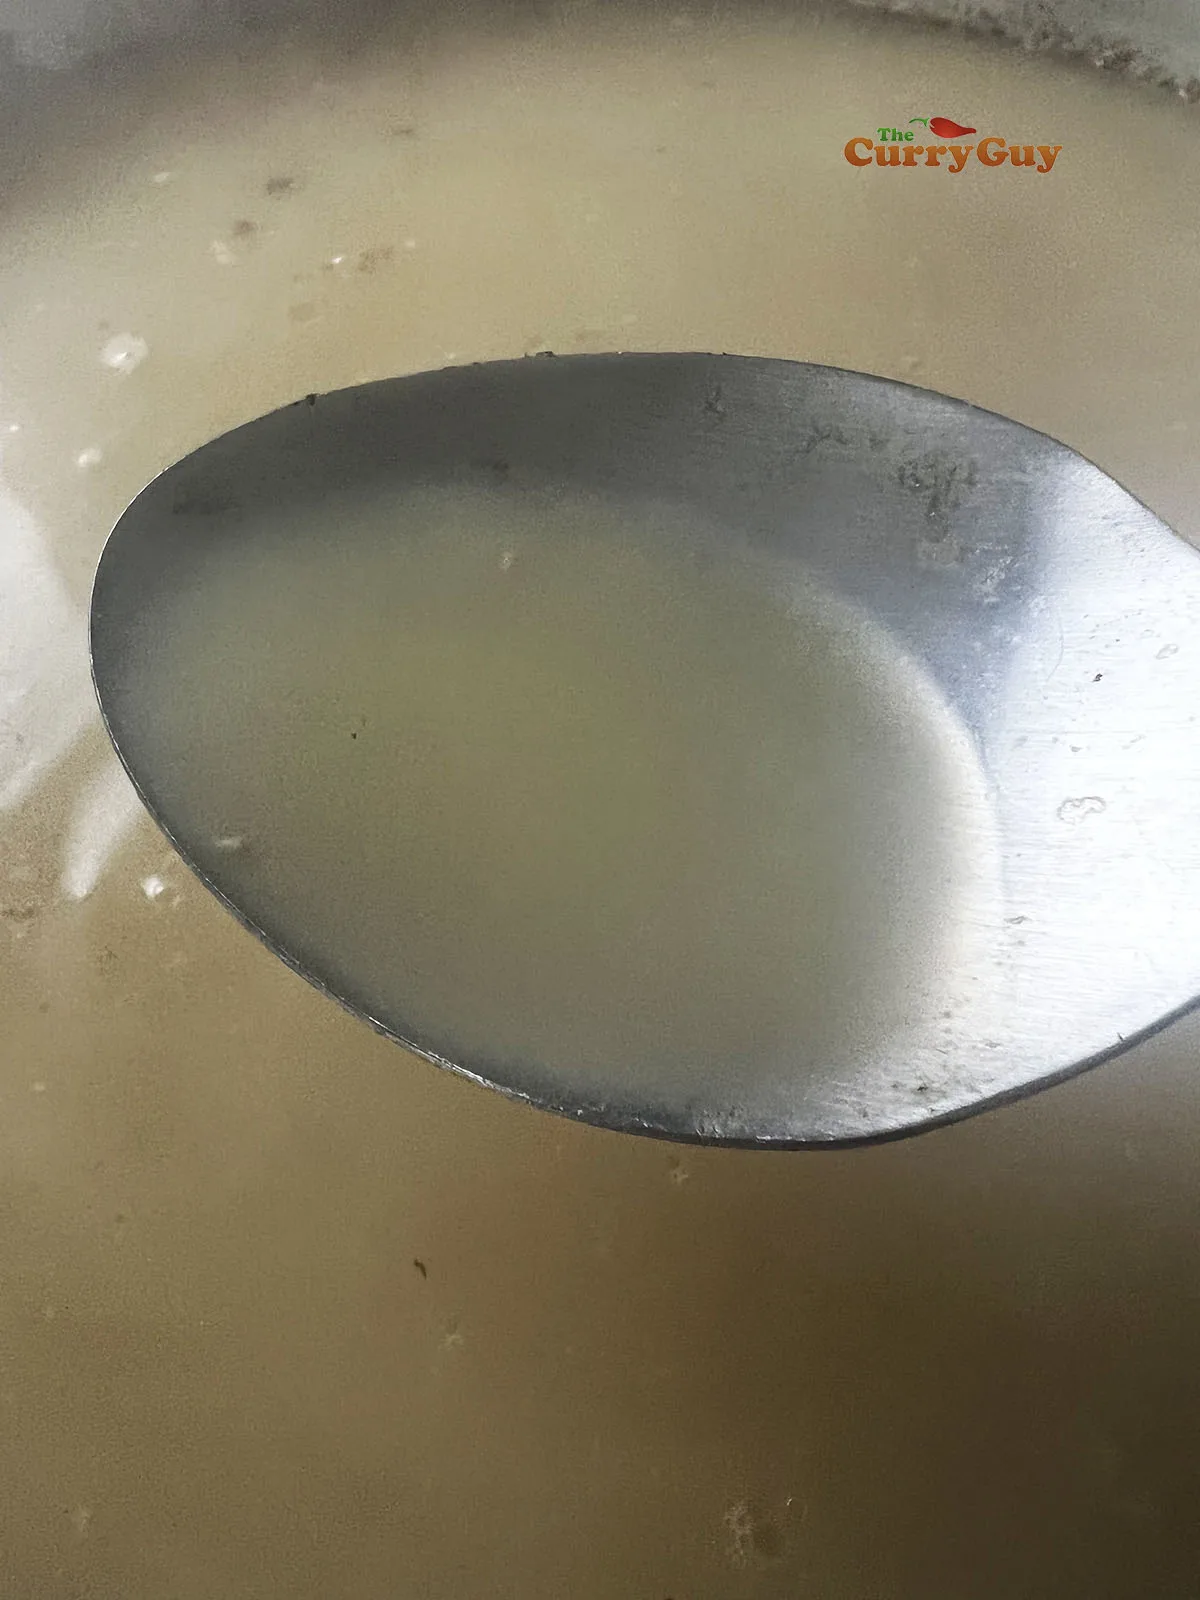
After the tonkotsu broth has been boiling for two hours, it will start to become cloudy. It will still be quite clear though.
After 6 hours of boiling...
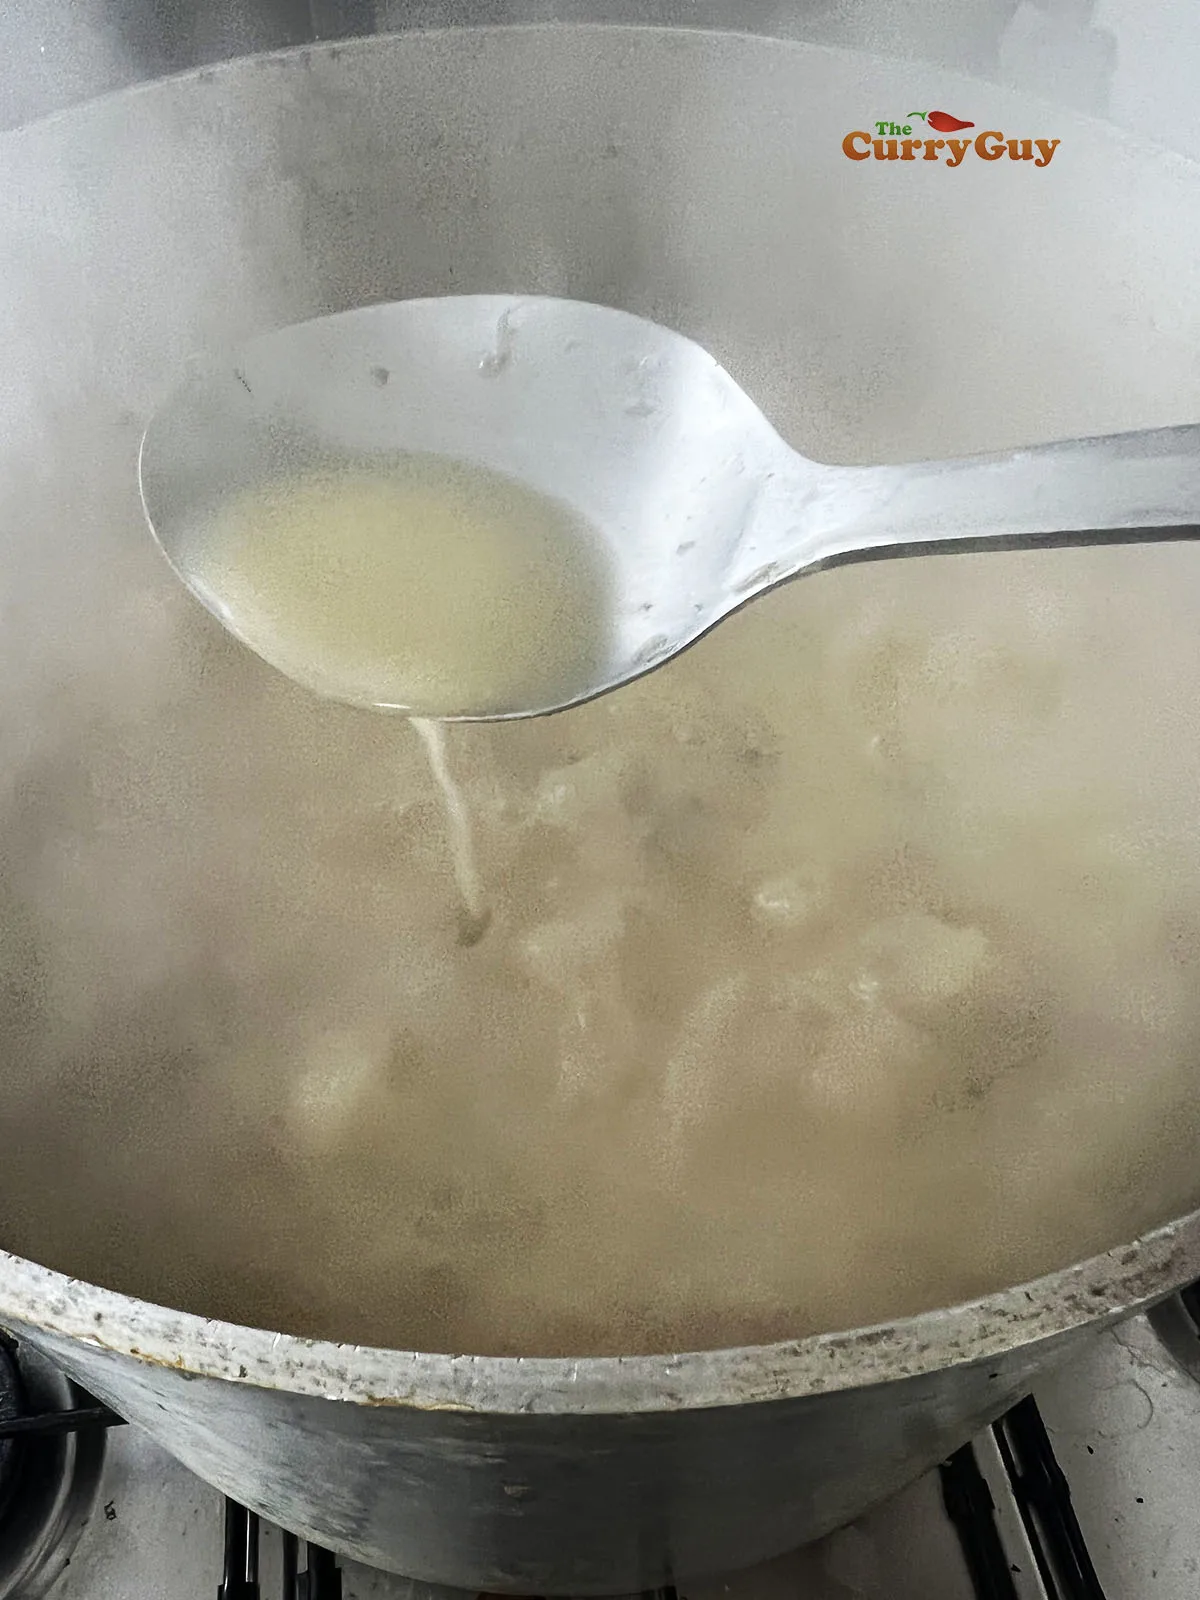
After six hours of boiling, the tonkotsu broth will be very cloudy. Don't stop there though! You still have six more ours of cooking to do.
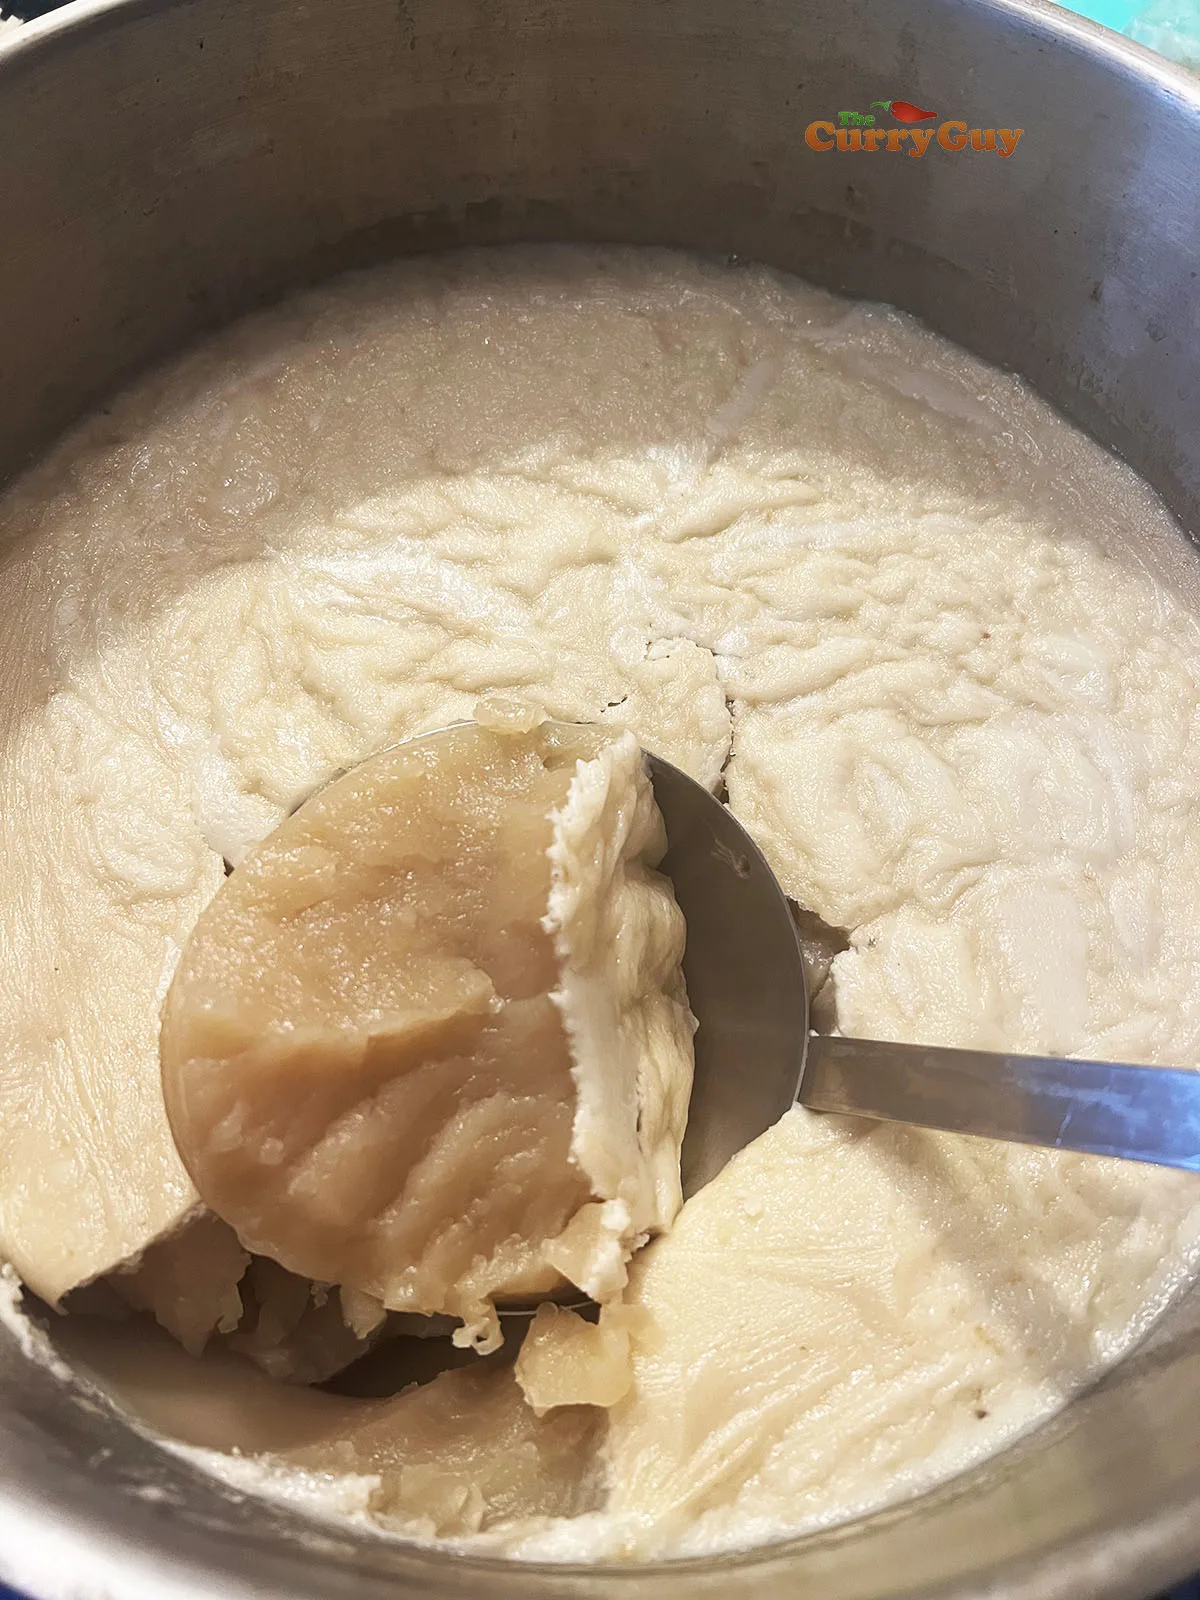
Almost done!
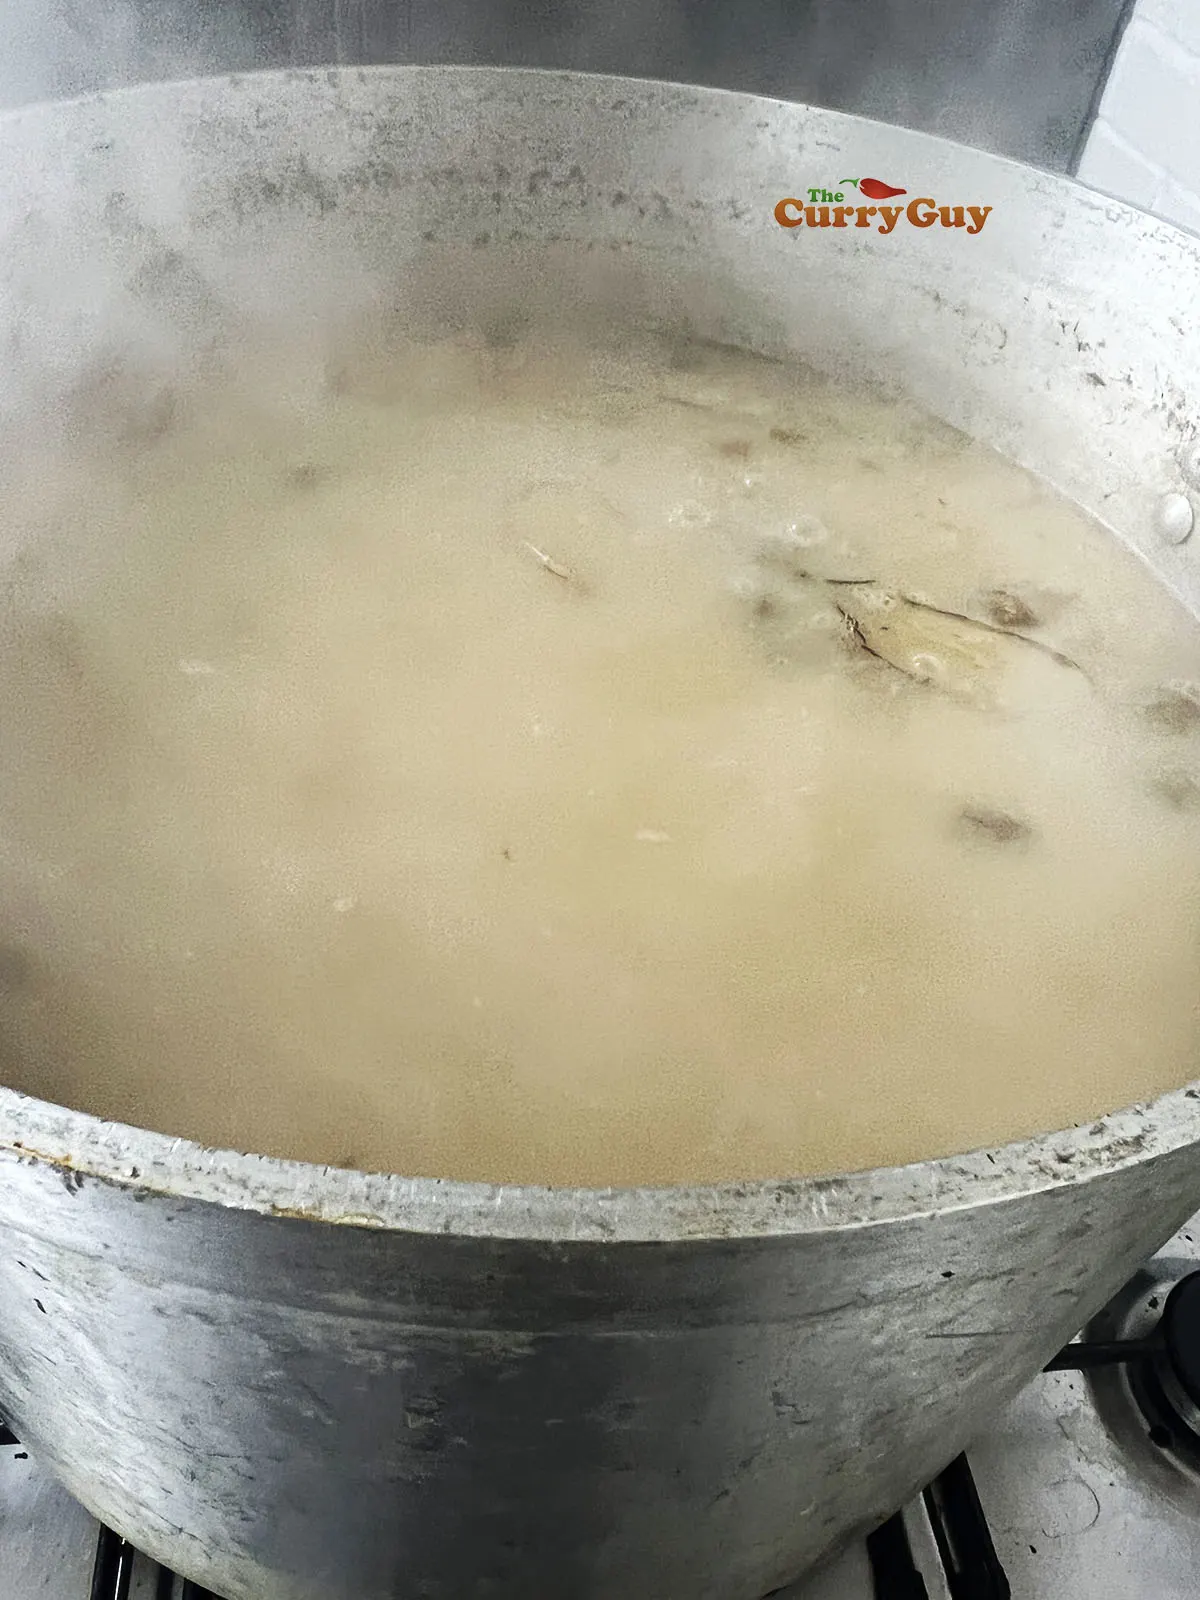
After 12 hours of boiling the broth will be creamy and taste amazing.
To finish...
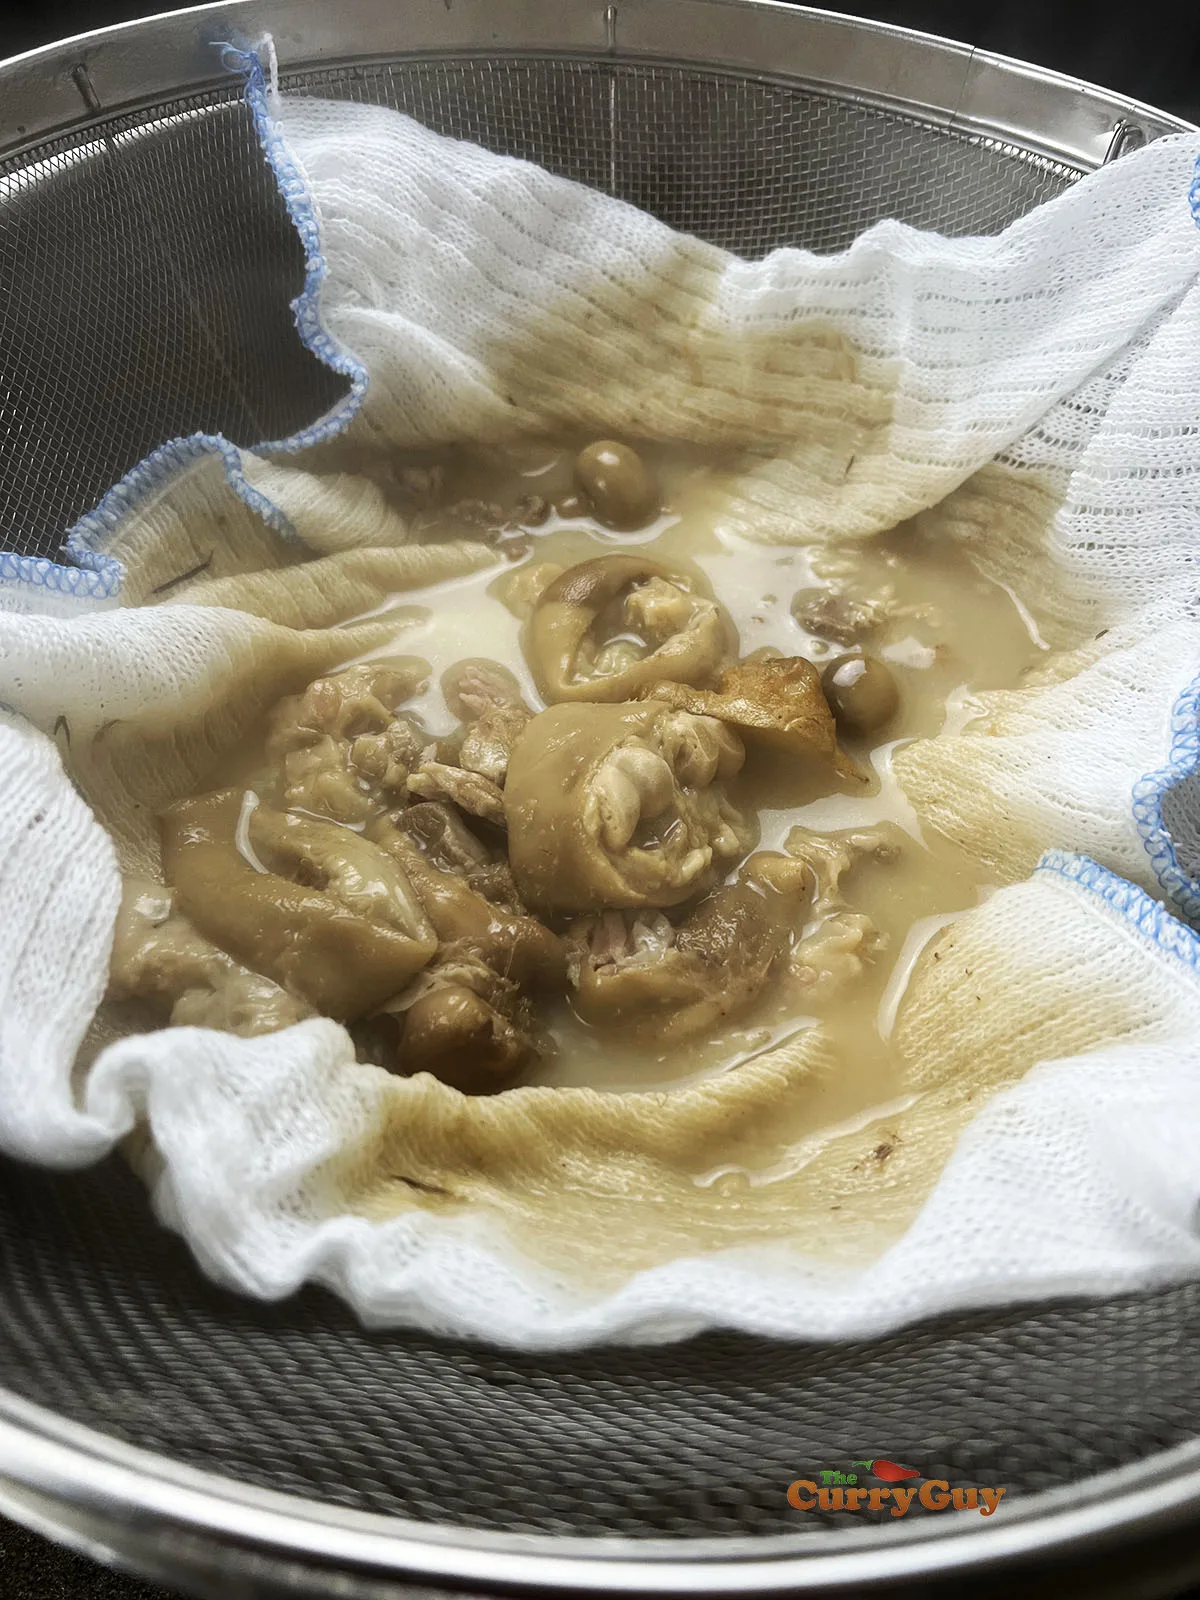
Strain the broth through a fine sieve and perhaps a cloth too.
Check out these bones!
After 12 hours of boiling, there is very little left of the bones! All that deliciousness has oozed into the broth. You can discard all this.
What the tonkotsu broth looks like when placed in the fridge.
After over 12 hours of cooking, I was in no way ready to start preparing the tonkotsu ramen. So I placed it it all in the fridge overnight. When taken out to heat up again, you can see the beautiful colour of the broth. It isn't dark as a western stock would be. You are going to love this! Once reheated, you can add soy sauce to taste.
If you like this Japanese tonkotsu broth, be sure to try some of these recipes too...
Tonkotsu Ramen: - Once you make this tonkotsu broth, making tonkotsu ramen will be a breeze!
Japanese Chicken Curry: Creamy and mild, this one is really east to prepare and it a very authentic recipe too.
Katsu Chicken Curry: Who doesn't love this one?
Curry Doria: A popular curry, rice and cheese dish in Japan.
Chashu Pork: Perfect served on top of tonkotsu ramen and other ramen dishes.
Chashu Rice: A nice and easy meal that uses up leftover chashu pork.
Teriyaki Chicken
Chicken Yakitori
Chicken Curry Ramen
Birria Ramen
Korean Ramen
Japanese Coleslaw
Japanese Chicken Curry
Chinese Chicken Curry
General Tso's Chicken
Sweet and Sour Chicken
Black Bean Sauce
Beef in Black Bean Sauce
Black Bean Noodles
Bam Bam Chicken
Soy Sauce Chicken
Hainan Chicken
Sesame Chicken
Cashew Chicken
Tonkatsu Broth

Once you prepare this tonkotsu broth, you can make the most amazing tonkotsu ramen on the planet! It might take a long time to make but it's so worth it!
Ingredients
- 5kg (10 lbs) pork trotters and/or pork neck bones
- 1 tbsp rapeseed (canola) oil
- 1 medium onion, quartered
- 2 bulbs garlic, divided
- 1 x 5cm (2 inch) ginger, cut into rings and smashed
- 8 spring onions (scallions) roughly chopped
- 4 shallots, peeled and sliced lengthwise in half
- 5 dried Shitake mushrooms (rinsed) and /or 170g (6oz) button mushrooms
- Soy sauce to taste
Instructions
- Rinse the bones thoroughly with water and then place in a large stockpot. Cover with water and bring to a boil over high heat and then boil for ten minutes. Skim off any foam or other gook that rises to the top.
- After ten minutes of boiling, pour bones into a colander. You can discard the cooking water as it has served its purpose. Rinse the bones again under cold, running water to remove any blood or other impurities that came to the surface while boiling.
- Wash your stockpot with water and then return the bones to it and cover with fresh water. I usually start by submerging the bones with water so that the water level is at least 5cm (2 inches) above the bones. You will need to add water regularly as the tonkotsu broth cooks.
- While the water is coming up to heat, fry the onion, garlic, ginger, spring onions and shallots in the oil to char some. This should only take about 5 minutes. Take off the heat. Once the broth is boiling, add the charred aromatic ingredients along with the mushrooms.
- Cover the stockpot and continue boiling for 12 hours. It is essential that the bones remain submerged during cooking so be sure to check the stock every half hour or so and add water if required. By boiling and not just simmering the bones, the stock will turn a milky beige.
- After 12 hours, remove the bones with a slotted spoon and then pass the stock through a sieve.
- The stock will keep in the fridge for at least 3 days and it can be frozen. If freezing, think about the portion sizes you will need so that you can simply remove what is required and not have to defrost a huge frozen tonkotsu stock cube! My tonkotsu ramen recipe should give you a good idea about freezing.
Recommended Products
As an Amazon Associate and member of other affiliate programs, I earn from qualifying purchases.


Nutrition Information:
Yield:
10Serving Size:
1Amount Per Serving: Calories: 19Total Fat: 0gSaturated Fat: 0gTrans Fat: 0gUnsaturated Fat: 0gCholesterol: 4mgSodium: 3mgCarbohydrates: 2gFiber: 0gSugar: 1gProtein: 2g


Ramen lover says
How much broth should we be aiming for at the end?
I ask because depending on stovetops and when water was added, we could have slightly different levels of liquid at the end and may need to add water or reduce it a bit further.
Also, you should try pressure cooking for 2 hours and then plain boiling for 2 hours. Veg added in the second step.
Dan Toombs says
It is hard to give an accurate measurement of how much liquid you have at the end as it depends on a lot of outside factors. Definitely add more liquid or reduce further to get the taste you want.
I have found that unfortunately pressure cooking does not work for this broth as you lose the crucial creamy consistency.
Thanks
Dan
Adam says
@Dan Toombs, thanks so much for your complete and wonderful listing here. I would offer one idea. yes The pressure cooker is no good at creating the creamy consistency. It is amazing in 1hr at scaling back a good 7hrs of boil though. I found that the process as you described is perfect and there Will be no difference if one ads a pressure cooker step for 1 hr with a natural release between the bone clean and skim and the boil. Once the pressure cooker naturally releases start the boil with whatever the chef desires for aromatics. This will added step will make for a much faster and exactly the same end result. The broth will be perfect. Light in color clean and ultra creamy.
Curious what you do for Tore in your plating? How much free glutamate do you aim for?
Dan Toombs says
Great to know the pressure cooker works to save a bit of cooking time.
Thanks very much
Dan
Alexia says
So I think I may have not cleaned my bones properly. It’s been 12 hours and I’m still having to skim stuff off the top. Nothing crazy just like oily thin stuff. Is it still good? Or did I ruin it? What do you think?
Dan Toombs says
It does sound like you may not have washed the bones enough, they do have to be very clean. They also have to be boiling at all times, not just simmering.
Anyway hope the result in the end was ok after all that effort.
Thanks
Dan
Devin says
@Dan Toombs, hey! I just finished TG dinner and have a huge ham bone from a traditional precooked ham. Would I be able to just use that bone? It looks very big and perhaps would take up half my biggest pot. Thank you
Dan Toombs says
That wouldn’t work as you need to use washed bones as my instructions. The cooked ham bone would give it a completely different flavour
Thanks
Dan