Salted fish done this way is out of this world delicious!
I love to cook fish on the barbecue. There's often a real art to it, getting everything just right. One of my favourite Thai fish dishes is pla pao which is fish such as bream or bass, salted and then grilled slowly.
This cooking method makes the meat succulent and delicious. If there's one salted fish recipe you need to try, it's this one! The pla pao is served with a spicy and amazing dipping sauce and I have a recipe for that here too.

How is this salted fish cooked?
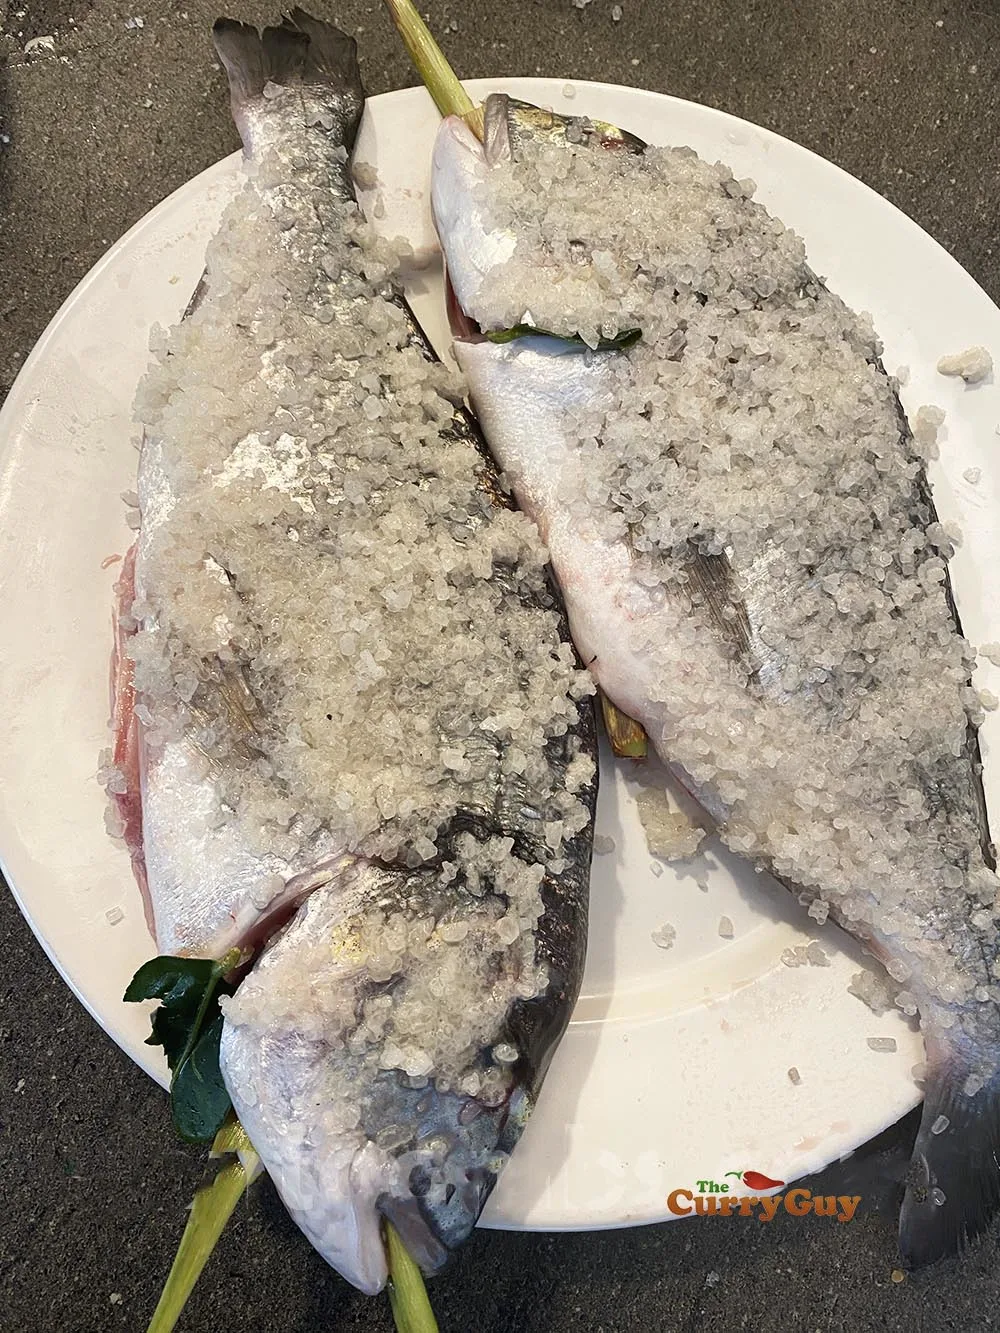
Very slowly is the answer. The idea behind the recipe is to first salt the exterior of the fish with a thick layer of course salt.
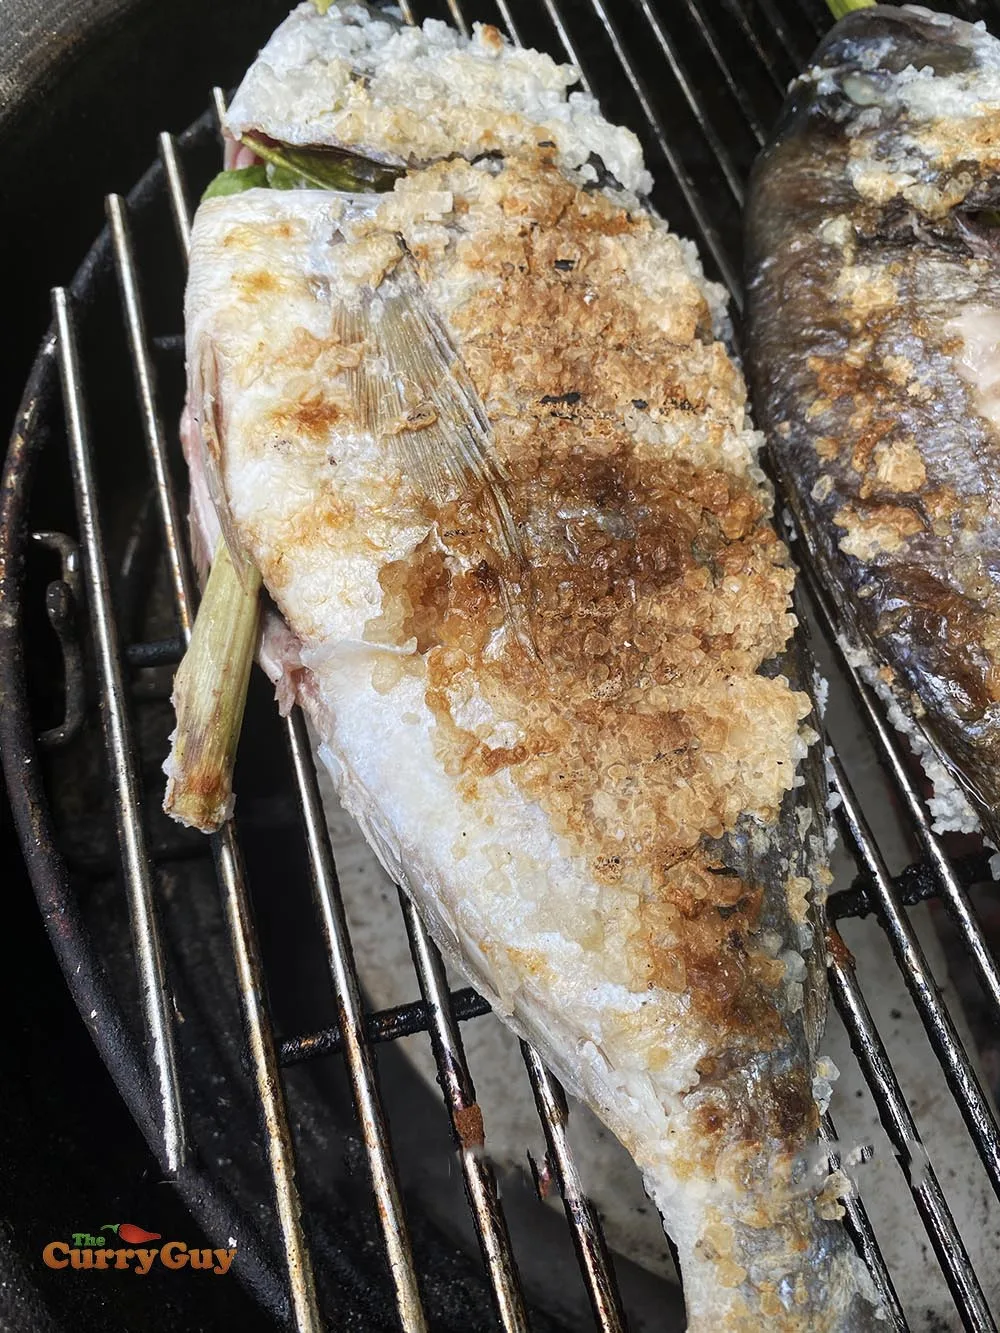
Then you place it on a barbecue over a low heat. The fish slowly cooks through. As it does, you will notice that the salt is beginning to turn a delicious brown and you will have a good idea that your meal is ready.
How long to you have to cook the fish?
This is going to take you about 40 minutes to cook. You might think that sounds like a long time for fish but you really need to cook it over a low heat.
The salt crust helps keep all the moisture in while the fish cooks. Really... salted fish does not get much better than this!
Step by step photographs.
How to ensure slow cooking.
The 40 minute cooking time is important. This is done over a really low heat. If you have a Kamado Joe, using the heat deflectors will help with this.
You could also do this on any barbecue. Just keep the heat down. Mixing the hot coals with ash will help keep the heat down.
Turn the fish regularly so that it browns nicely on both sides.
While the fish is cooking, you can prepare the seafood sauce.


How do you achieve the perfect flavour in the sauce?
As with all Thai food, it is important to taste as you go so that you get the perfect flavour combination for your tastes.
Add the salty, sweet, spicy and sour ingredients and then adjust as you go.
If you love Thai food as much as I do, you might want to try these too!
If you enjoyed this recipe, you might like to try some of these Thai favourites:
- Choo Chee Salmon
- Thai Fish Cakes
- Kanom Jeeb - Steamed Pork and Prawn Dumplings
- Thai Yellow Curry
- Thai Jungle Curry
- Thai Grilled Fish
- Thai Fried Fish with Lemongrass Sauce
- Thai Fried Fish with Garlic and Chilli Sauce
- Prawn Soup - Hot and Sour Thai Soup Recipe
- Thai Salted Fish - Thai Pla Pao
- Thai Steamed Fish with Lime and Garlic
- How To Make Thai Green Curry


Back to the fish...
Thai Salt Crust Fish With Seafood Sauce
Ingredients
- FOR THE FISH
- 2 large whole sea bream (about 1 kilo, 2 lbs each) – cleaned but not scaled
- 280g approx. (1 cup) course sea salt
- Water as needed
- 10 kaffir lime leaves or one thinly sliced lime
- FOR THE SAUCE
- 6 green bird’s eye chillies – roughly chopped
- 4 – 6 red bird’s eye chillies – roughly chopped
- 8 cloves garlic
- 1 tbsp oyster sauce
- 3 tbsp coriander – leaves and stems
- 3 tbsp fish sauce
- 125ml (1/2 cup) lime juice
- 2 tbsp sugar
- Salt if needed
Instructions
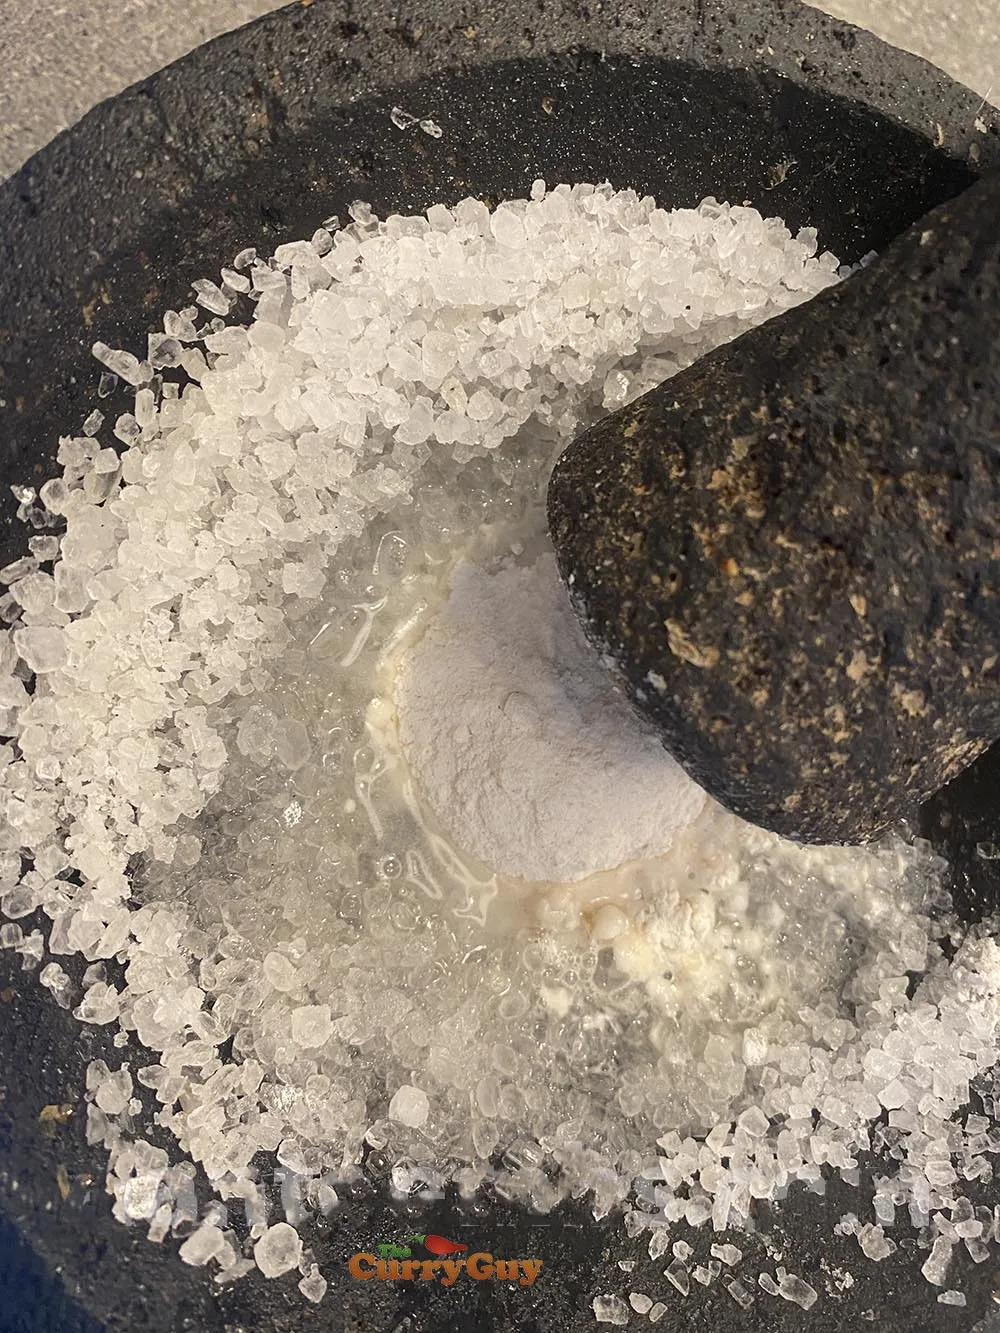
- Pour the salt into a bowl and mix it with just a tablespoon or two of water until it is fluffy and slightly moist to the touch.
- Start rubbing the salt all over the fish, pressing down slightly to help it stick. Flip the fish over and do the same on the other side.
- Stuff with the Kaffir lime leaves in the cavities. Use fresh Kaffir lime leaves if you have them but sliced limes will work almost as well.
- Set up your BBQ for direct heat cooking. It is essential that your coals not be too hot.
- Grilling fish over hot direct heat would normally only take about 8 – 10 minutes. You want to slow this down so that the fish cooks slowly. Turn the fish often.
- The cooking process over the low heat should take about 40 minutes so adjust the heat accordingly.
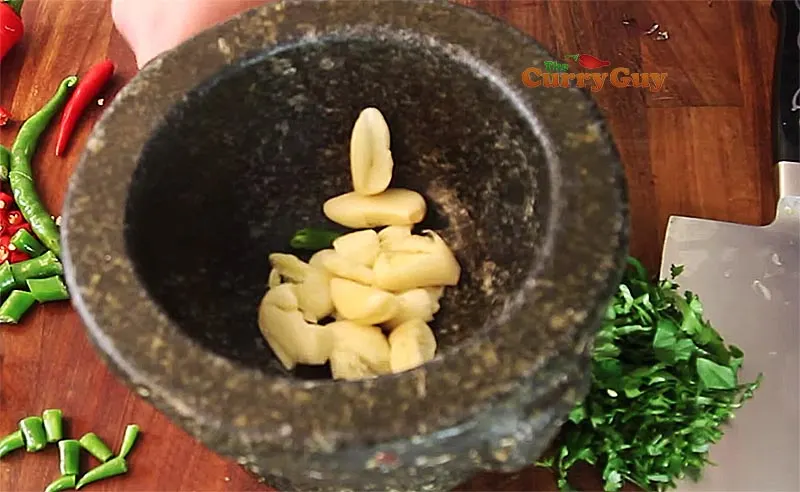
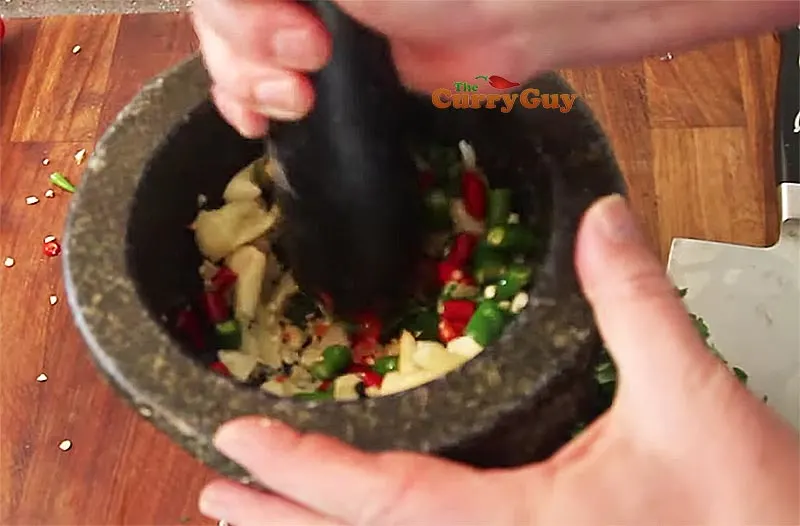
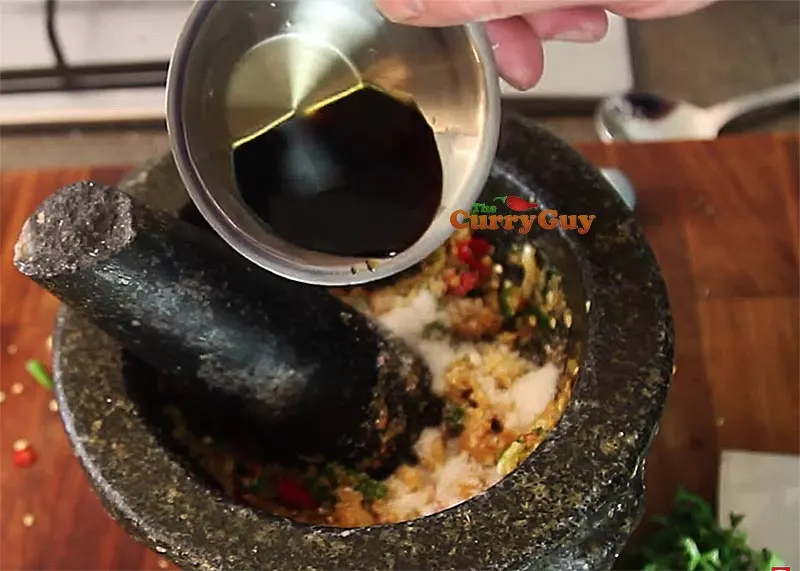
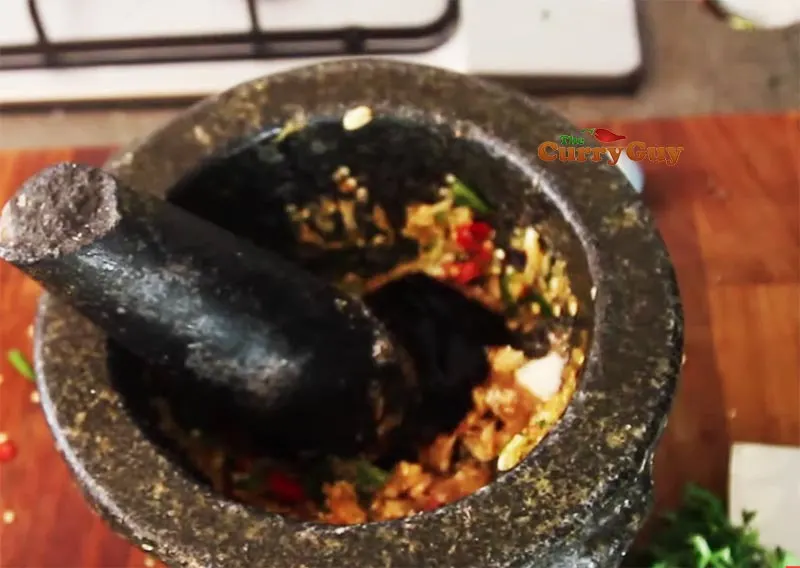
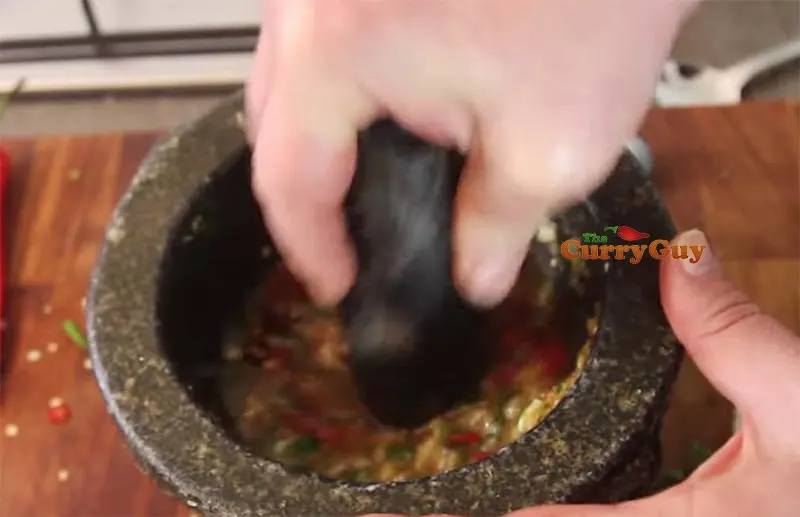
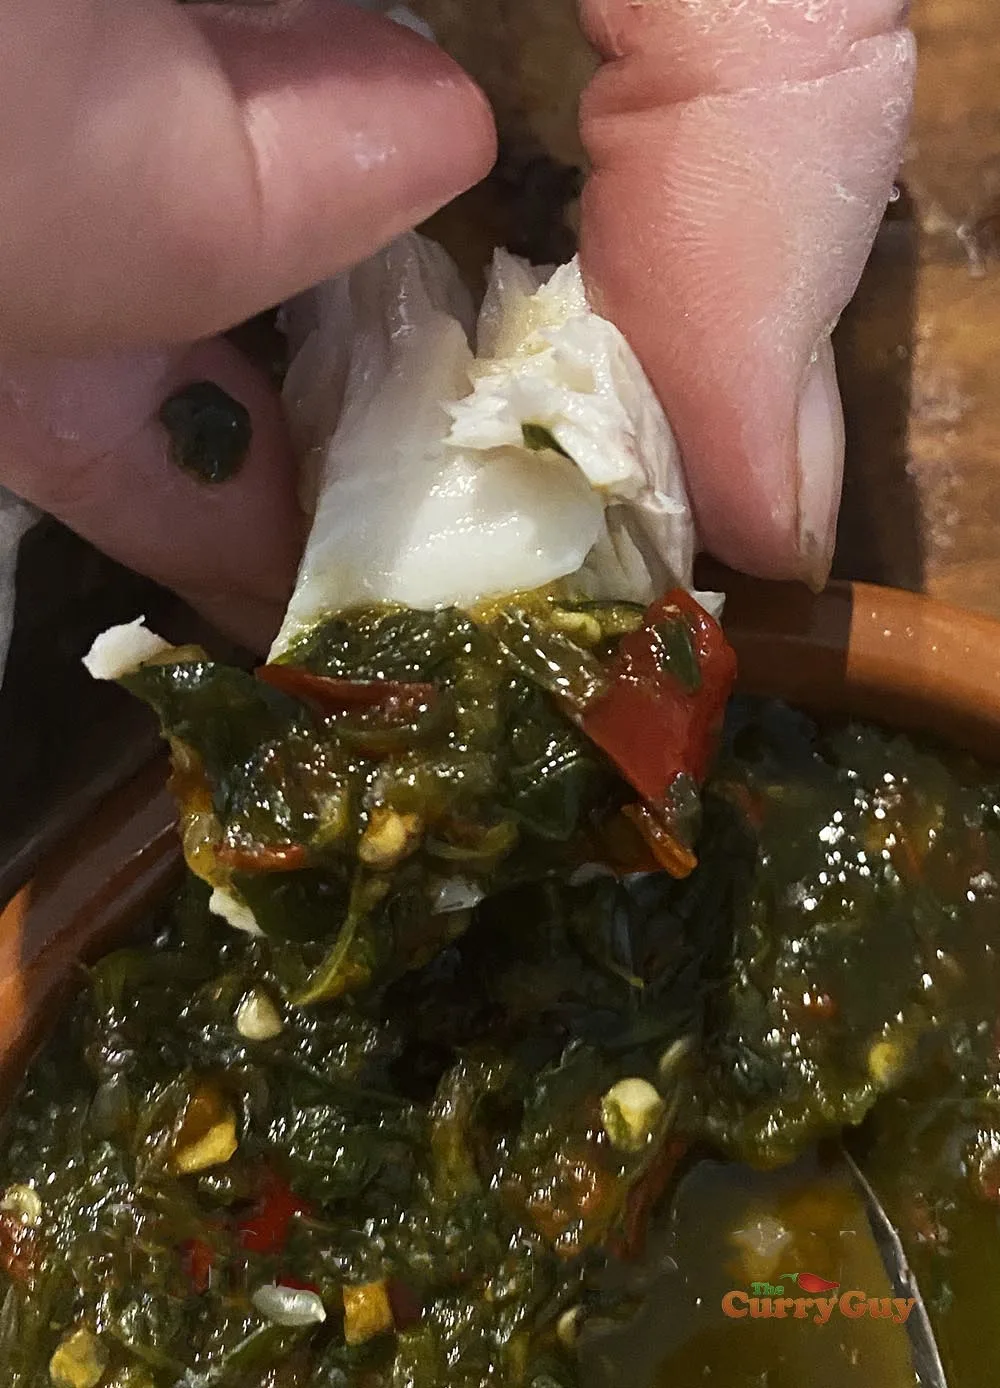
- Meanwhile, prepare the seafood sauce. Place the chillies and garlic in a pestle and mortar or food processor and pound or blend to a chunky paste.
- Add the remaining ingredients and taste. Add more sugar and/or a little salt if desired.
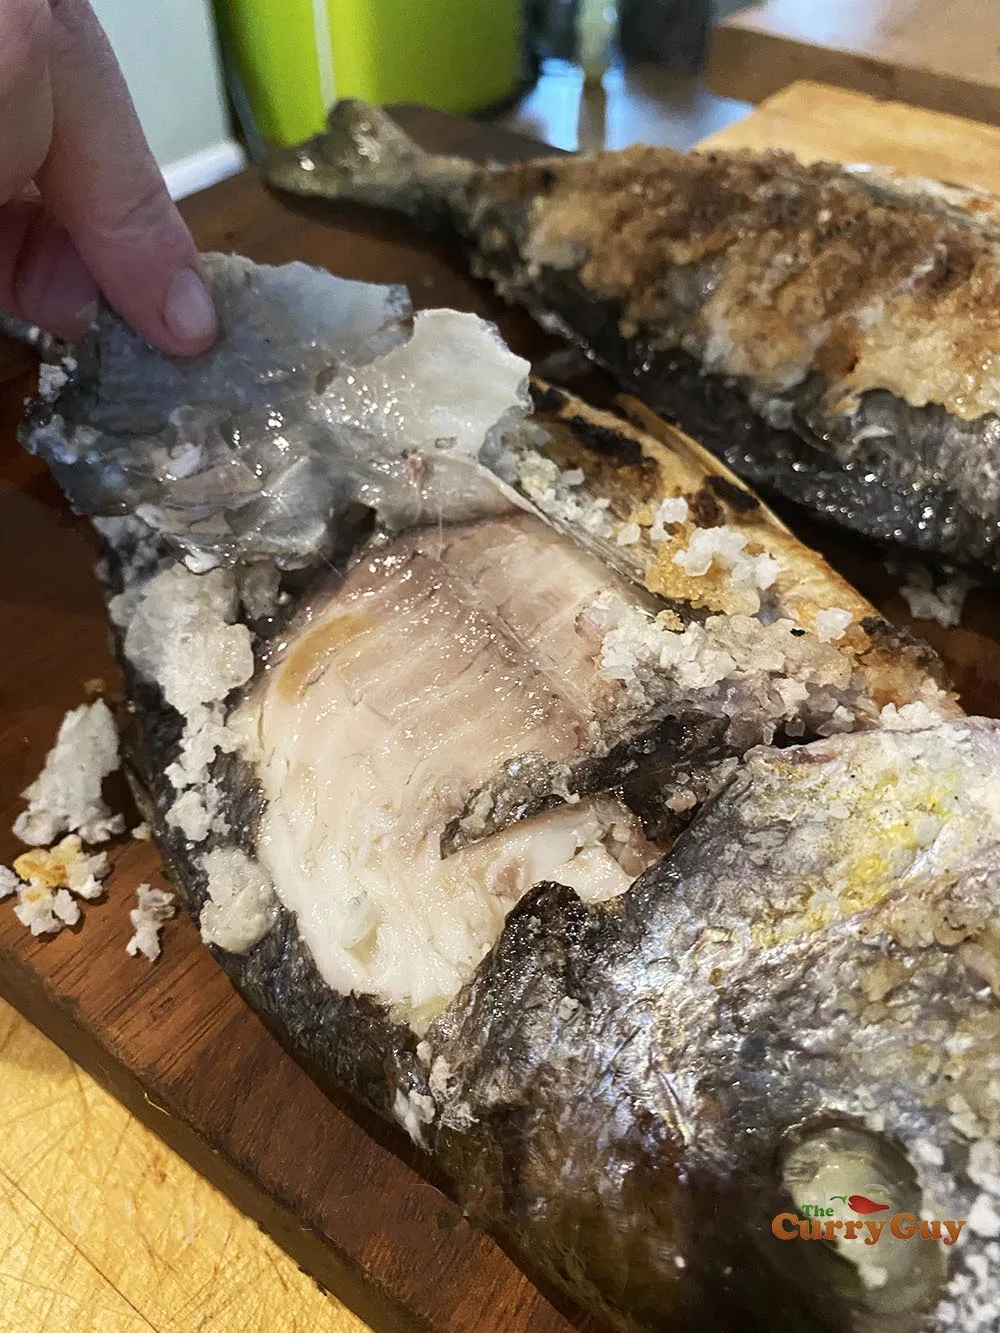
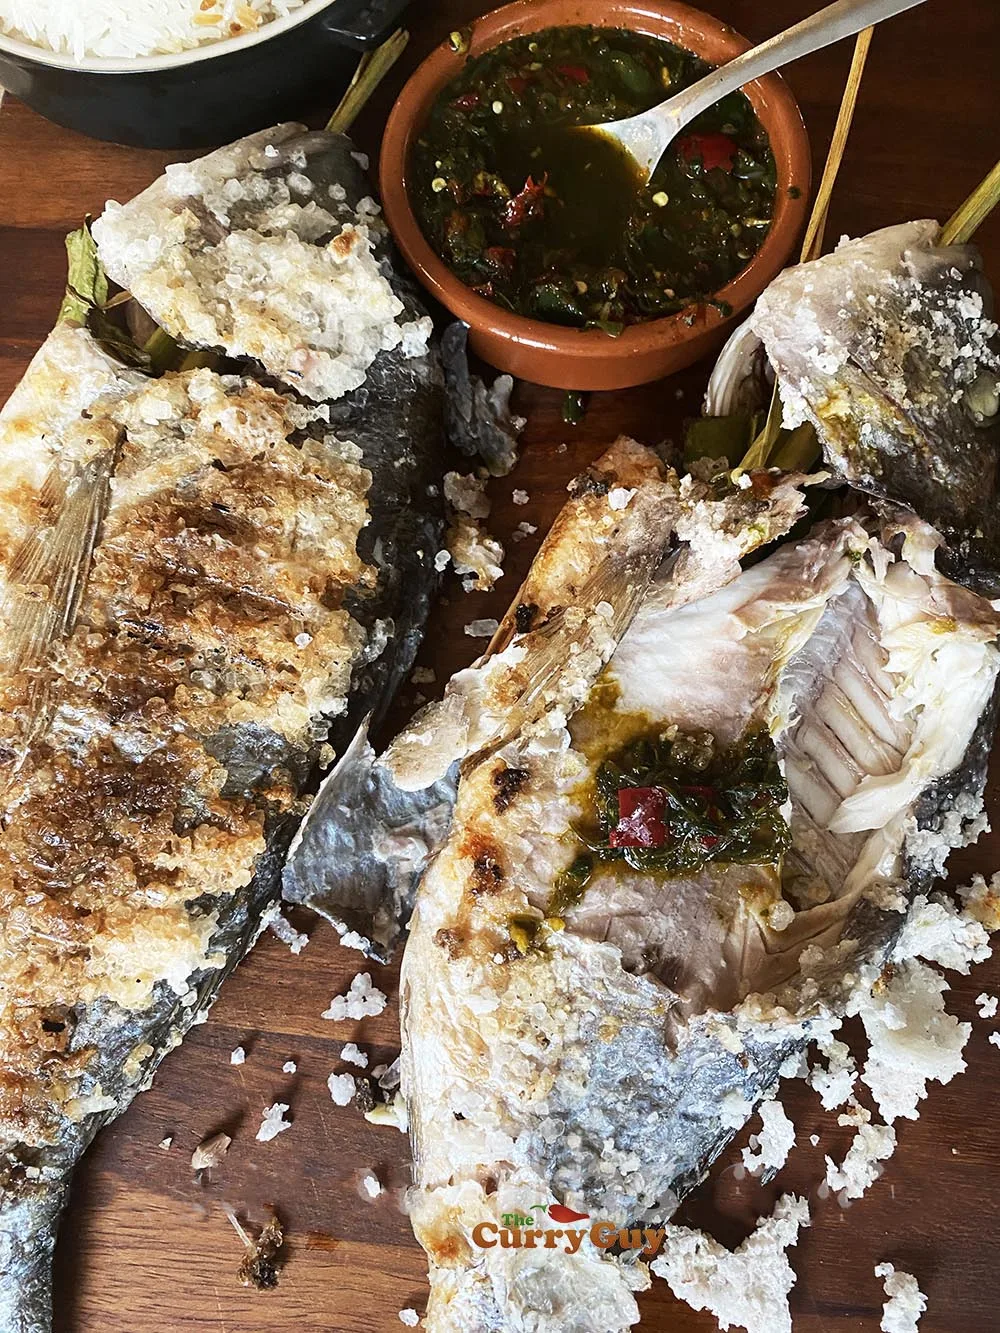
- After about 40 minutes, your bream should be cooked through and blackened slightly in a few places but not char grilled. You should still be able to see the white salt
crust. - To serve, place the fish on a warm platter. Peel the skin off the fish. Sometimes I use scissors or a sharp knife to help remove the skin. Cut into the meat and dip away!

Recommended Products
As an Amazon Associate and member of other affiliate programs, I earn from qualifying purchases.


mohan kumar says
Thank you so much for sharing with us.
This look so fresh and delecious.
Mark says
Thank you so so much for your Tip,s and Fantastic recipes. Been looking , writing down etc for over 4 hrs. Just GOT TO NOW GET YOUR BOOK.
Dan Toombs says
Thanks very much, I’m glad you’re enjoying my recipes.
Dan