This spiced chapatis recipe can easily be tailored to taste
If you’re just looking for an easy chapati recipe that works, you can check out my plain chapati recipe here. This recipe takes them all up a notch, adding different spices and chillies. What you add is in your hands but the idea is the same. Flavour those chapatis with the seasoning and aromatic ingredients you like. If it sounds good, add it! By the way, you might like to try some of my other Indian bread recipes including naans!

About this chapatis recipe
You might have already make homemade chapatis and loved them. Fresh homemade chapatis right out of the pan just plain get it!
With this chapatis recipe, you add other ingredients to give them more flavour. You could simply go with what I have recommended below but I can assure you that no two chapatis recipe are the same when I make them.
You can add what you have on hand. Experiment with different spices and add loads more chillies. Once you get the art of making chapatis down, the next step is to make them spectacular.
What are spiced chapatis?
When you try this chapati recipes like this, you are in for a treat. You will be preparing one of the most popular Indian flat breads around.
In fact spiced chapatis are so good, they play a big part in many south east Asian cuisines, not just Indian.
For this chapati recipe, you will be making chapatis as they should be, with chapati flour. You can serve your chapatis with different curries, chutneys, pickles and/or dals.
Another popular option is simply to enjoy chapatis drizzled with butter or ghee or serve them as a wrap as in this chicken chaap recipe.
Is it difficult to make this chapatis recipe?
No! But practice does make perfect. Even if your chapatis don’t perfect at first, they will still taste amazing right out of the pan.
If you have ever made tortillas, you’ll find that this chapati recipe is made in a similar way. The only difference is the type of flour used and that tortillas often include pork lard instead of oil.
How do you make chapatis?
When your spiced chapati dough is ready, you need to roll it out into flat round discs. It is important the chapati discs be as flat and round as you can roll them.
You might find this the most difficult part of making them. As important as it is for perfection, it’s not the be all and end all!
You could use a tortilla press if you have one as it make the job much easier.
How do you cook chapatis?
You can make this chapatis recipe in a tawa or frying pan. The flat chapati is first placed in the pan and cooked until light brown spots are beginning to form on the underside.
You then flip it over to cook the other side until light brown spots colour the chapati. Then you flip it over and put pressure on the top with a spatula or damp kitchen towel.
Doing this will cause bubbles to form. You need to focus on the parts of the chapati surface where there are no bubbles. This will help the chapati puff right up and become airy and amazing.
What you need for this chapati recipe.
Only four ingredients are required to make this chapati recipe.
Chapati flour: You need to look for chapati flour or atta flour which is a mixture of whole wheat and plain white flour.
Spices and fresh ingredients: Add the spices and fresh ingredients of choice to the flour
Warm water: Room temperature or warmed water will suffice. You do not need to use hot water.
Salt: Add a little salt to taste to the flour.
Oil: I recommend using rapeseed (canola) oil. Just a little will do the trick.
Ingredient ideas
You will see from the recipe card below that I have kept this spiced chapatis recipe quite simple.
You can, however add lots of other delicious ingredients to your chapati dough. Try spring onions, red bird’s eye chillies, whole cumin seeds, finely chopped fresh methi, coriander or mint.
If you like your food spicy, try adding some Kashmiri chilli powder to taste. If it sounds good, it probably will be.
Storing Cooked Spiced Chapatis
You can cook your spiced chapatis up to 3 days ahead of serving.
If you do this, be sure to wrap them tightly them tightly and place them in the fridge.
To warm them up, dampen lightly with a little water and place in the microwave for about 20 seconds.
Pro Tips
- Be sure only to use chapati or atta flour for this recipe. You can use plain flour to make an equally delicious roti but it will not be a chapati.
- Ensure your dough is soft and pliable. It should be easy for you to make an indentation with your thumb.
- Make sure that the dough is not too sticky. If it is sticking to your hands, then you have added too much water. Simply adding a little more flour will fix that problem.
Frequently asked questions…
Can these spiced chapatis be frozen?
It is best to eat the chapatis made with this chapati recipe right out of the pan. You can, however freeze the cooked chapatis for another day. They will still be delicious and much better than anything you can purchase from the shop.
How many days ahead of cooking can I prepare the dough?
You can prepare the dough up to 3 days before cooking. Doing this actually improves the flavour.
Why aren’t my chapatis puffing up?
This will most likely be down to using a dough that is too sticky or you haven’t rolled the dough out flat enough. You might just need to practice some but you will get there. Roll your spiced chapatis out as flat and round as you can. This is important as they will not inflate properly if not completely flat. Again, a tortilla press will help ensure they are perfectly flat.
Step by Step photos
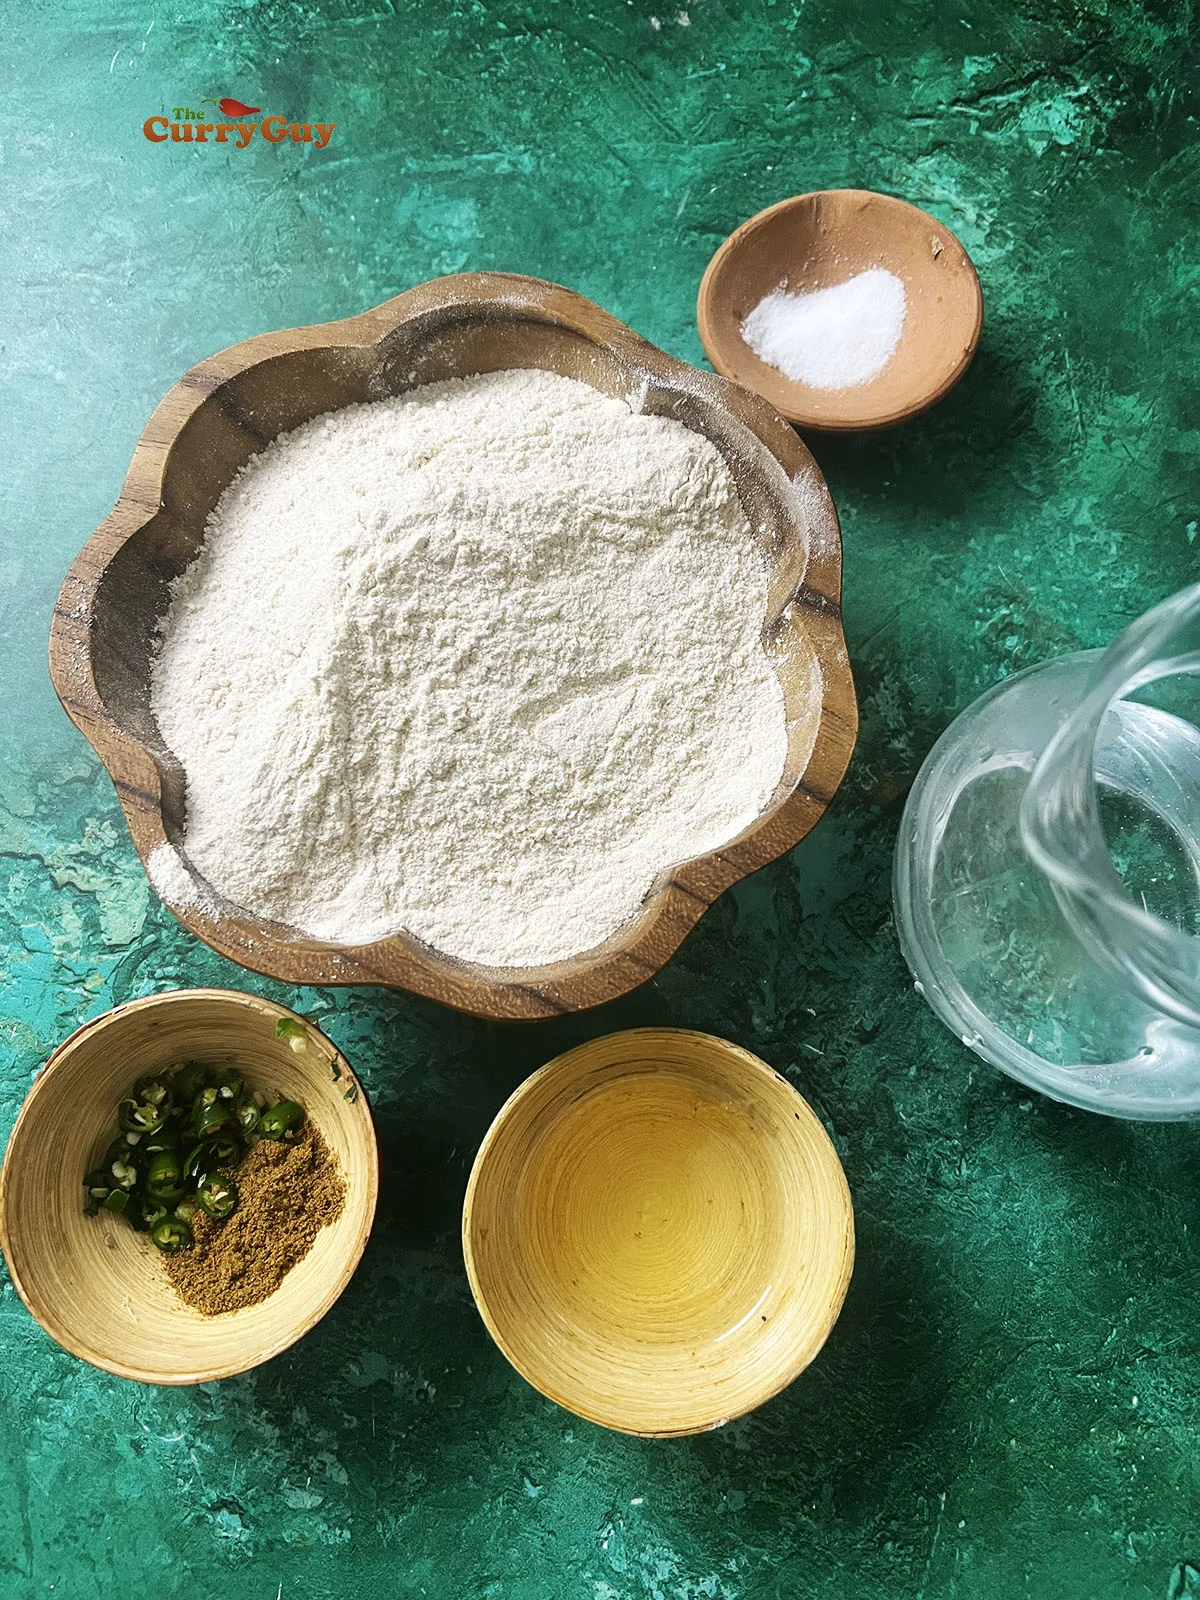
Get your ingredients together before starting. You should check out the ingredient suggestions above. I ended up adding some turmeric to my blend.
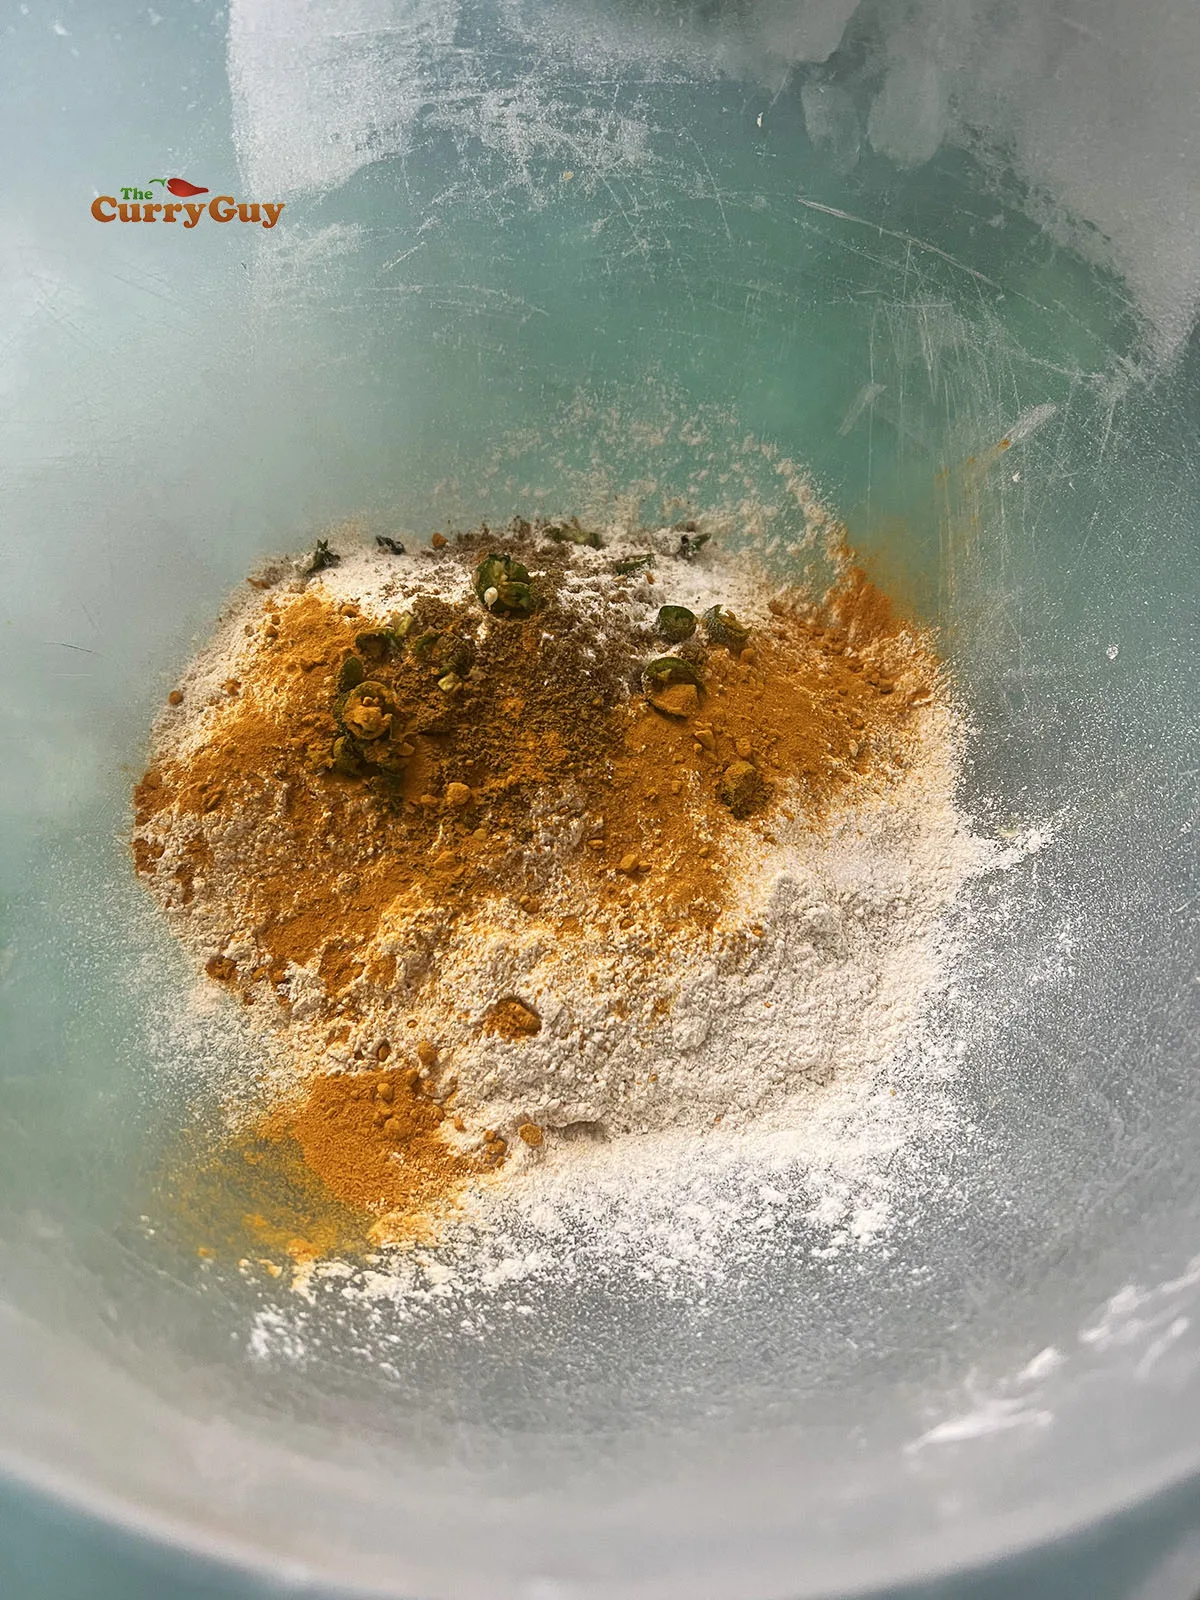
Add you additional ingredients of choice to the flour and salt.
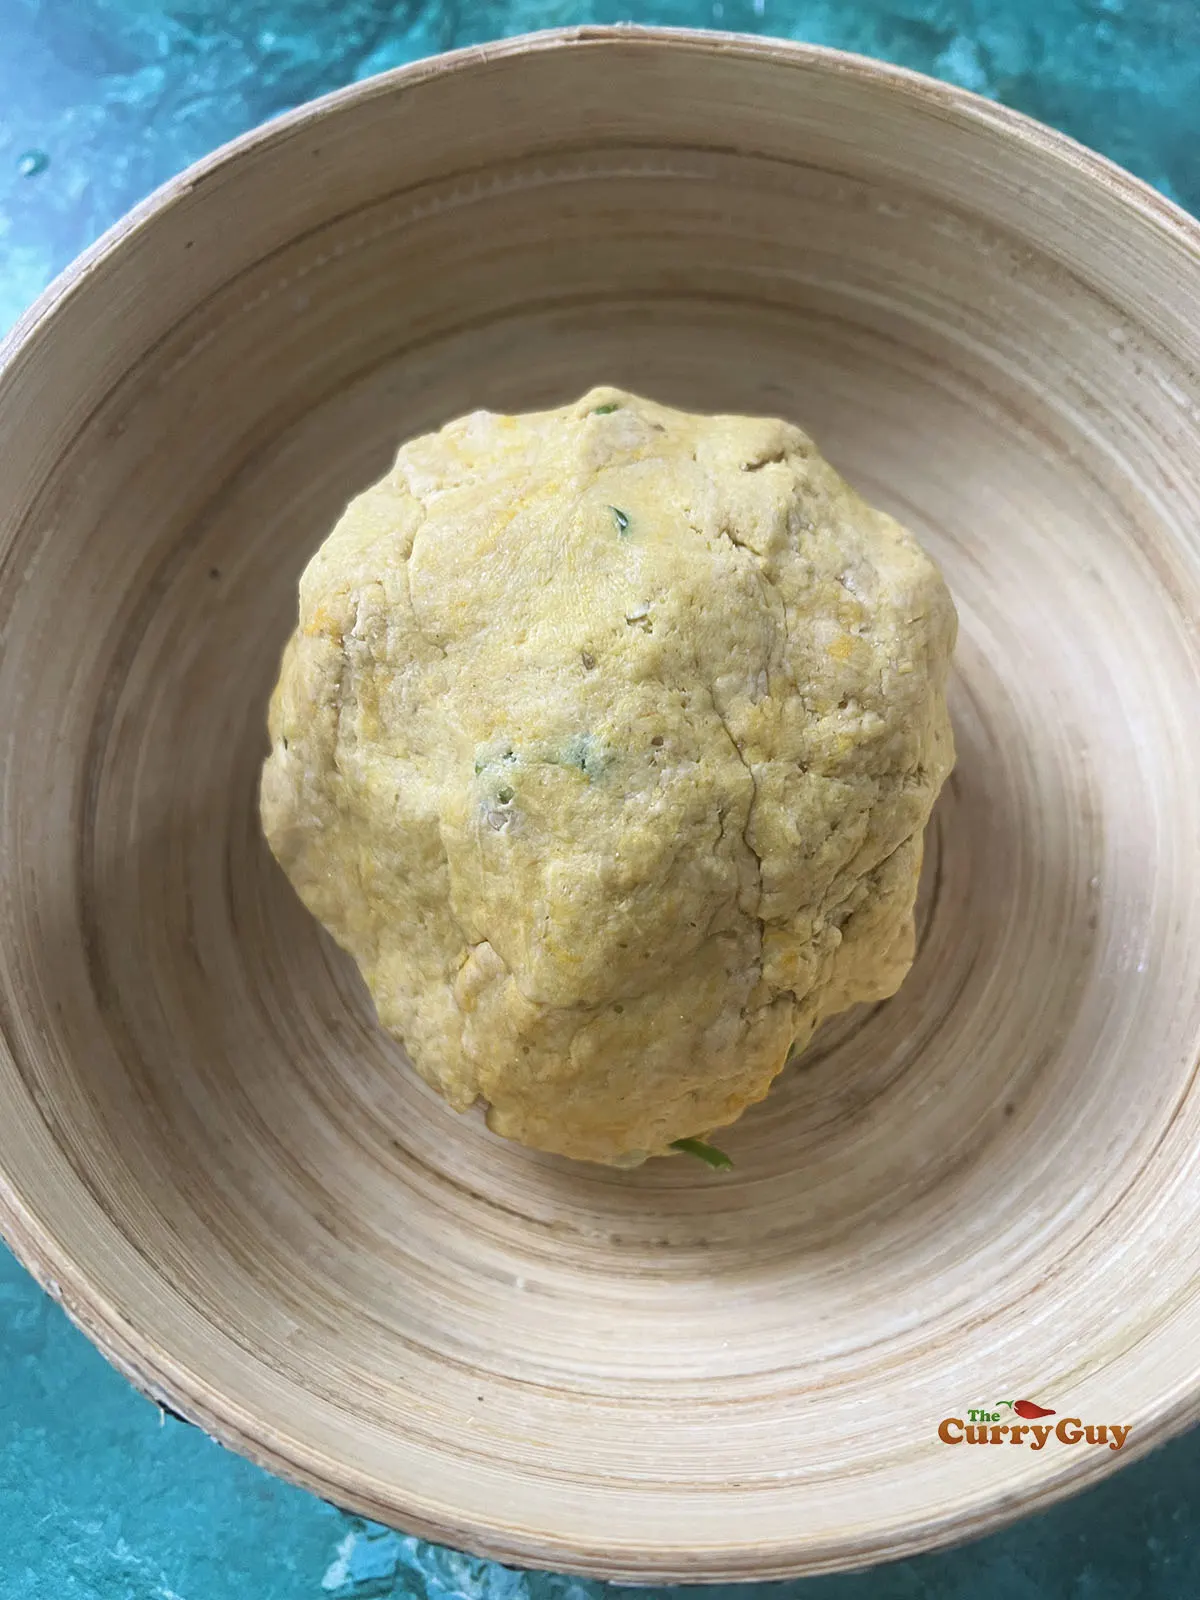
Knead for a few minutes and then place your dough ball in a bowl and cover to rest for 30 minutes or longer.
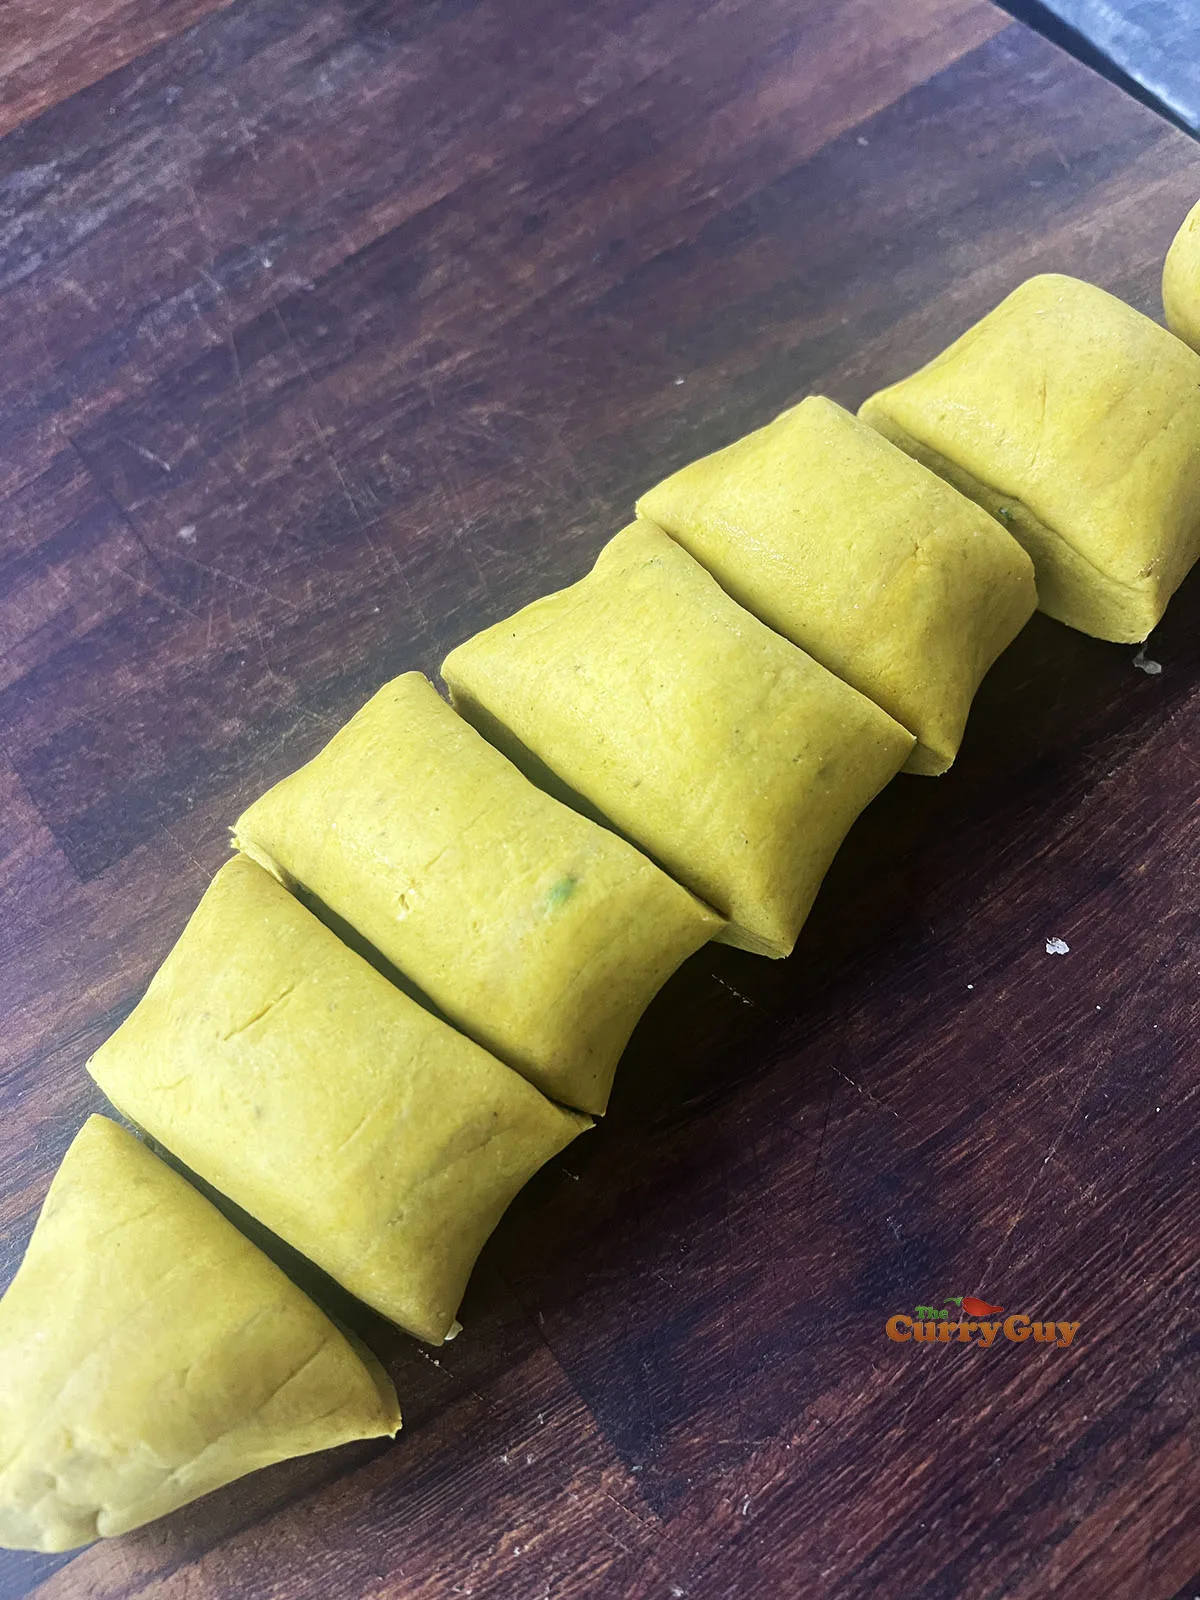
After resting the dough, oil you hands and roll it out into a rope shape. Then divide into 8 to 10 equal sized pieces.
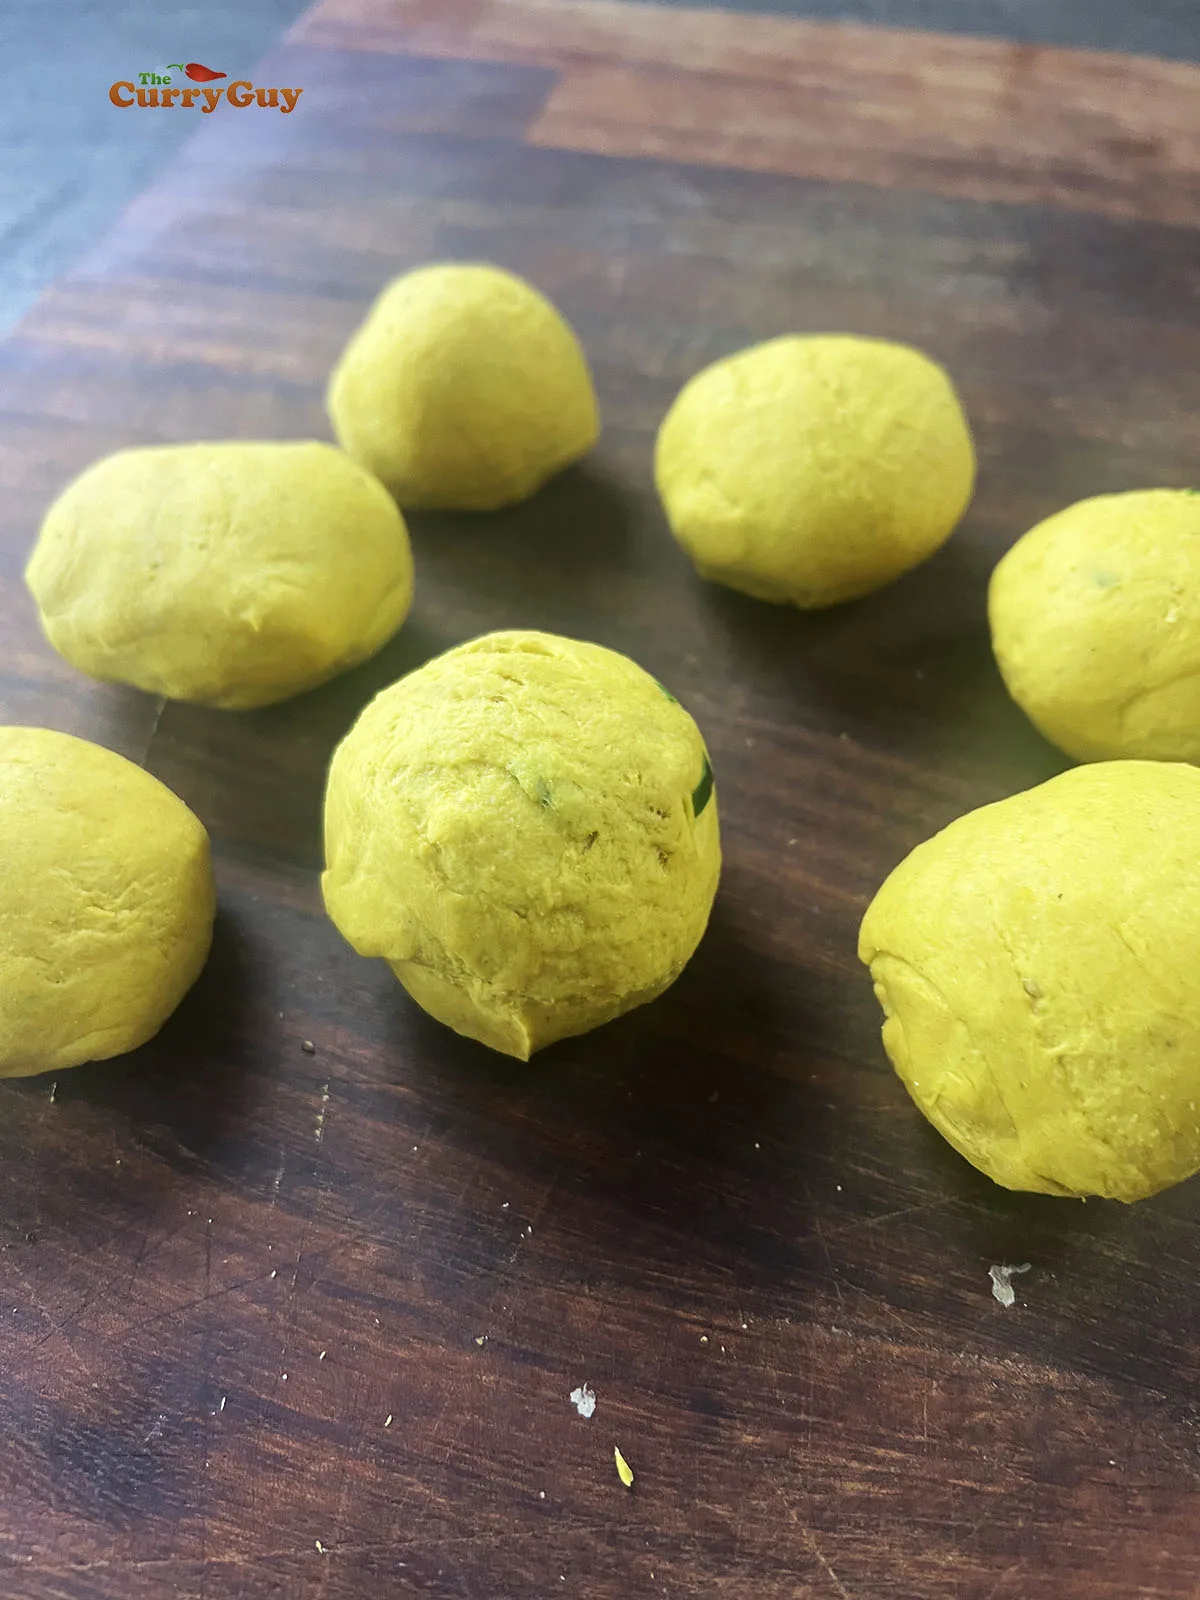
Roll into 8 to 10 balls, kneading each for a minute or so until you have a smooth surface.
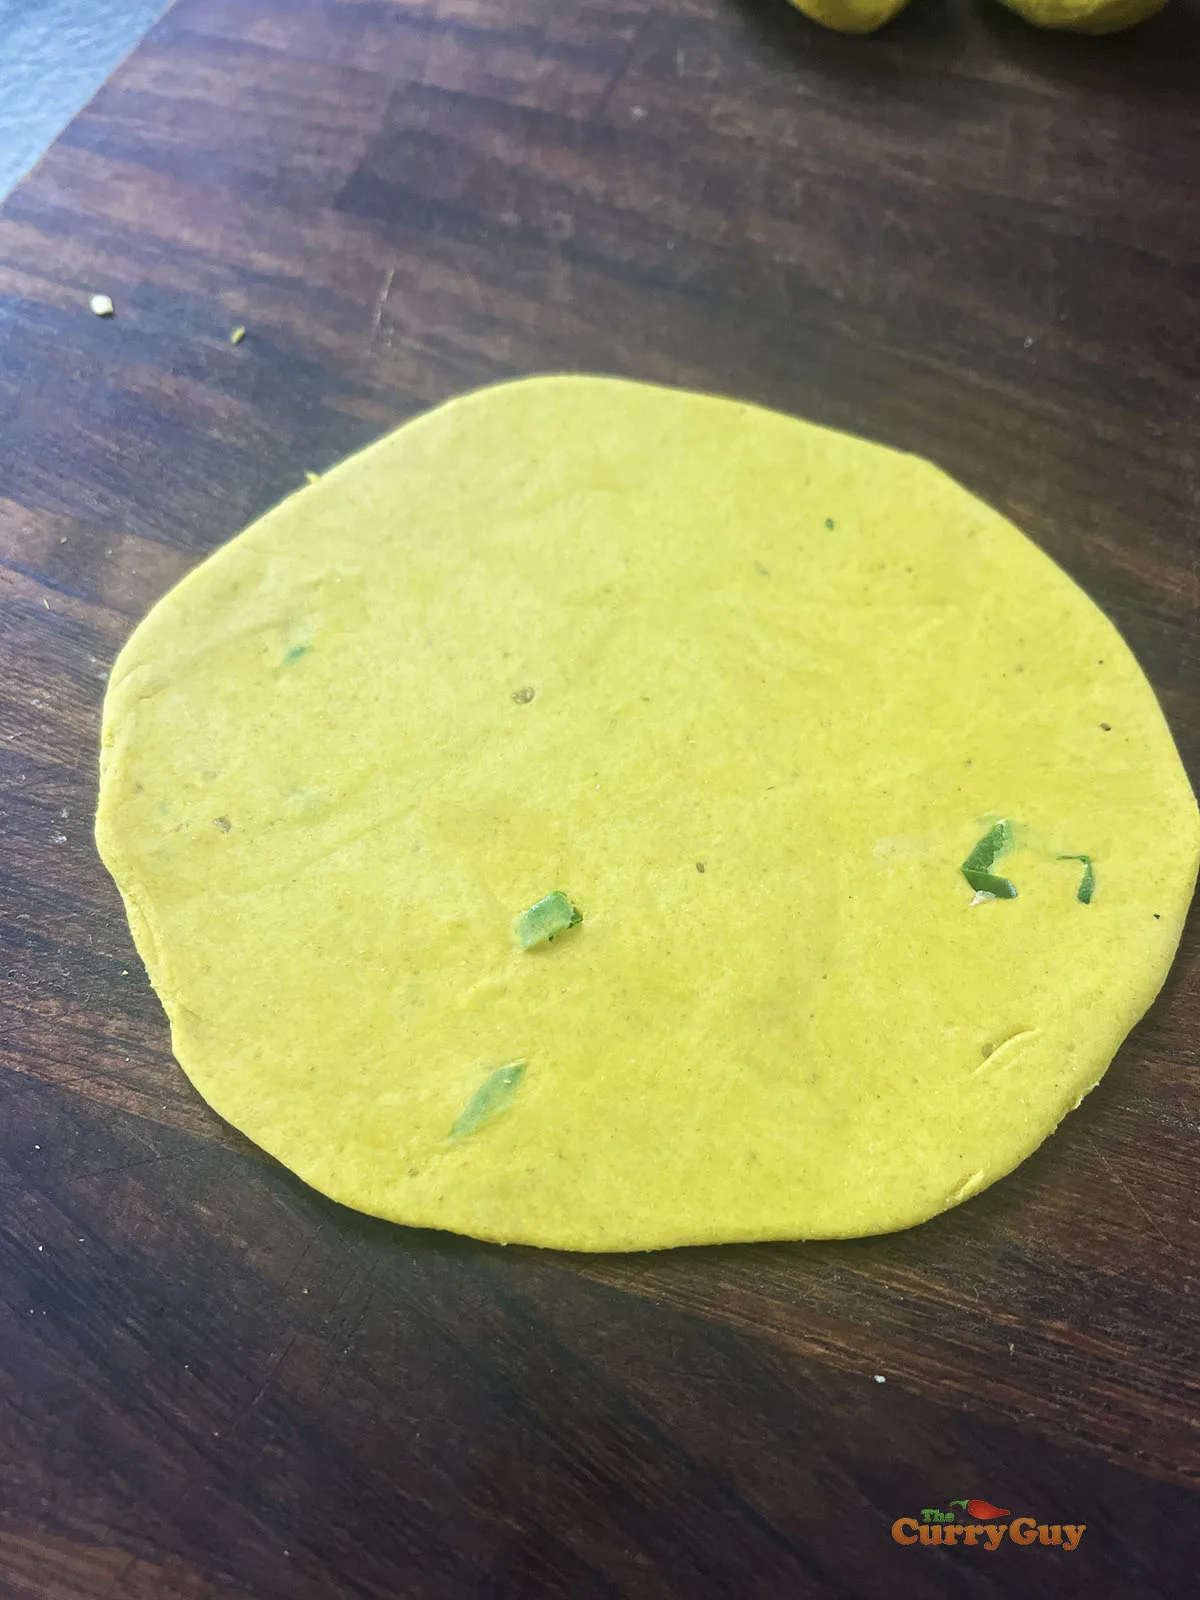
Keeping the balls covered to keep them moist, roll out one of the balls into a chapati.
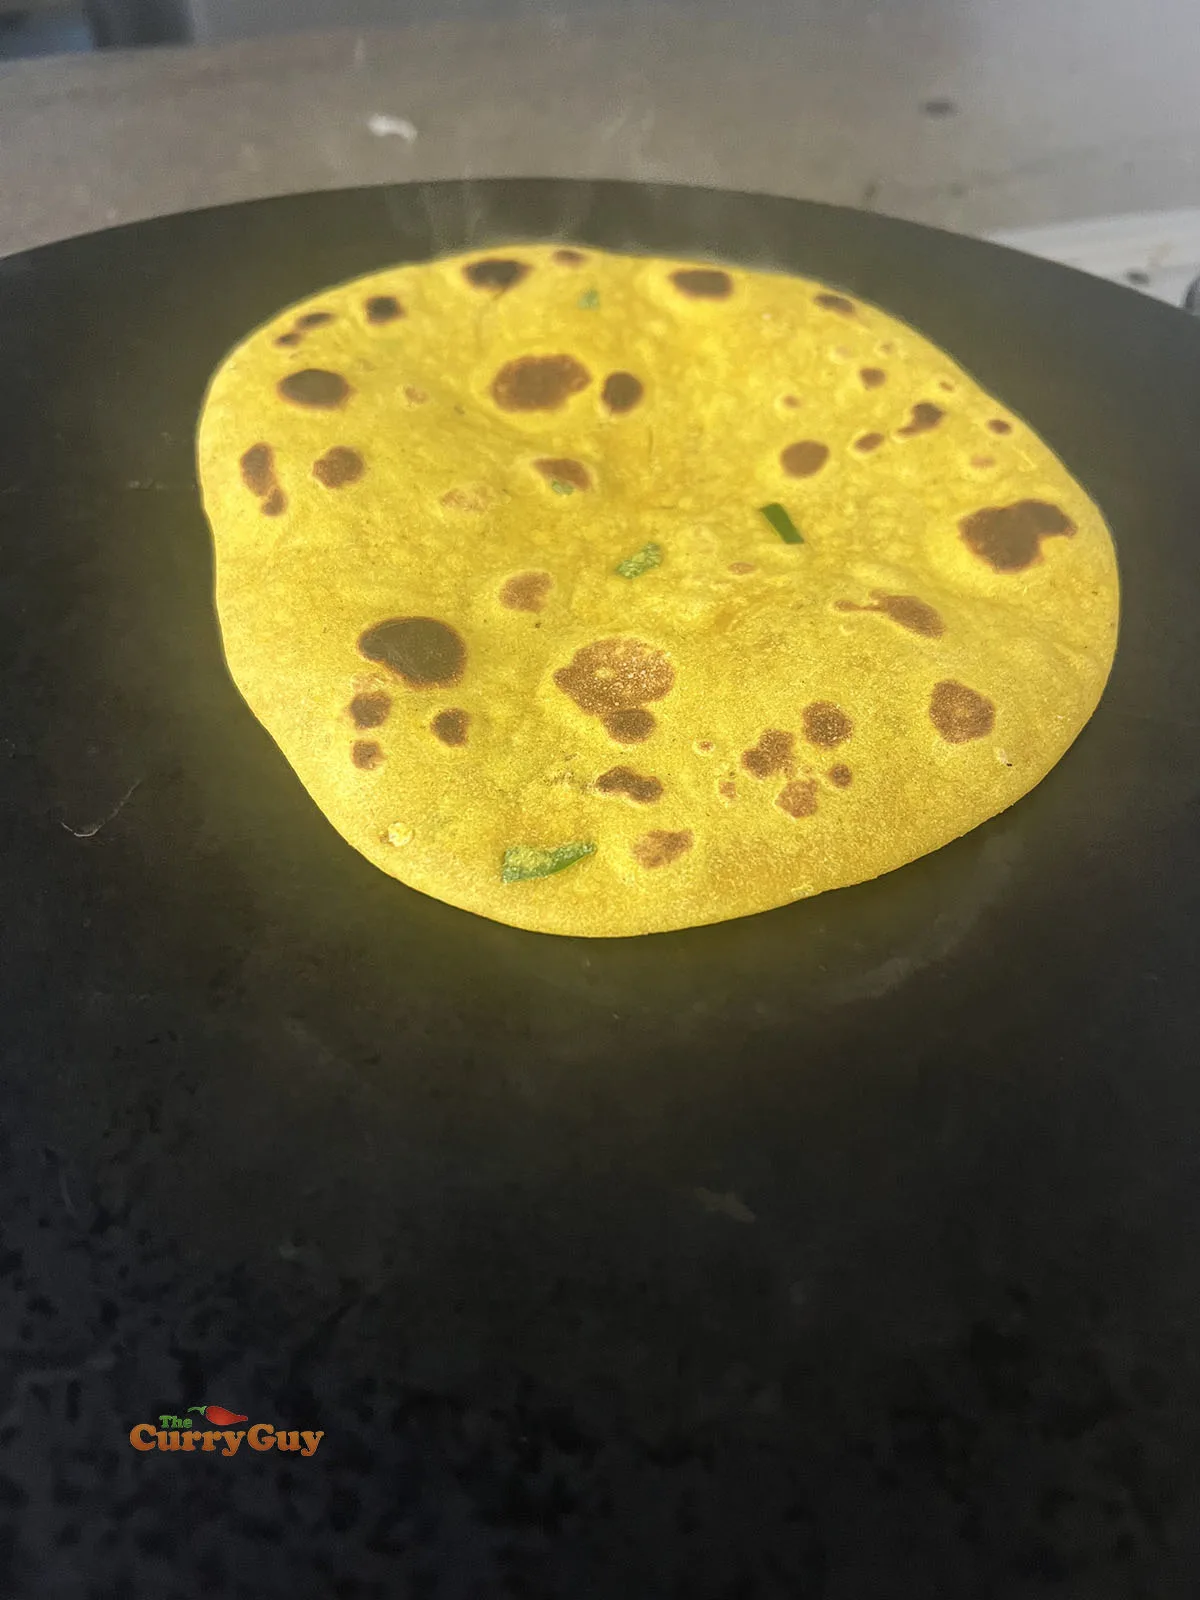
Place the chapati in a pan over the heat and when it begins to brown on the underside, flip it over. Small bubbles will begin to form on top.
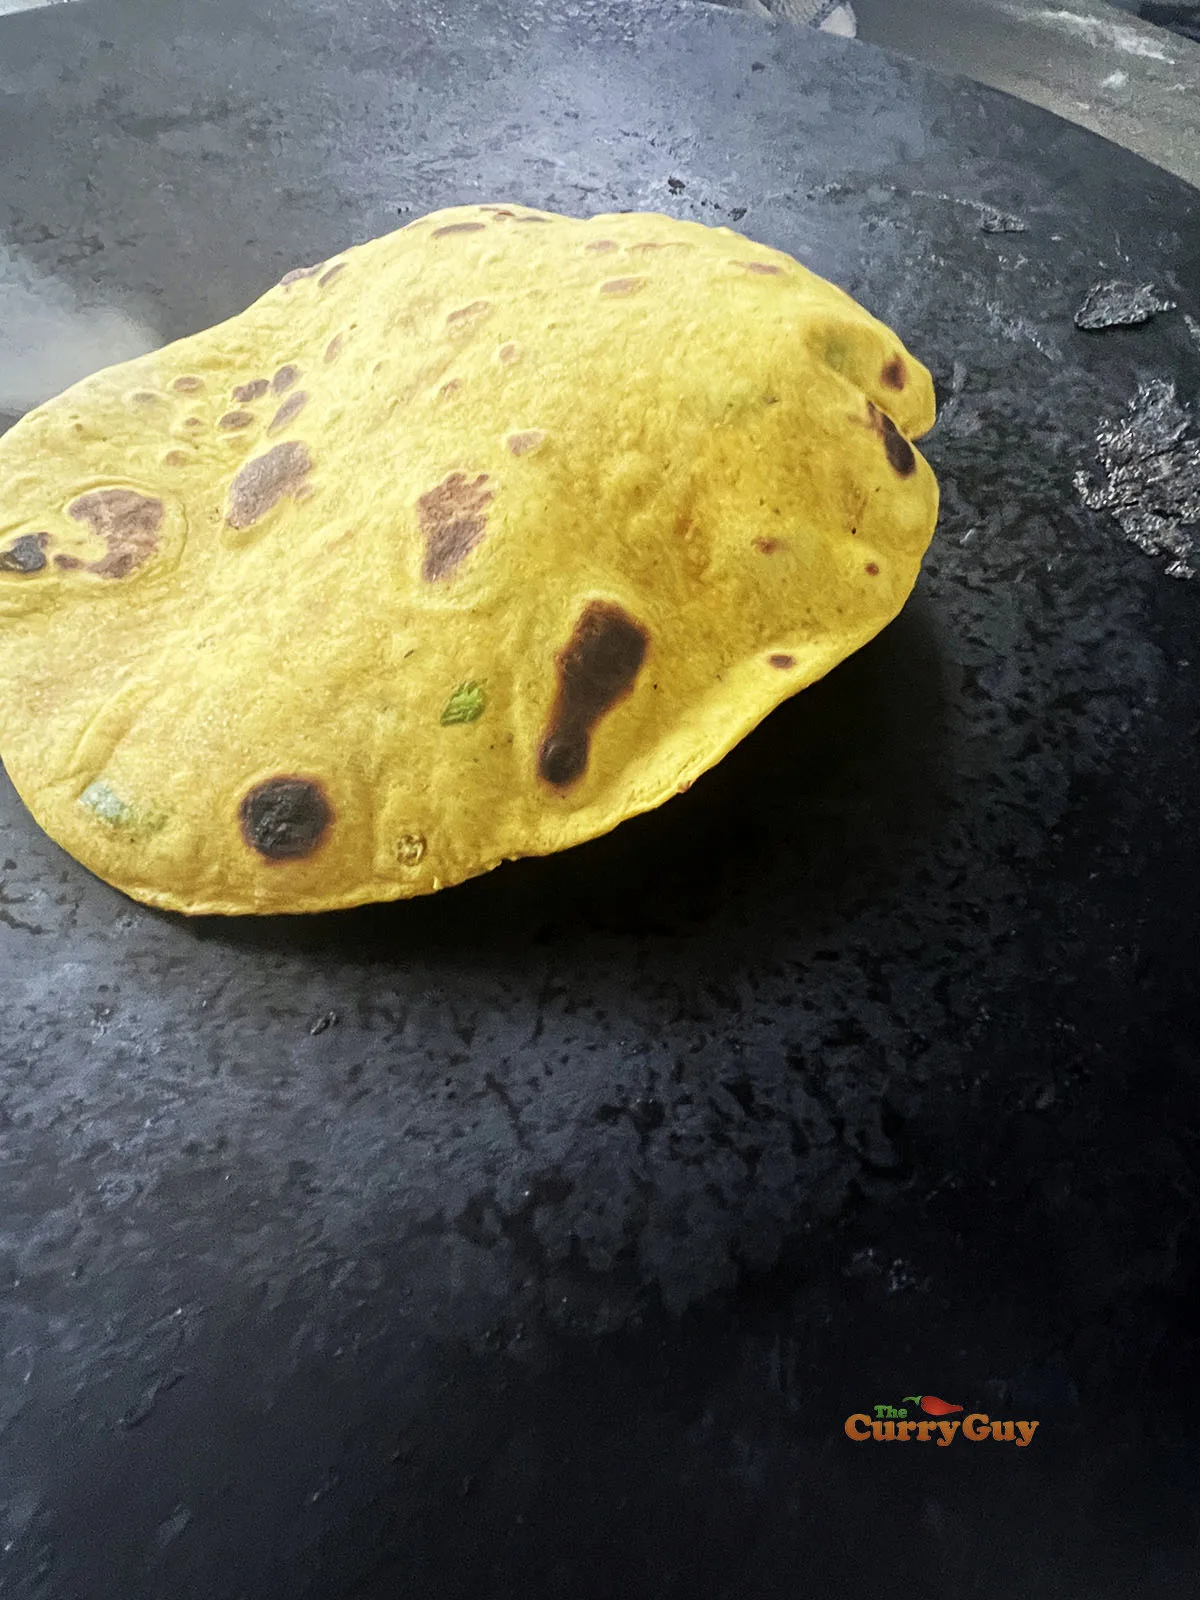
Flip it over again and put pressure on it, focussing on where no bubble are. The chapati will puff right up.
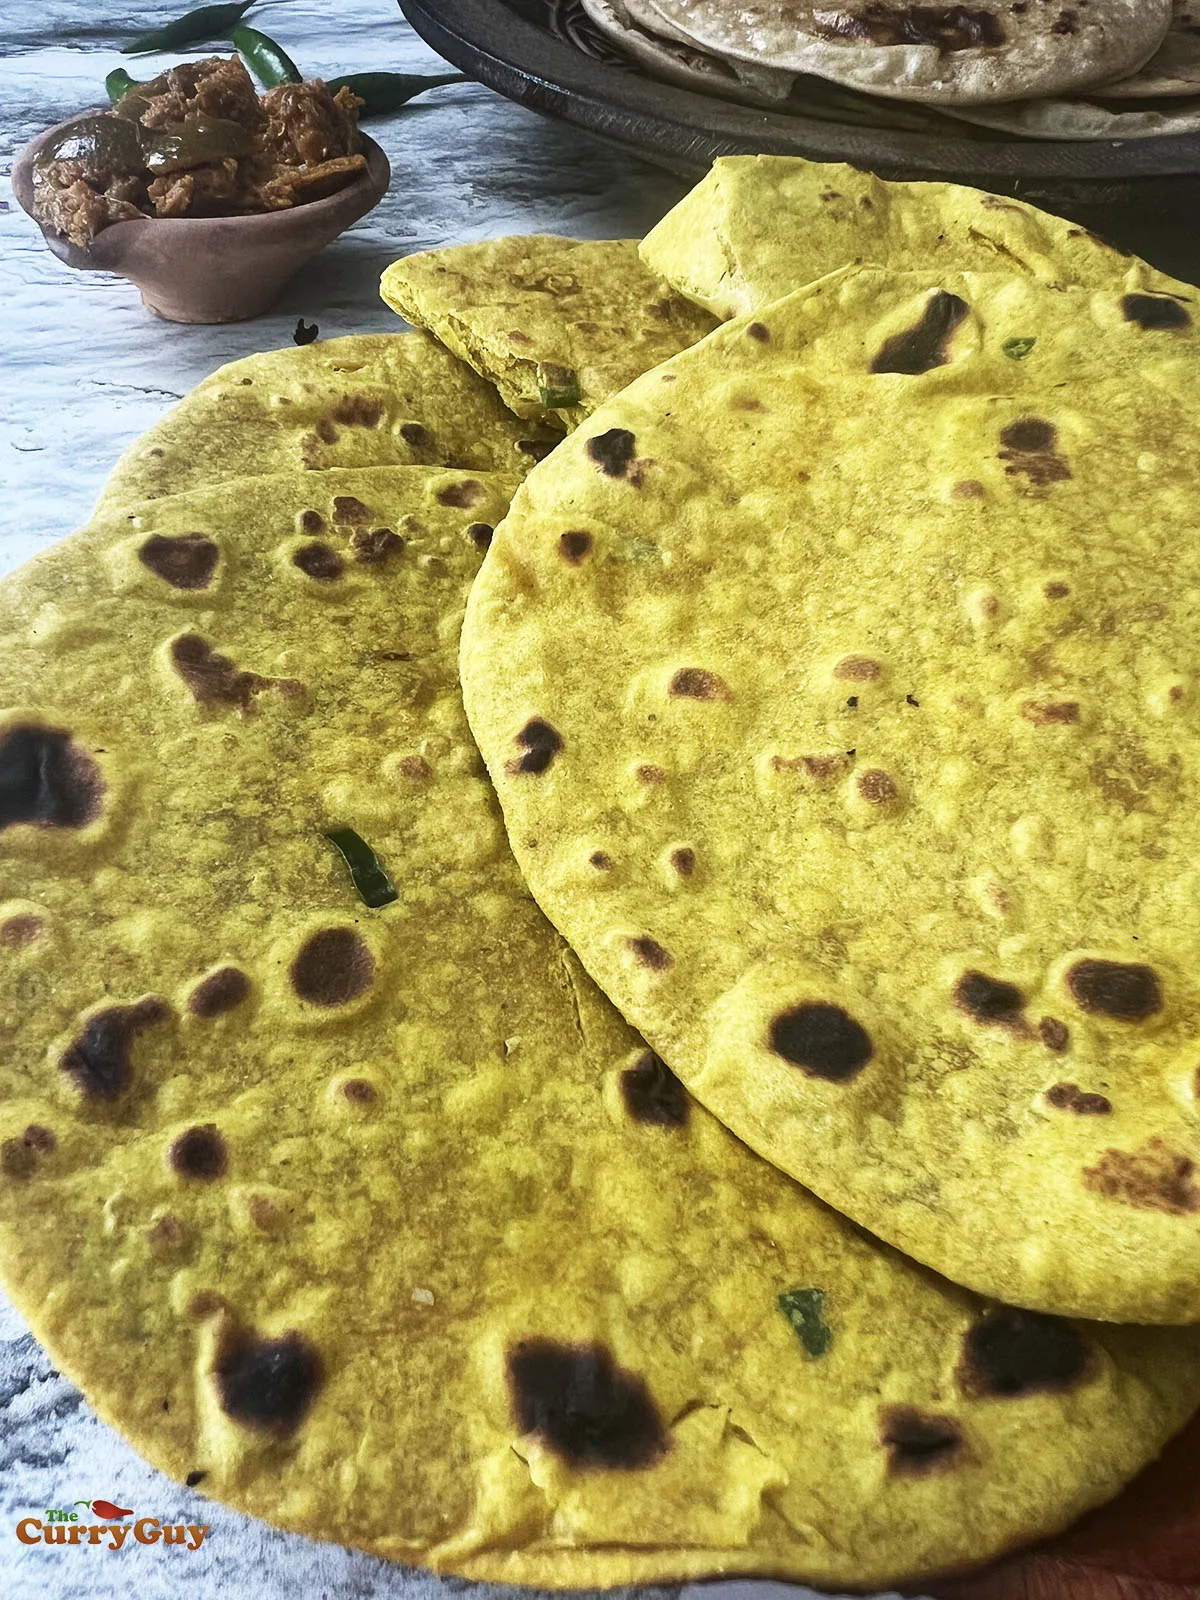
Enjoy brushed with ghee or as they are.
Spiced chapatis recipe
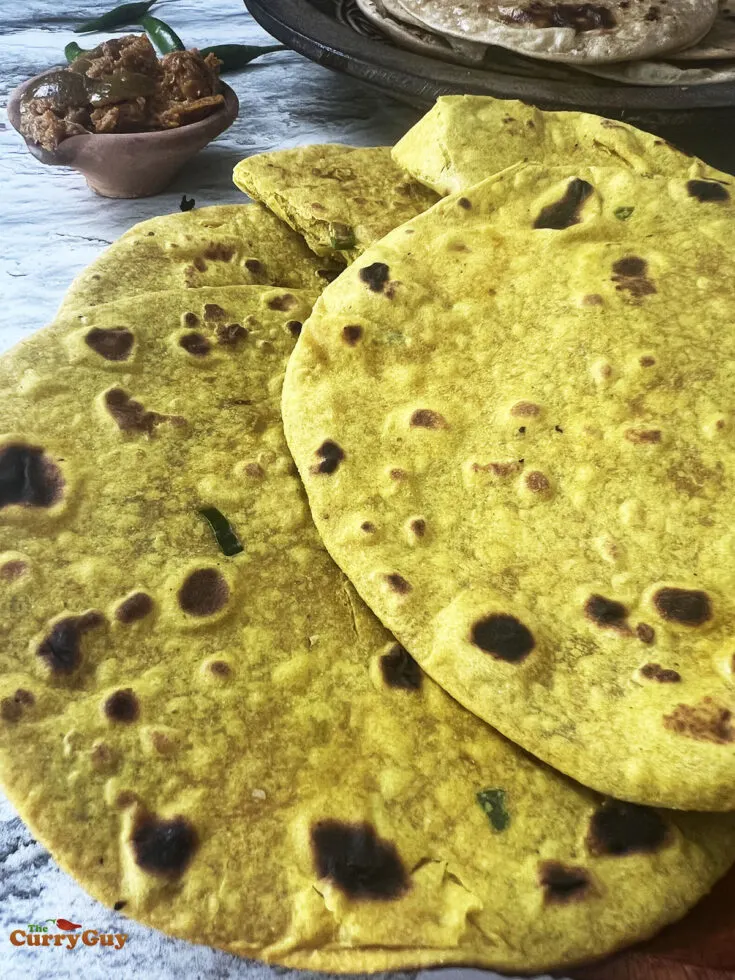
Ingredients
- 500g (2 cups) chapati flour
- 190ml - 250ml (3/4 to 1 cup) warm water
- 1 tsp salt
- 1 tsp ground turmeric
- 1 tsp ground cumin
- 2 – 3 green finger chillies, finely or roughly chopped
- 1 tsp rapeseed (canola) oil
- Ghee (optional)
Instructions
- Pour the flour and salt along with your chillies and spices of choice into a bowl and then add the water a little at a time. Stir with a wooden spoon or your hands until you have a soft dough.
- Knead the dough for about 5 minutes. Form into a dough ball and set aside covered to rest for about 30 minutes.
- Dust the work surface with a little flour and wet your hands the oil. Knead for a couple more minutes with oil hands and then roll out into a long rope shape. Divide this into 8 to 10 equal sized pieces and then form them into smaller balls.
- Flatten each ball between your hands and then flatten them more with a rolling pin until they are about six inches in diameter and 3mm thick. Try to keep the chapati as round as possible by rolling from different angles. Dust off any excess flour.
- Now heat a large frying pan or tawa over a medium heat and add one of the chapatis. Cook until bubbles begin to form and then flip it over to continue cooking for 30 seconds. Flip it over again and begin pressing down on the chapati with a flat spatula or dish towel. Larger bubbles will begin to form and then it should puff right up. If it doesn’t puff completely, no worries! It will still be light and delicious.
- If cooking over gas, you could also place the chapati directly on the flame in it will puff up.
- If you are cooking in a pan gass or on an electric stove you can still make it puff up. Turn the chapati over one last time and apply pressure to the surface, concentrating on the areas where there are no bubbles. It should puff up completely or at least look nice and bubbly.
- As you finish the chapatis, stack them to keep warm. For best results serve immediately. Chapatis will keep for about 2 days wrapped tightly. You can dampen them slightly and reheat in your microwave. Serve as the are or brush with ghee.
Recommended Products
As an Amazon Associate and member of other affiliate programs, I earn from qualifying purchases.
Nutrition Information:
Yield:
8Serving Size:
1Amount Per Serving: Calories: 80Total Fat: 2gSaturated Fat: 1gTrans Fat: 0gUnsaturated Fat: 1gCholesterol: 4mgSodium: 294mgCarbohydrates: 14gFiber: 1gSugar: 1gProtein: 2g







JohnC
Monday 20th of February 2012
First proper Indian dish I cooked was a red lentil dahl with chapatis. The very next day I was in our local shop, World Tastes, getting myself a dedicated chapati pan and wire holder to flame them safely. Worth every penny (and they weren't that expensive). Only difference is with this pan they're dry-fried, flamed to make them puff up and then liberally slathered with butter to stop them sticking to each other.